
Video Tutorial:
Before use, the administrator must enable Electronic Seals (see Sending Settings for details). After enabling, senders can use Electronic Seals to initiate signing tasks.
1. Log in to the Nota Sign workspace and click [Sign] - [Initiate Signing];
2. After setting up the recipients, click to add an [Electronic Seal].
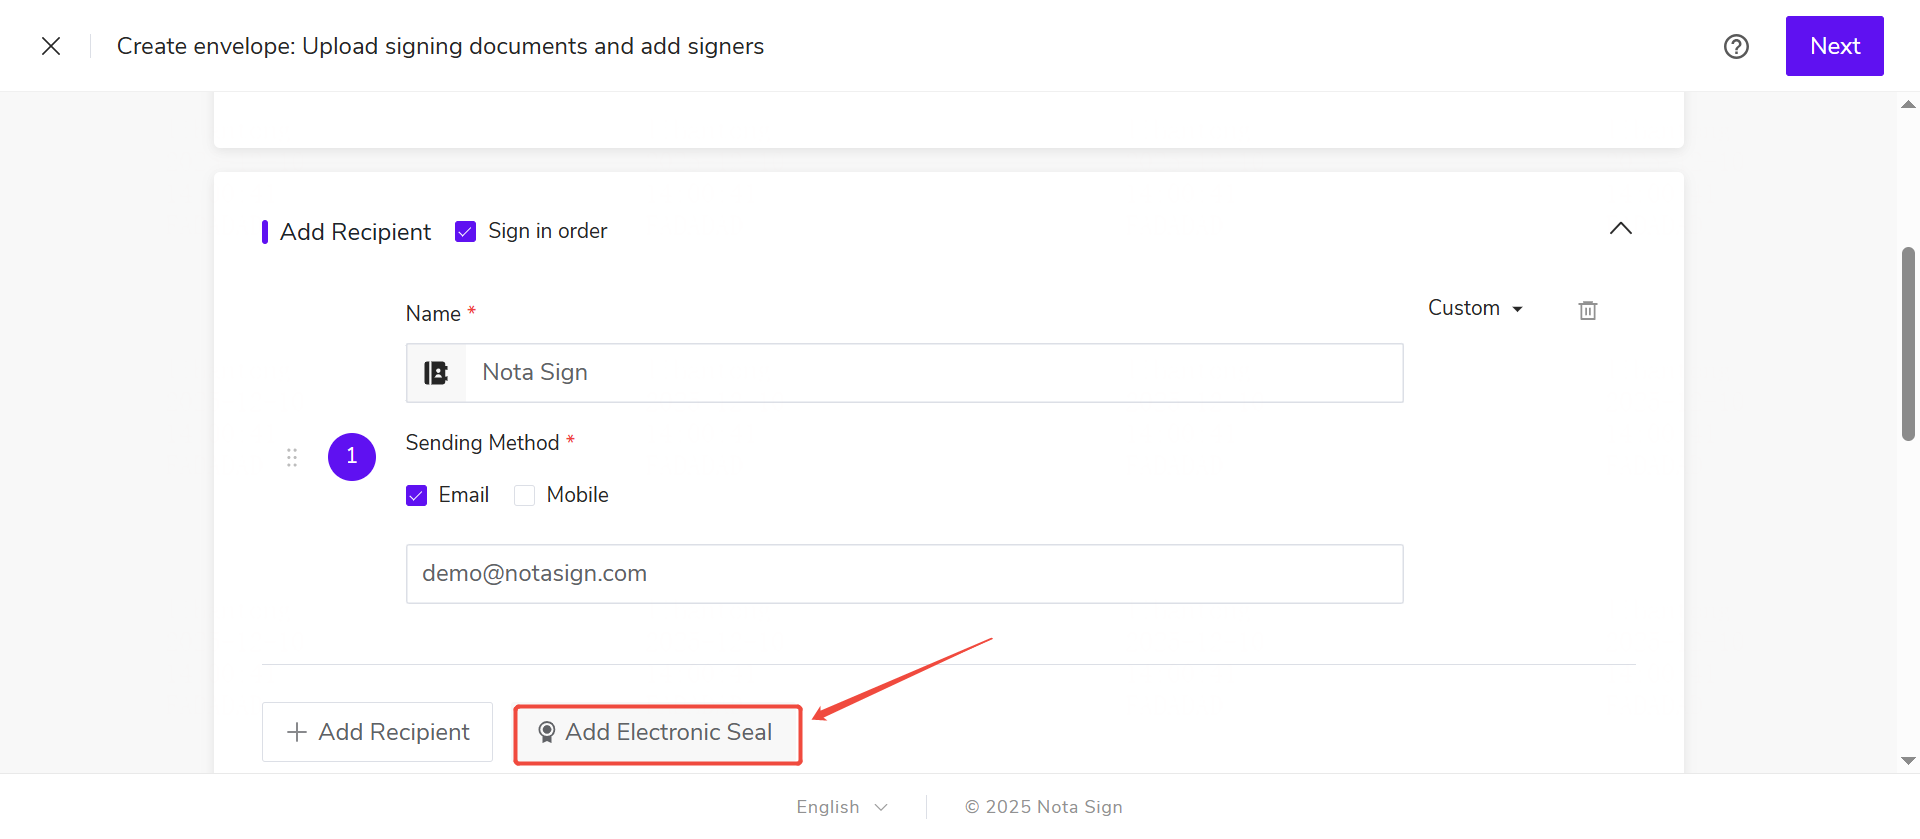
When sending an envelope, there are two ways to use Electronic Seals. One is for the sender to apply the seal themselves, and the other is to designate another recipient to apply the seal.
3. Method 1: Sender applies the seal themselves
(1) From the list of seals authorized to the sender, select the Electronic Seal to use.
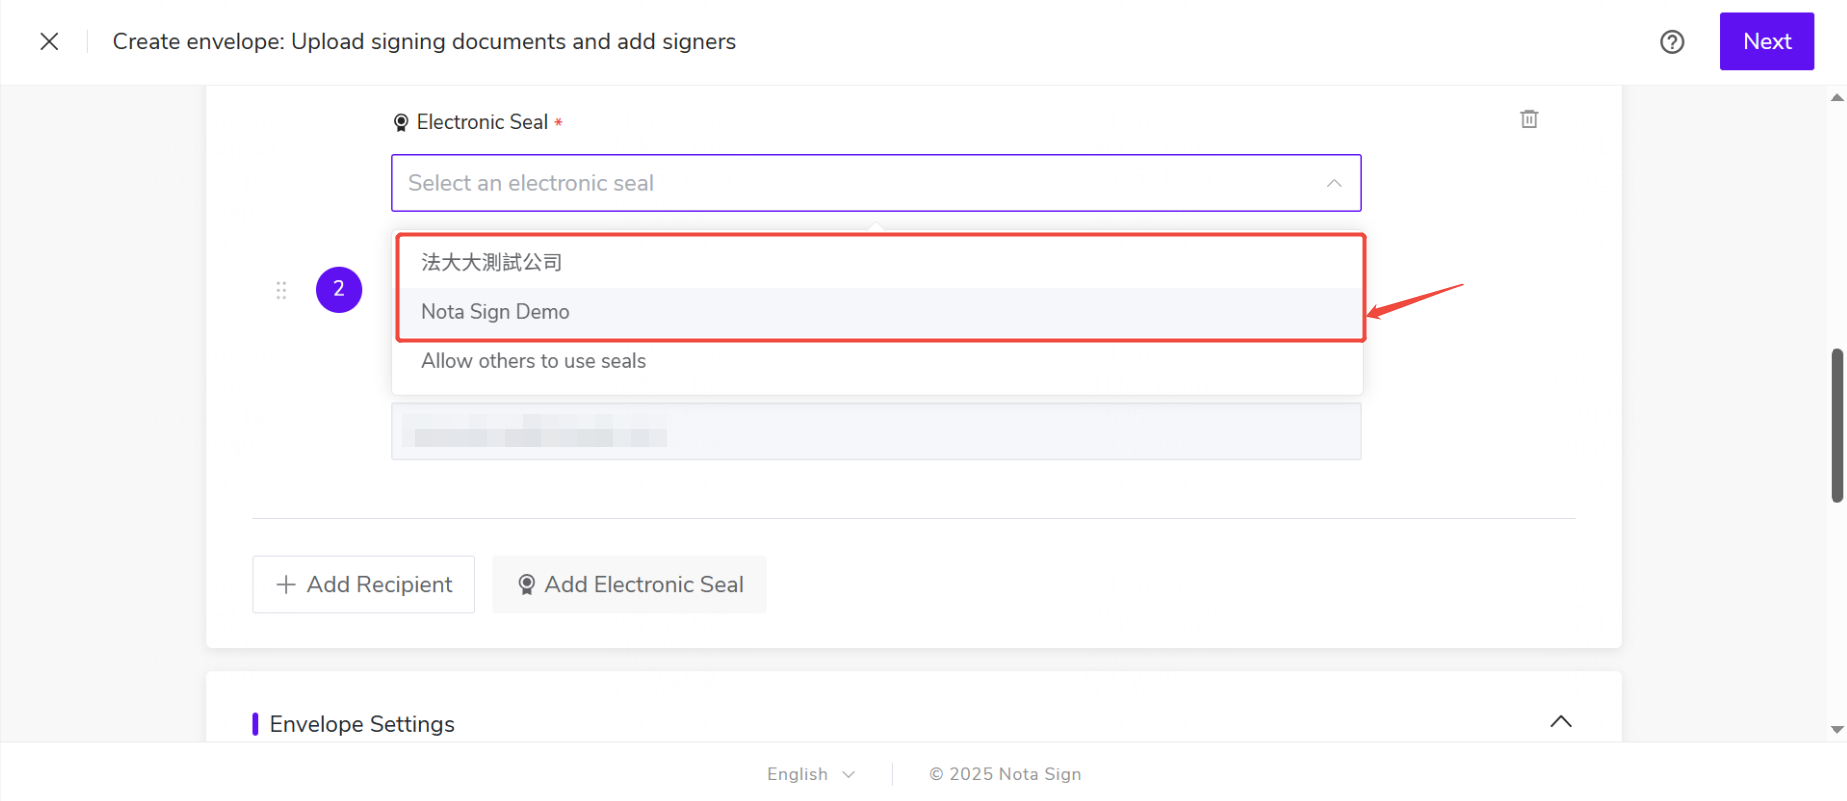
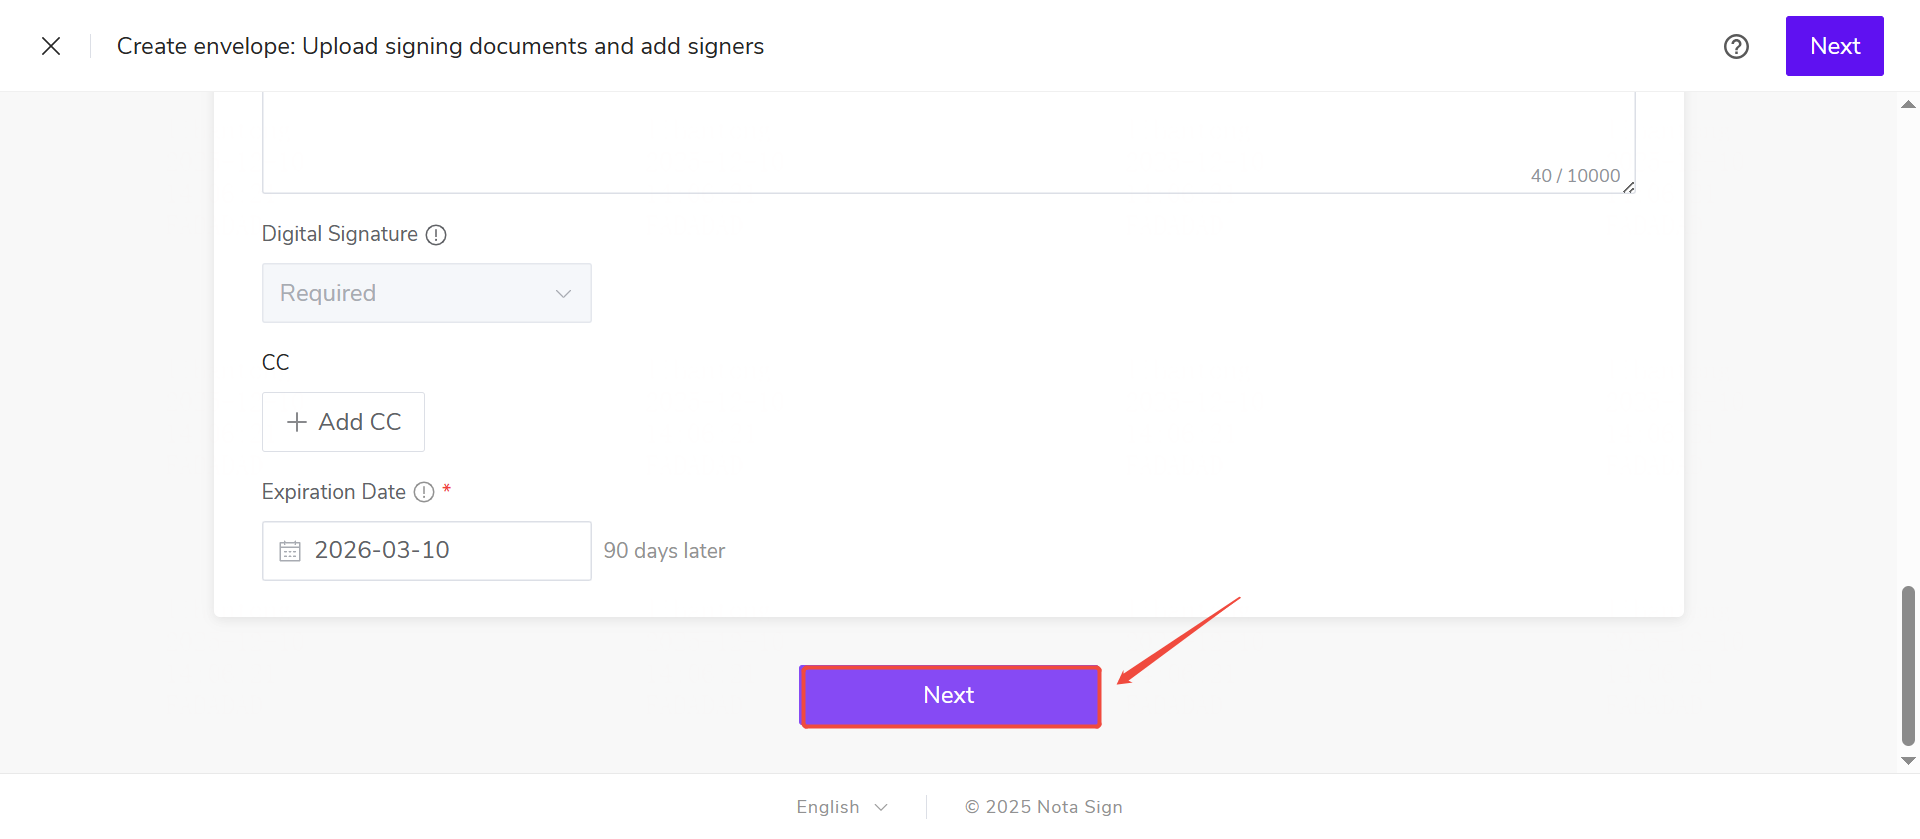
(2) Click [Next] at the bottom of the page to enter the control settings interface.
4. Method 2: Designate another person to apply the seal
(1) From the list, select “Designate another person to apply the seal”.
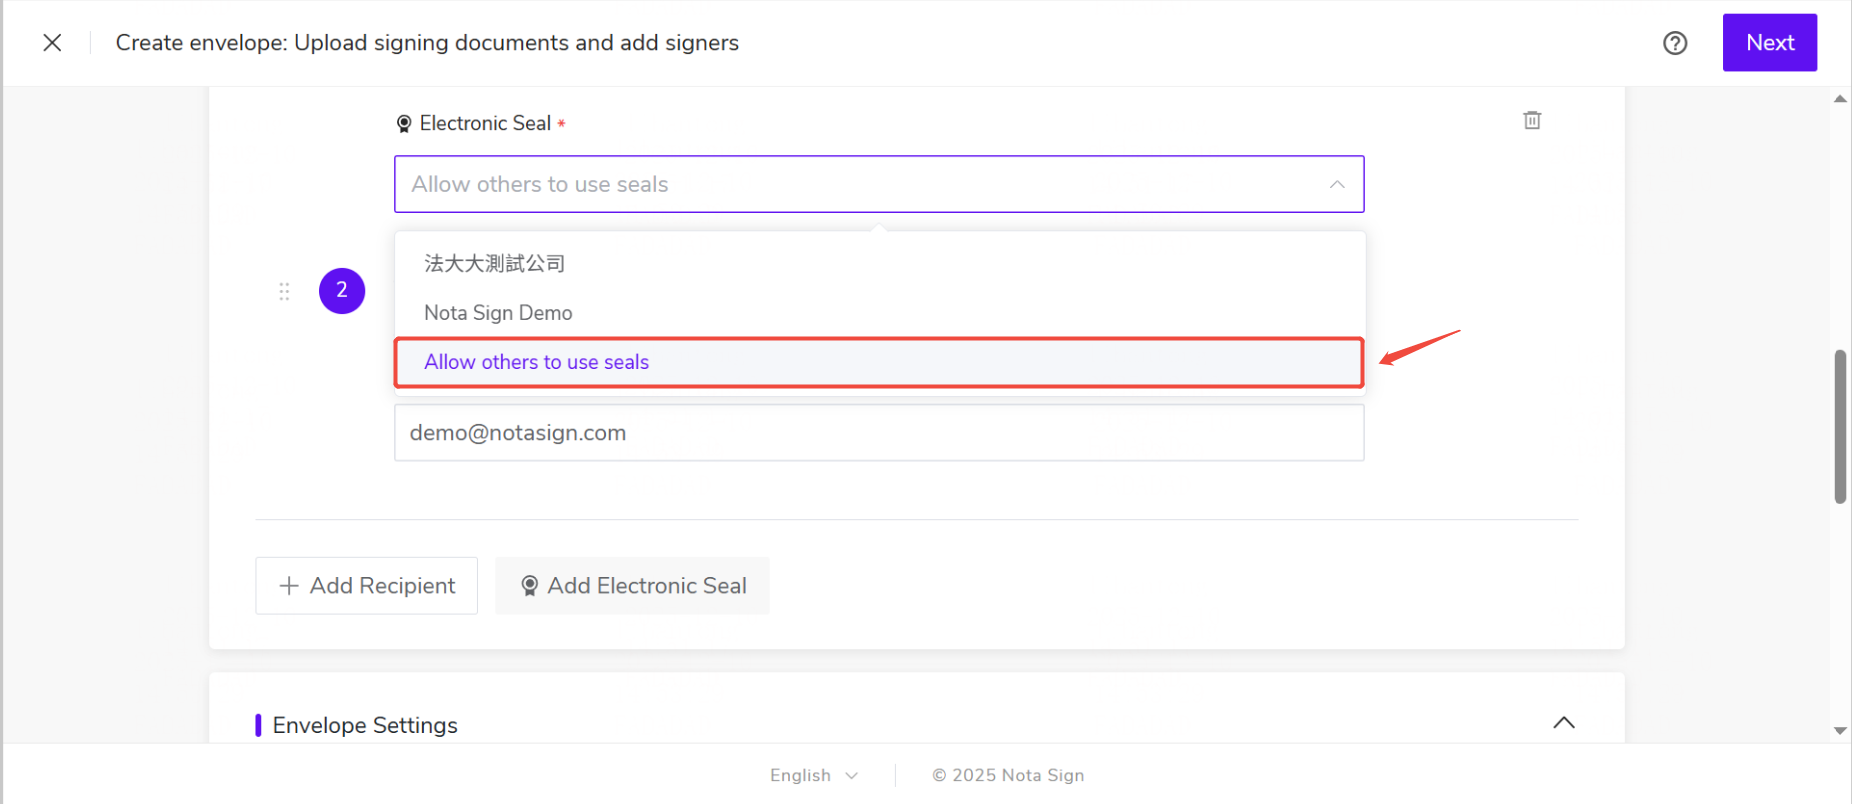
(2) Enter the authorized email address of the seal applier.
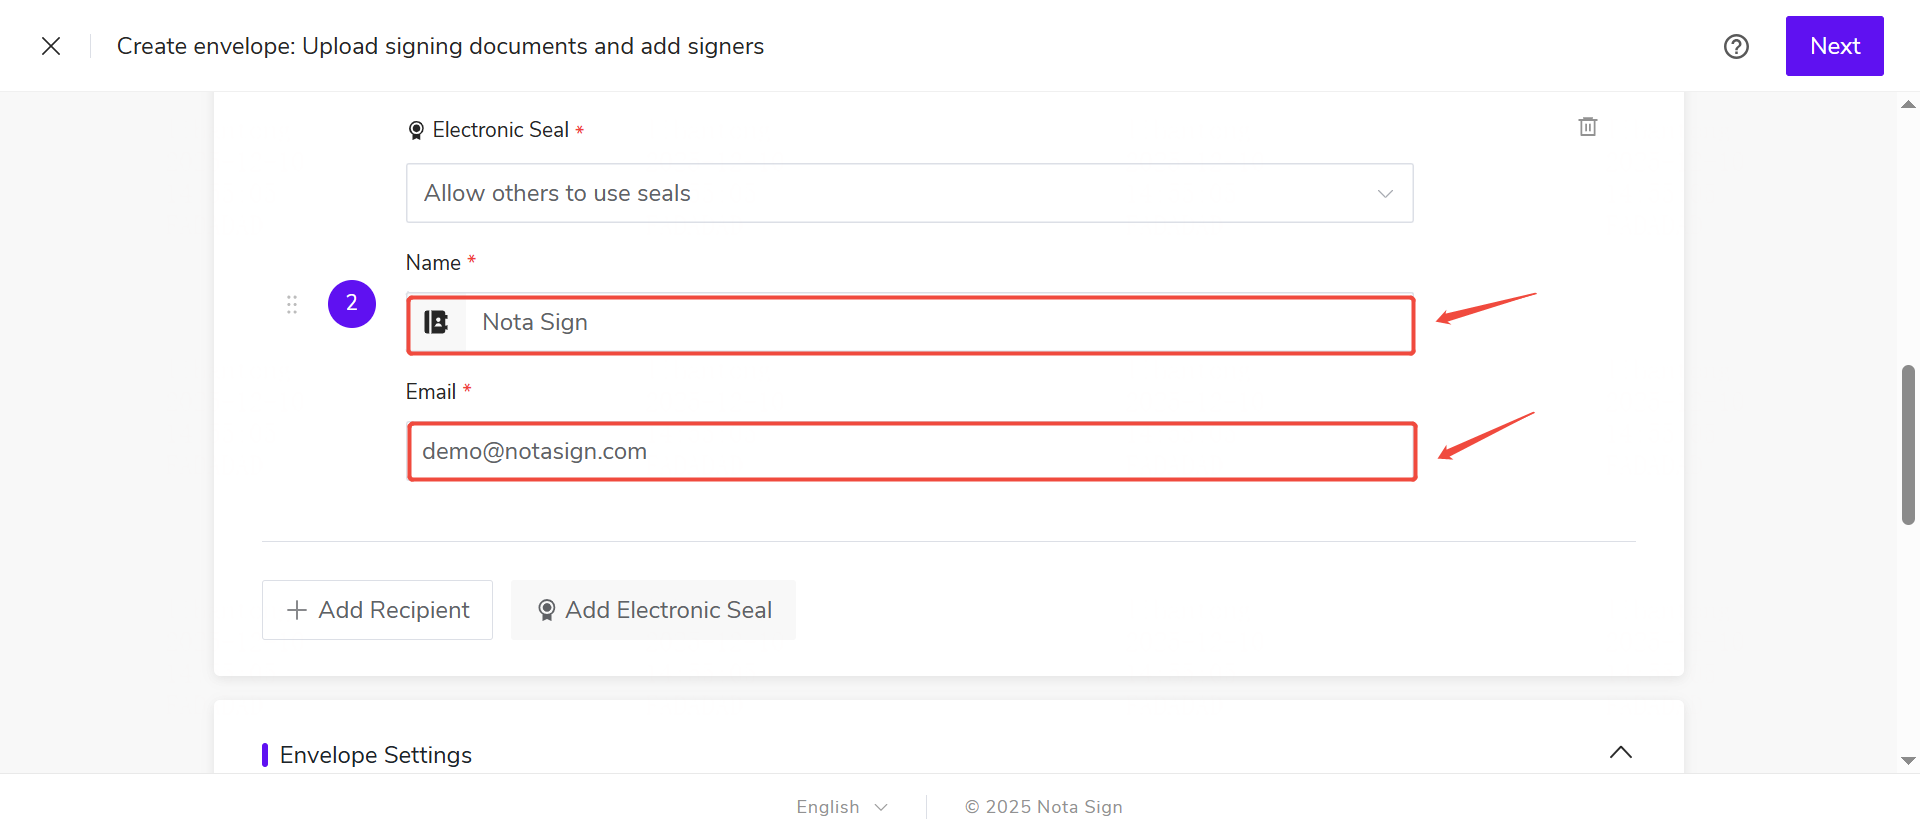
(3) Click [Next] at the bottom of the page to enter the control settings interface.
5. Set up the Electronic Seal control
Select the control from the left control panel; drag it to the corresponding position in the document preview area.
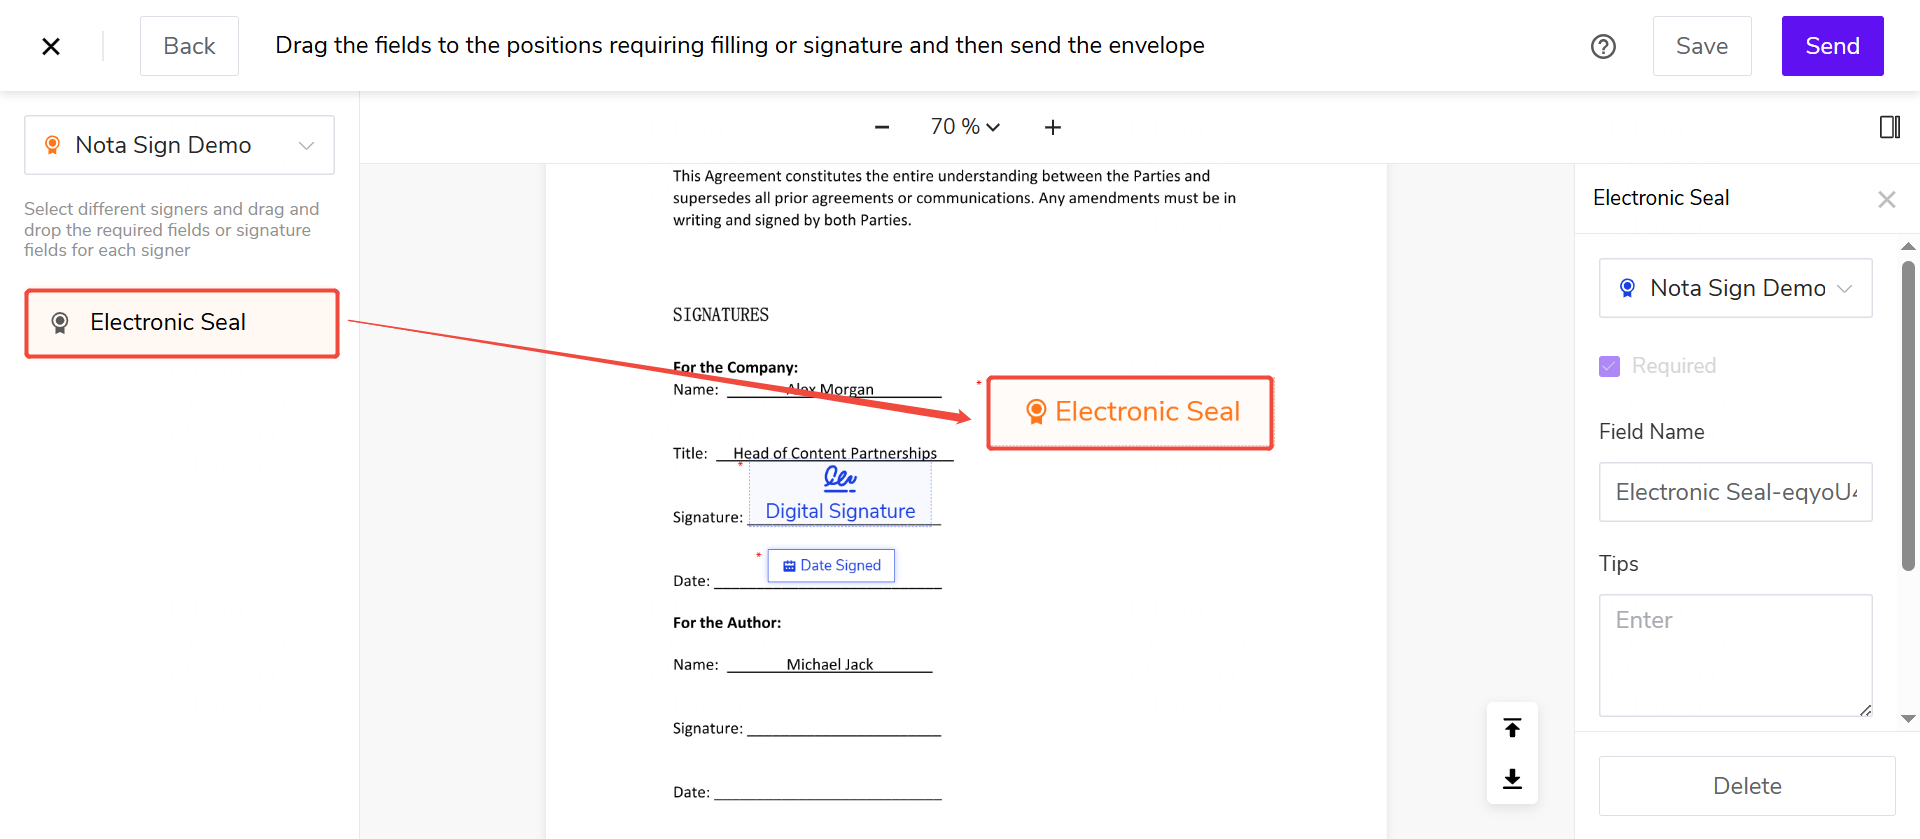
6. Send the signing invitation
After completing the control settings, click [Send] in the upper-right corner to send the envelope.
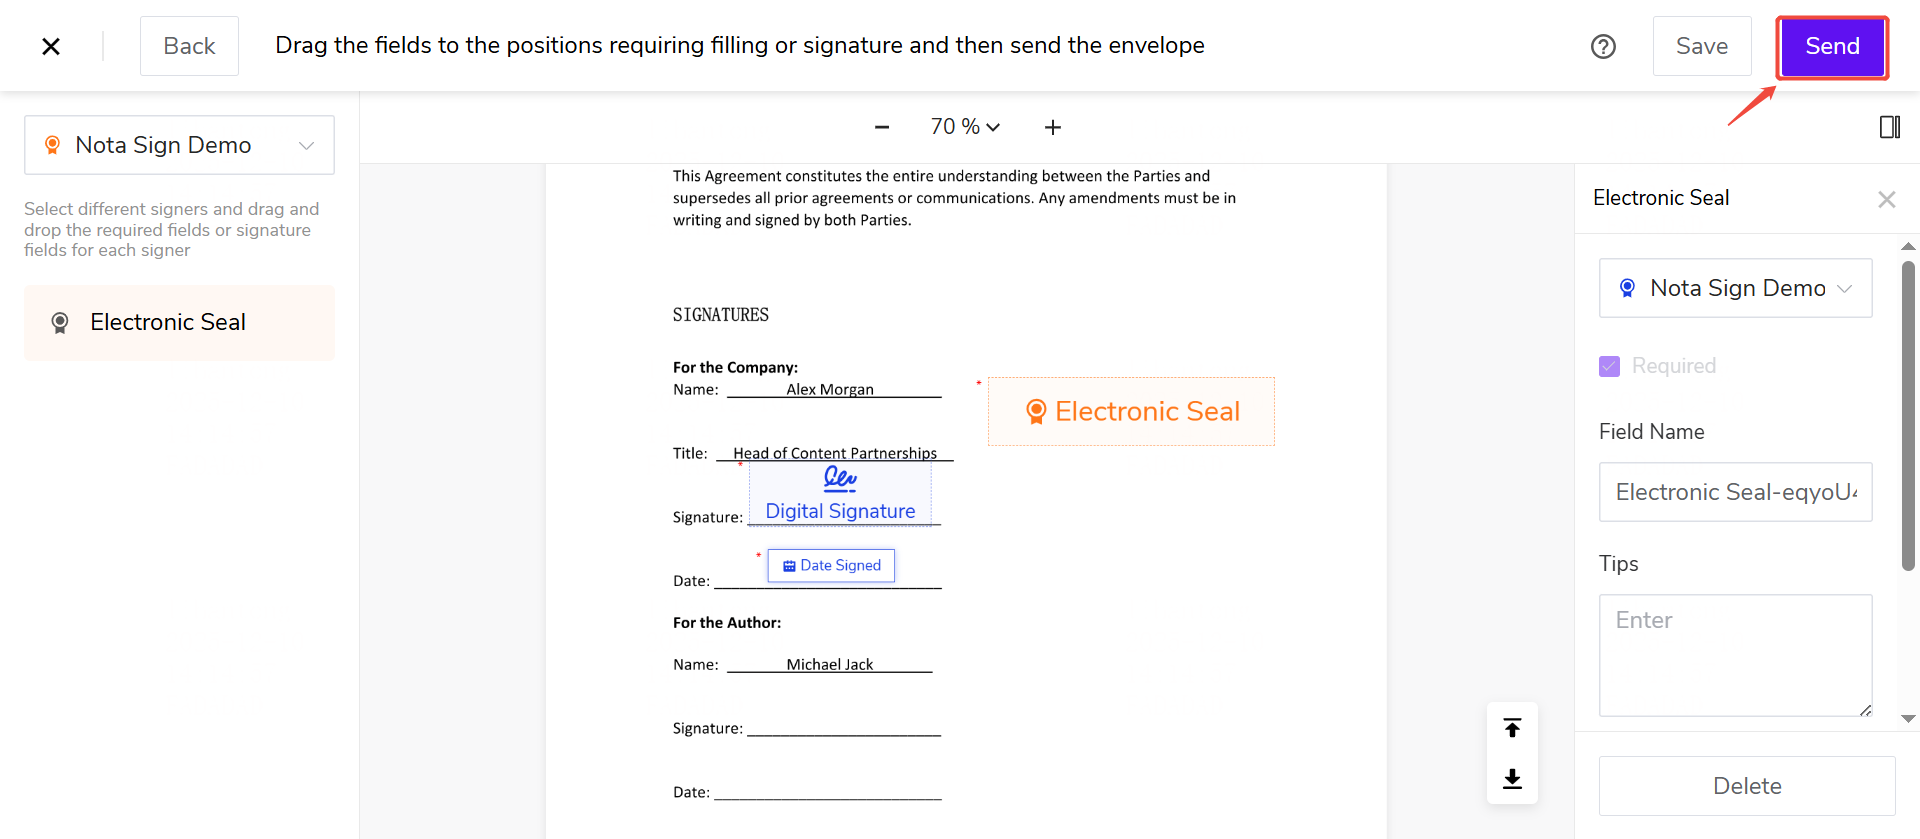
The recipient will receive a signing email or SMS from the system. Click the link to access the document for signing.