
You can configure sequential signing for multiple documents in an envelope. Recipients must complete signing on each document in order, i.e., complete all signing controls in Document 1 first, then proceed to Document 2, and so on, until all documents are completed before the envelope can be submitted.
I. Enabling Document Order Signing
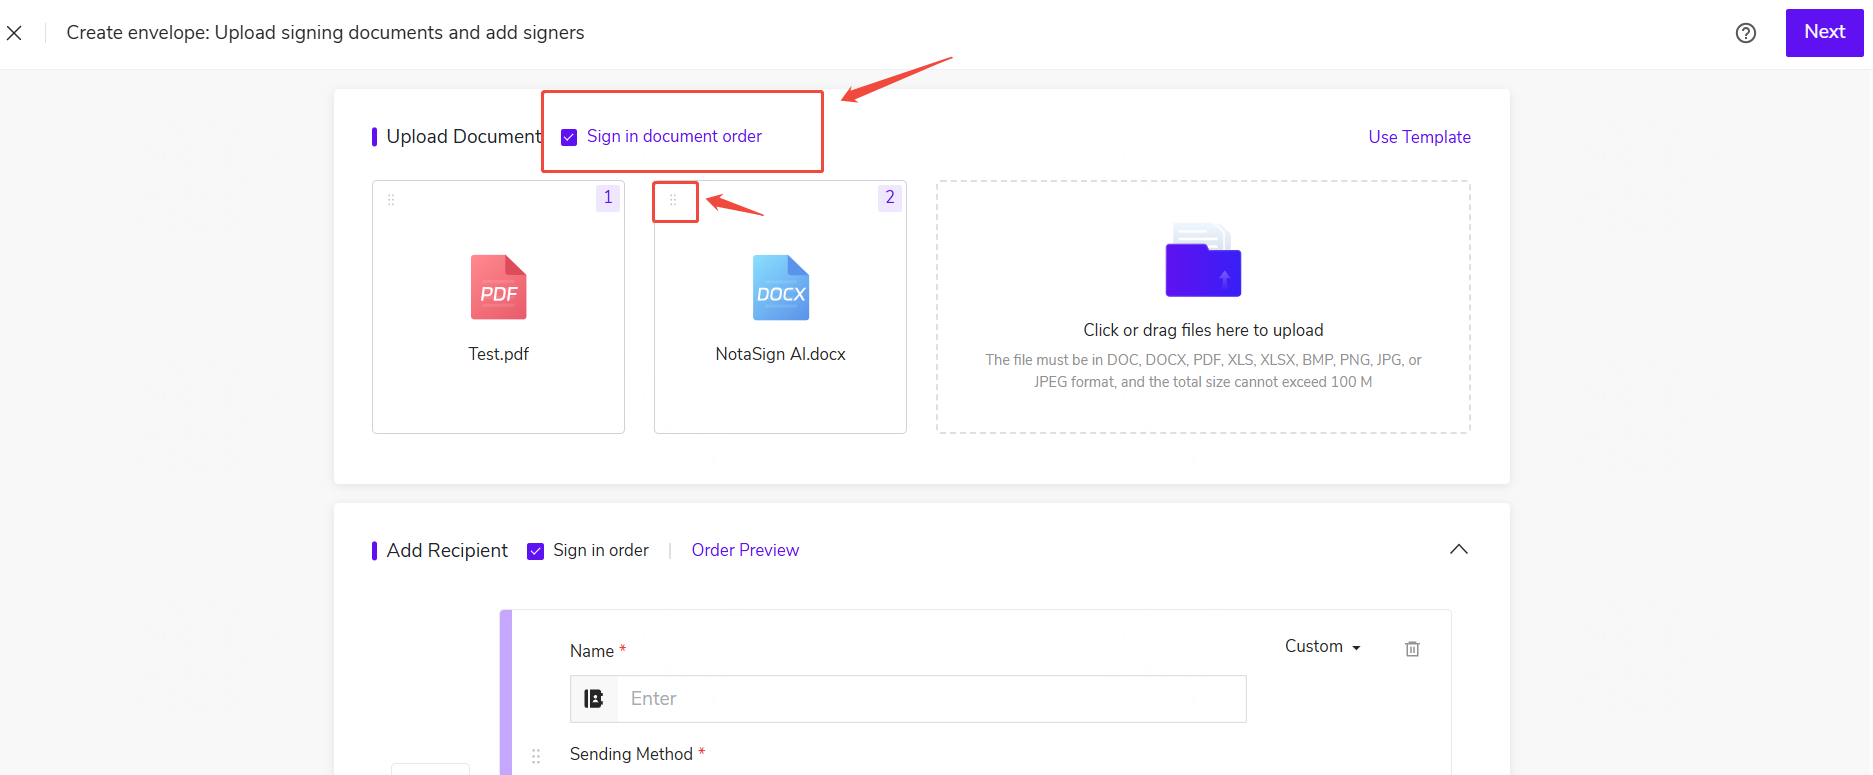
1. In Manage -> Send Settings, enable the [Enable Document Order Signing] toggle;
2. After enabling, the document upload area for creating envelopes and templates will display the [Sign in Order] toggle. After disabling, newly created envelopes and templates will no longer display the toggle, but configurations in envelopes that have already been initiated will not be affected.
💡 Note: Document order signing does not support FDA envelopes and Singpass-specific signing processes.
II. Configuring Document Order
1. In the document upload area when creating an envelope, check [Sign in Order];
2. After checking, document cards display signing order numbers (e.g., 1, 2), generated by default in upload order;
3. Drag document cards left or right to adjust the signing order, and order numbers will update accordingly;
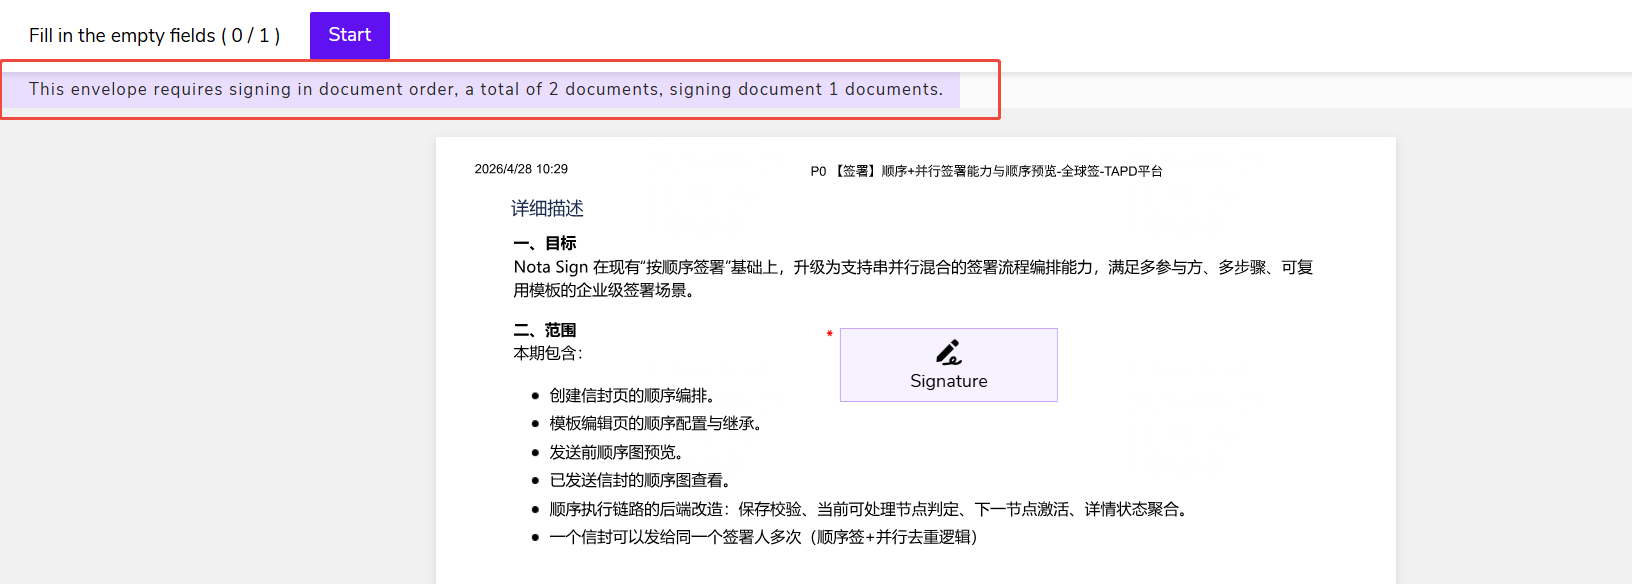
This order is at the document dimension and does not affect party signing order. Document order signing can be configured simultaneously with party signing order; both order controls take effect concurrently without conflict.
III. Template Configuration
1. In the document upload area of the template creation or editing page, you can also check [Sign in Order] and drag to adjust the order;
2. When initiating an envelope based on this template, the document order signing rules configured in the template will be applied by default.
IV. Signing the Envelope
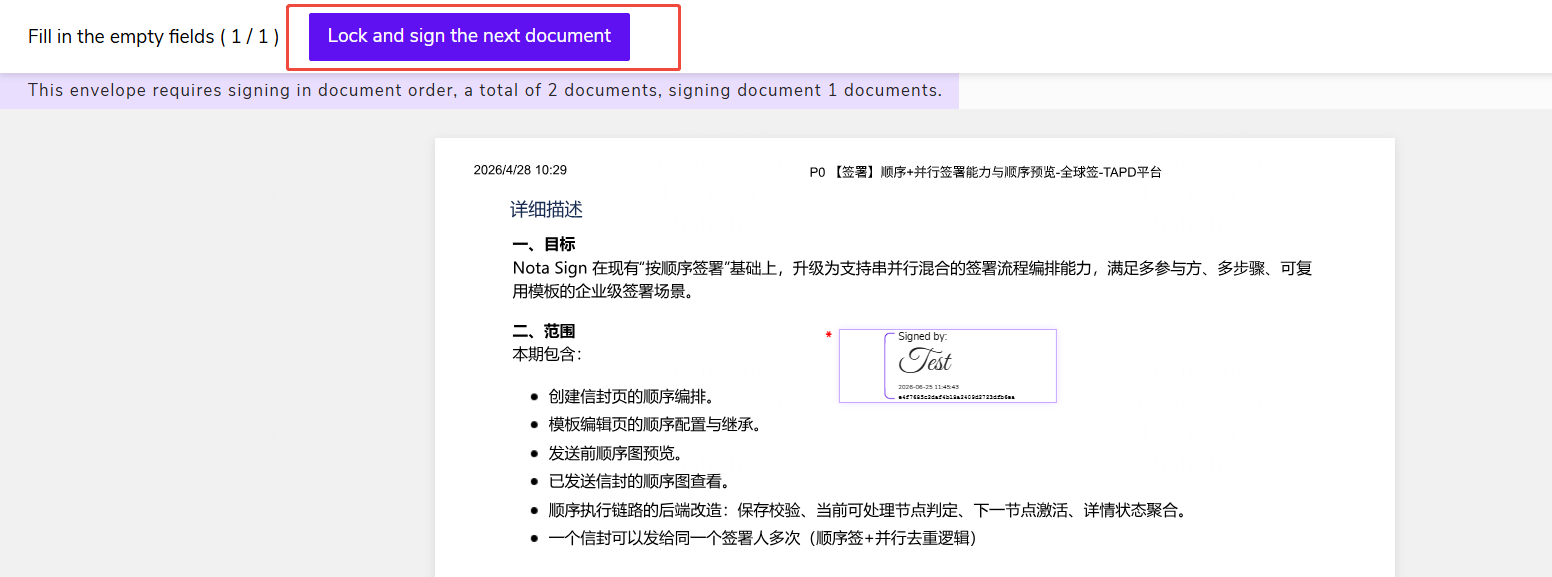
1. After entering the signing page, recipients can preview all documents in the envelope, but can only sign controls in the document that is currently in order;
2. When there are incomplete signing controls in the current document, [Next] is used to locate the next incomplete control within the current document;
3. After all controls in the current document are completed, click [Lock and Open Next]. The system locks the current document’s signature values and opens the next document for signing;
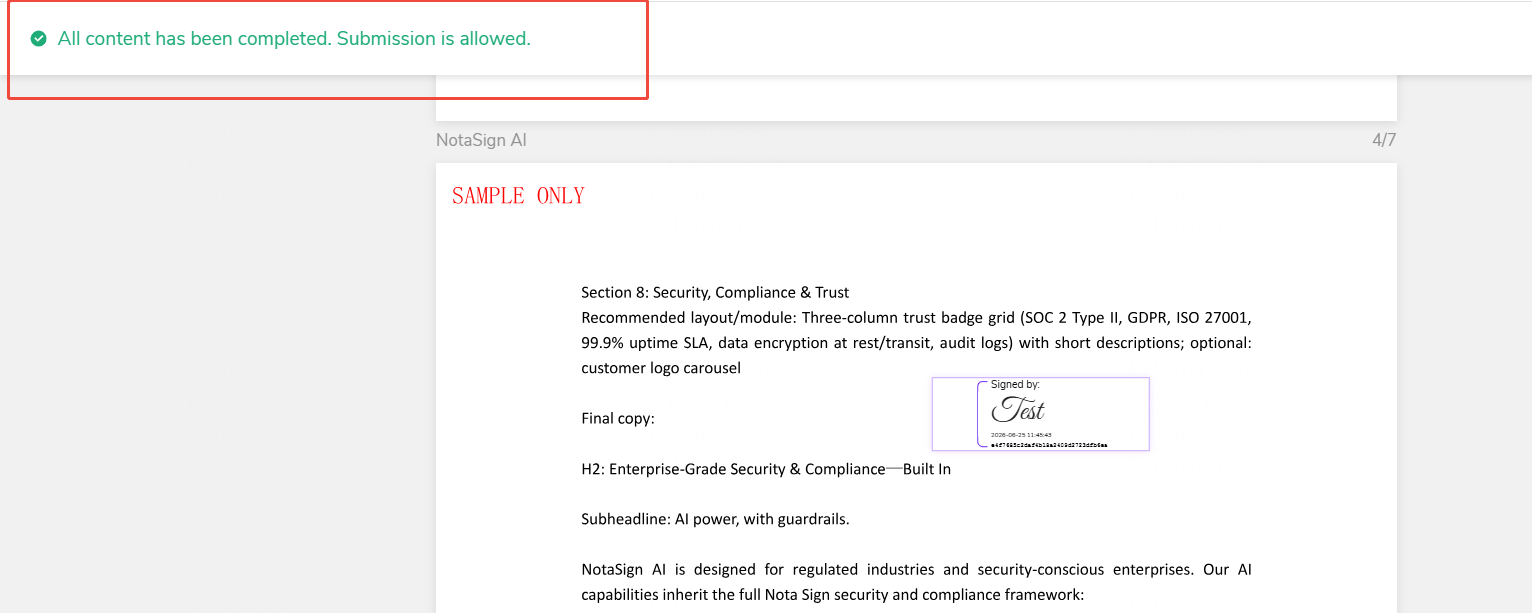
4. After all documents are completed, the [Submit] button in the upper-right corner becomes active, allowing final submission.
V. Returning to Modify
1. During the signing process, you can return to a previous locked document to make modifications. A [Return to Modify] entry is displayed below the locked document;
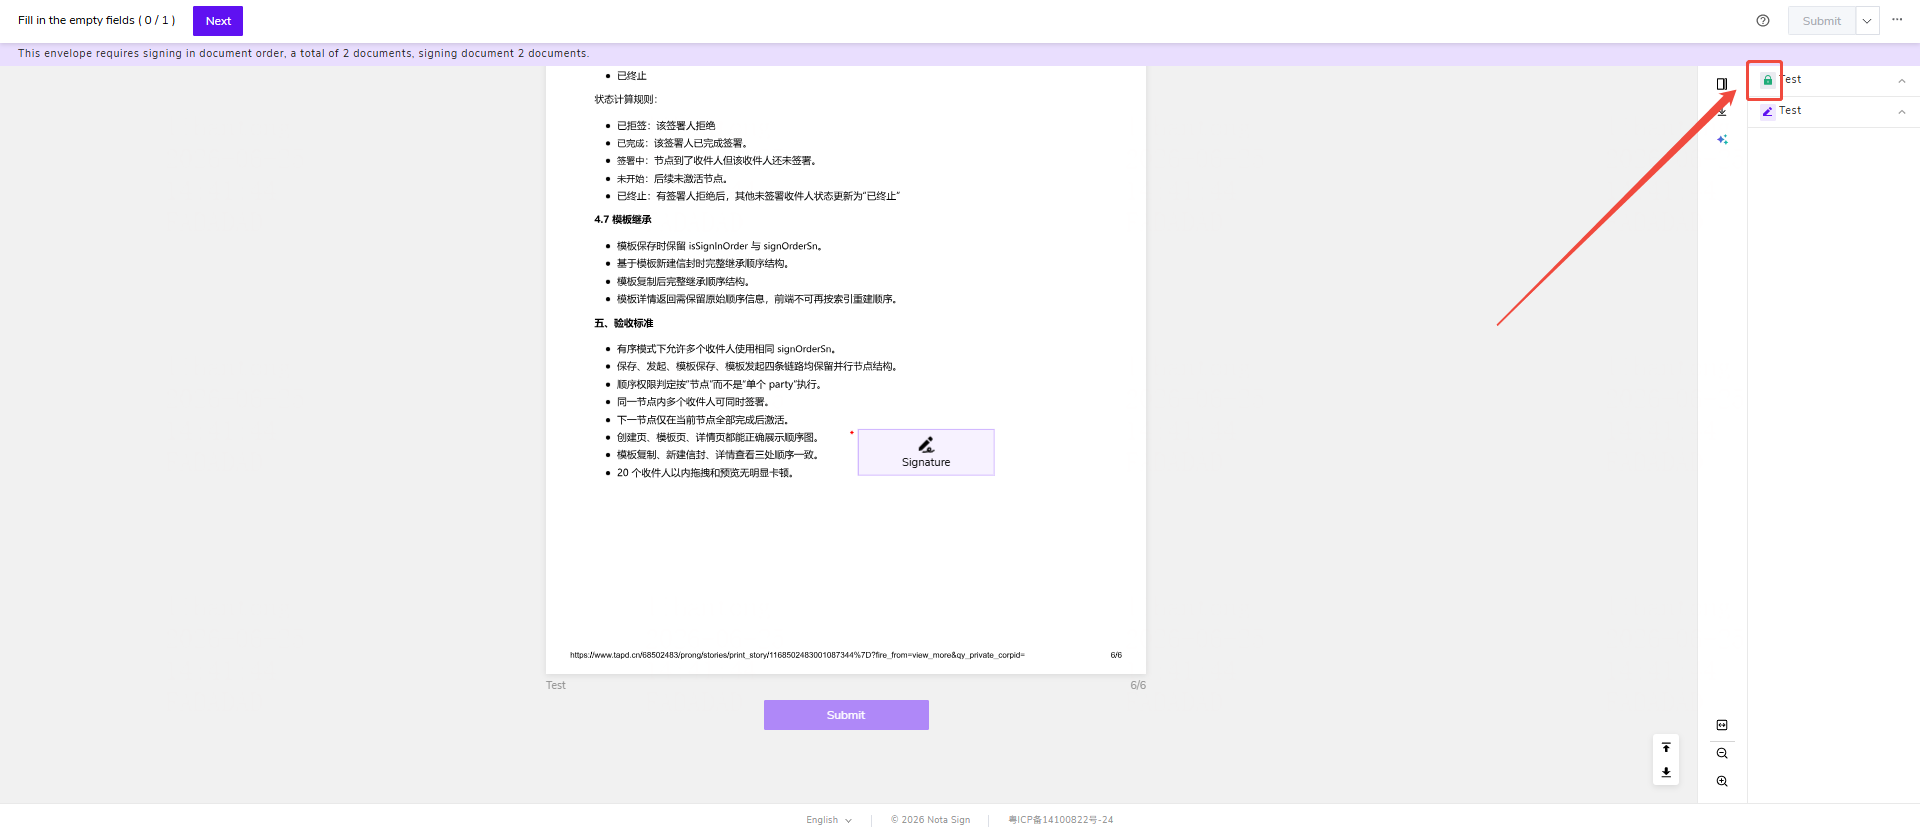
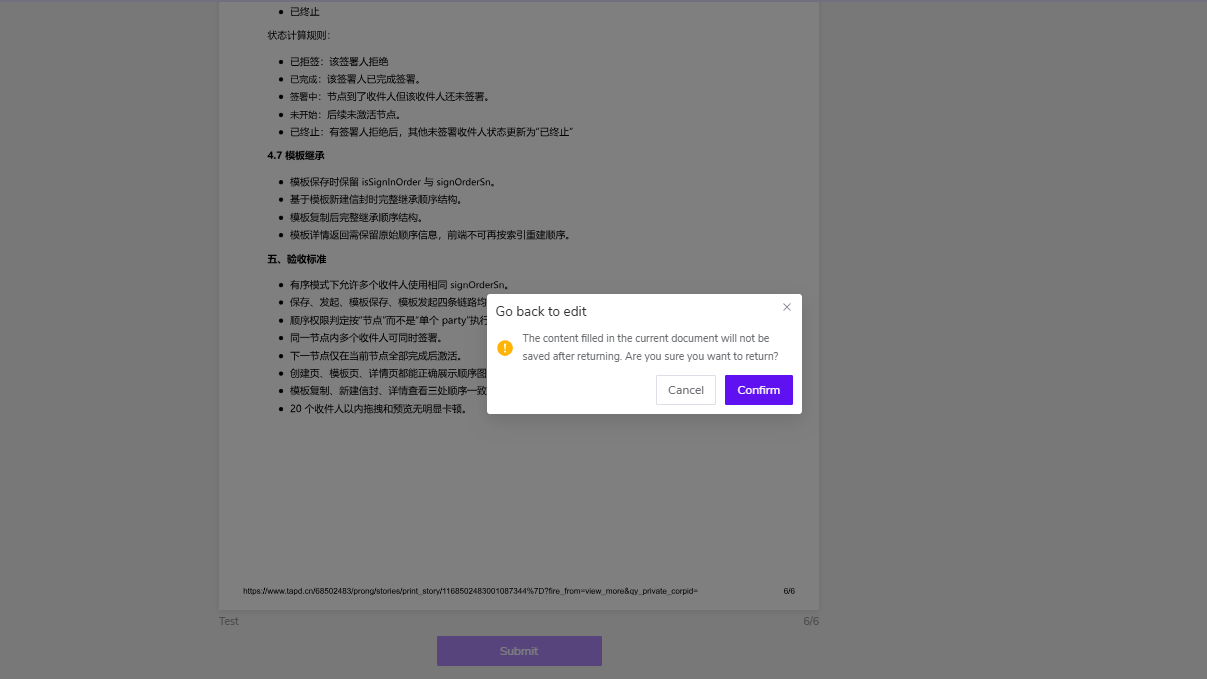
2. After clicking [Return to Modify], the system displays a confirmation pop-up, indicating that the signing status of the current and subsequent documents will be rolled back, and any filled-in content will be reset;
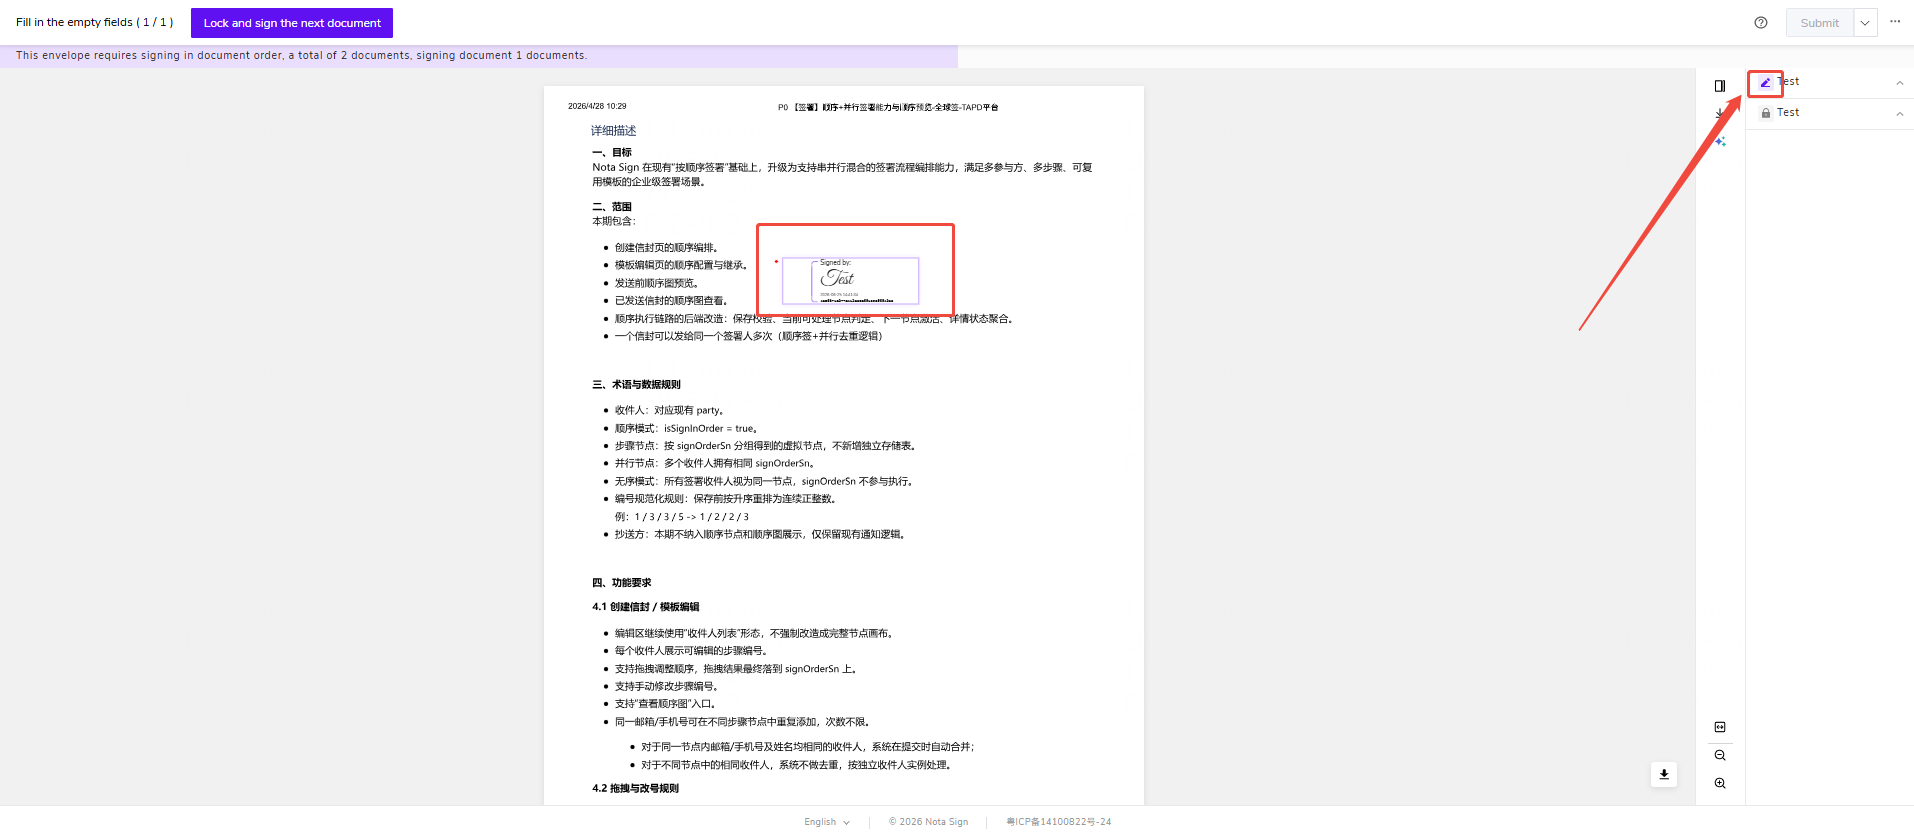
3. After confirming the return, the current and subsequent documents’ status changes to “Not Started,” and the target document’s status changes to “Currently Signing,” allowing re-editing;
Canceling keeps you on the current document with the content unchanged.