
1. Feature Overview
When a signing task requires the use of a corporate electronic seal but you do not have an available electronic seal authorization, you can apply for a new electronic seal during the signing process.
You can perform the following operations on the PC/Web signing page:
- Apply for an electronic seal;
- Select the workspace to which the electronic seal will belong;
- Select a certificate service provider;
- Complete the corporate digital certificate application;
- Check the application progress;
- Complete the seal image, seal usage reason, and seal user information;
- Return to the signing page and use the new seal to complete signing.
- Currently, electronic seal applications are only supported on the PC/Web signing page. H5 signing pages are not supported.
- The application entry will only appear if the current signing task contains a corporate electronic seal control and the sending workspace allows recipients to apply for electronic seals.
- During the application process, you must use the email address that received the current envelope to log in or register. You cannot switch to another email address.
- Application records and the electronic seal generated upon successful application will be attributed to the workspace you select during the application process.
2. Step-by-Step Instructions
(1) Open the envelope to be signed on the PC/Web signing page, and click on the corporate electronic seal control set by the sender.
(2) In the [Add Electronic Seal] pop-up, click [Apply for Electronic Seal] in the bottom-left corner. If you have already initiated an application, this entry will display as [View Application Progress] or [Complete New Seal Information] depending on the application status.
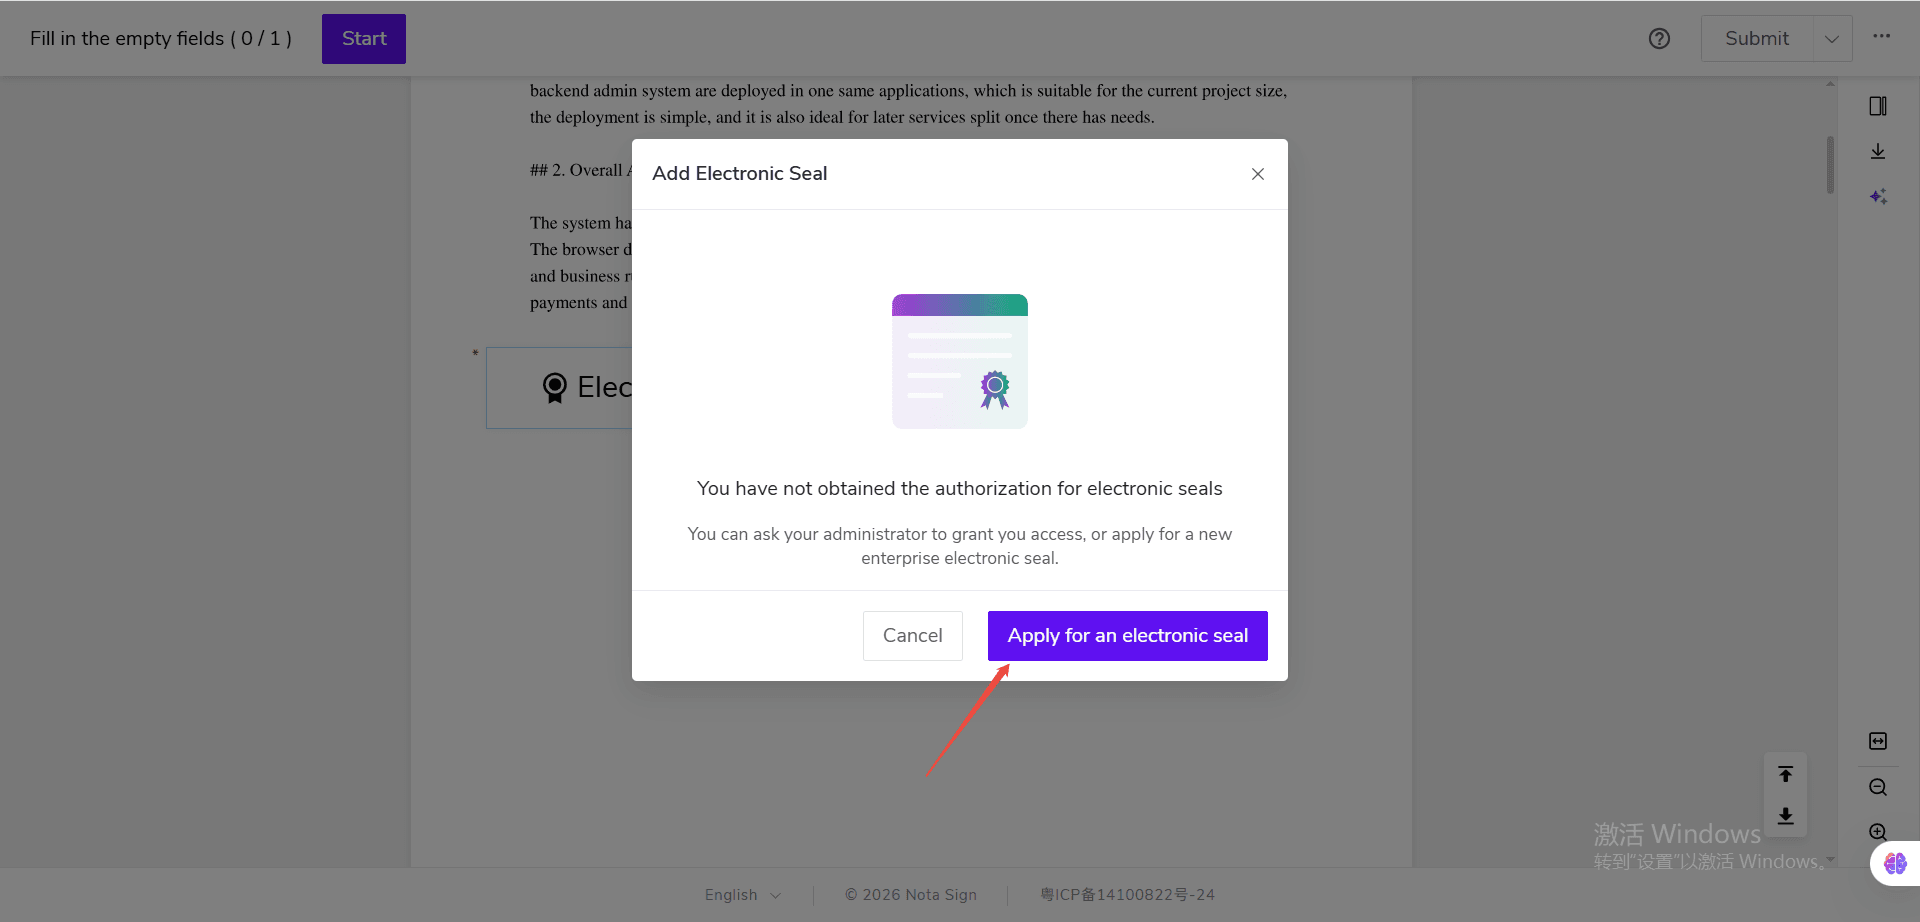
If you do not see the application entry, it may be because the current envelope does not allow electronic seal applications, or you are using the H5 signing page. Please contact the sender to confirm.
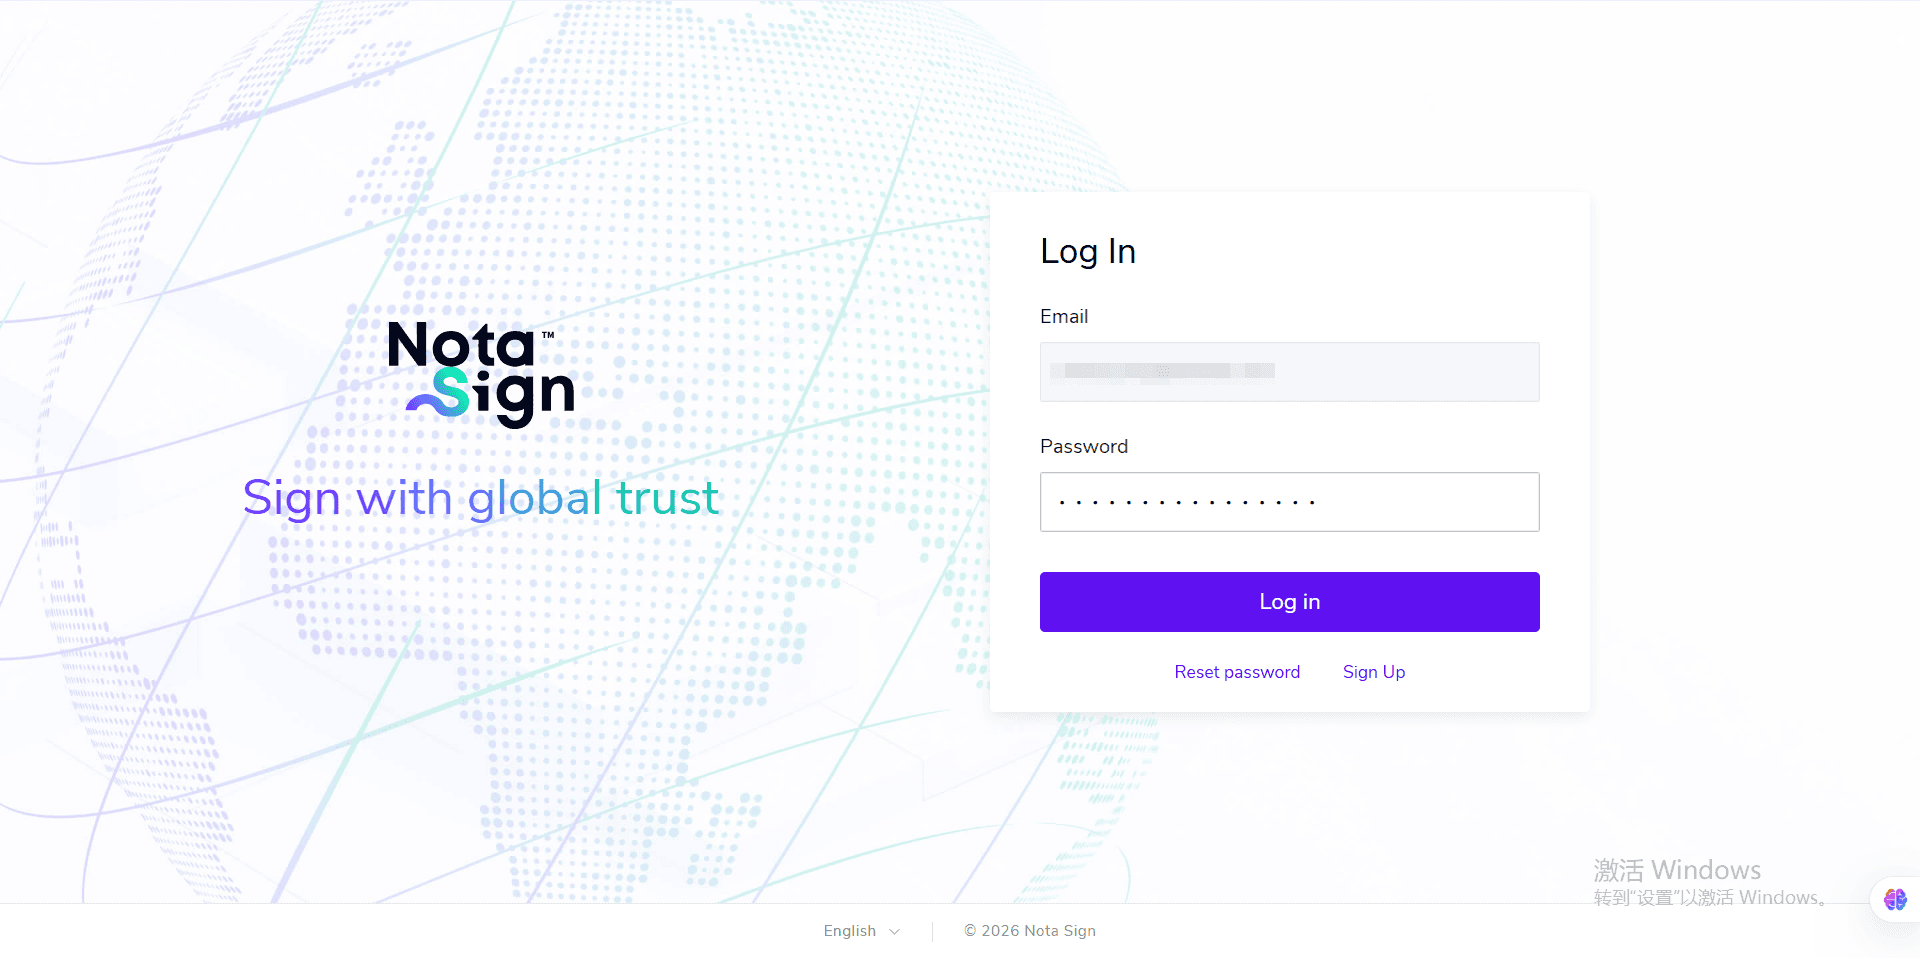
(3) After clicking [Apply for Electronic Seal], the system will guide you to log in or register for a Nota Sign account based on the registration status of the current recipient email address.
(4) If your account has multiple workspaces available for applying for electronic seals, the system will display the [Select Workspace] page. Select the workspace to which the new electronic seal should belong, then click [Next].
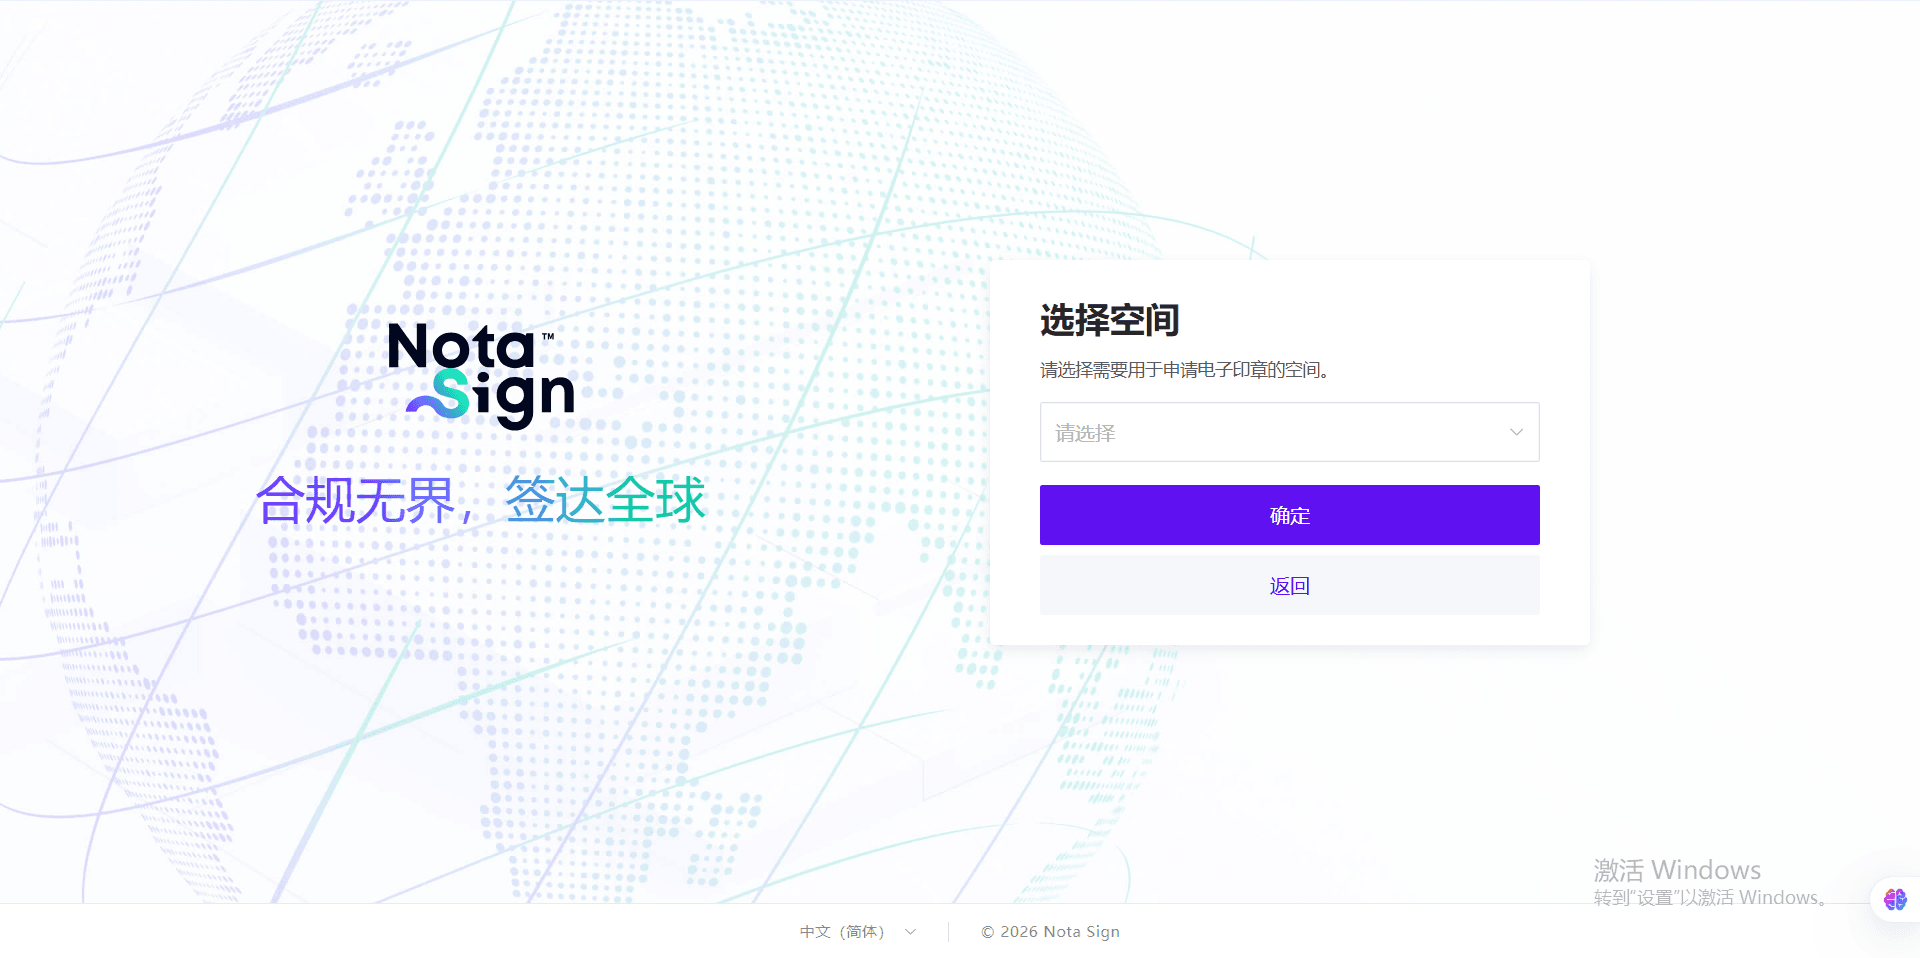
Only available workspaces for which you have electronic seal management permissions can be selected. If there is only one available workspace, the system will automatically select it without displaying the workspace selection page. If you are a newly registered user, the system will directly use the default workspace initialized during registration. If no available workspace exists, please contact the corresponding workspace administrator to confirm your workspace access permissions and electronic seal management permissions.
(5) After entering the [Apply for Electronic Seal] page, enter the electronic seal name and select a trust service provider. After selection, you can view the countries/regions, types, and brief introduction supported by the provider. After confirming the information is correct, click [Apply for Certificate].
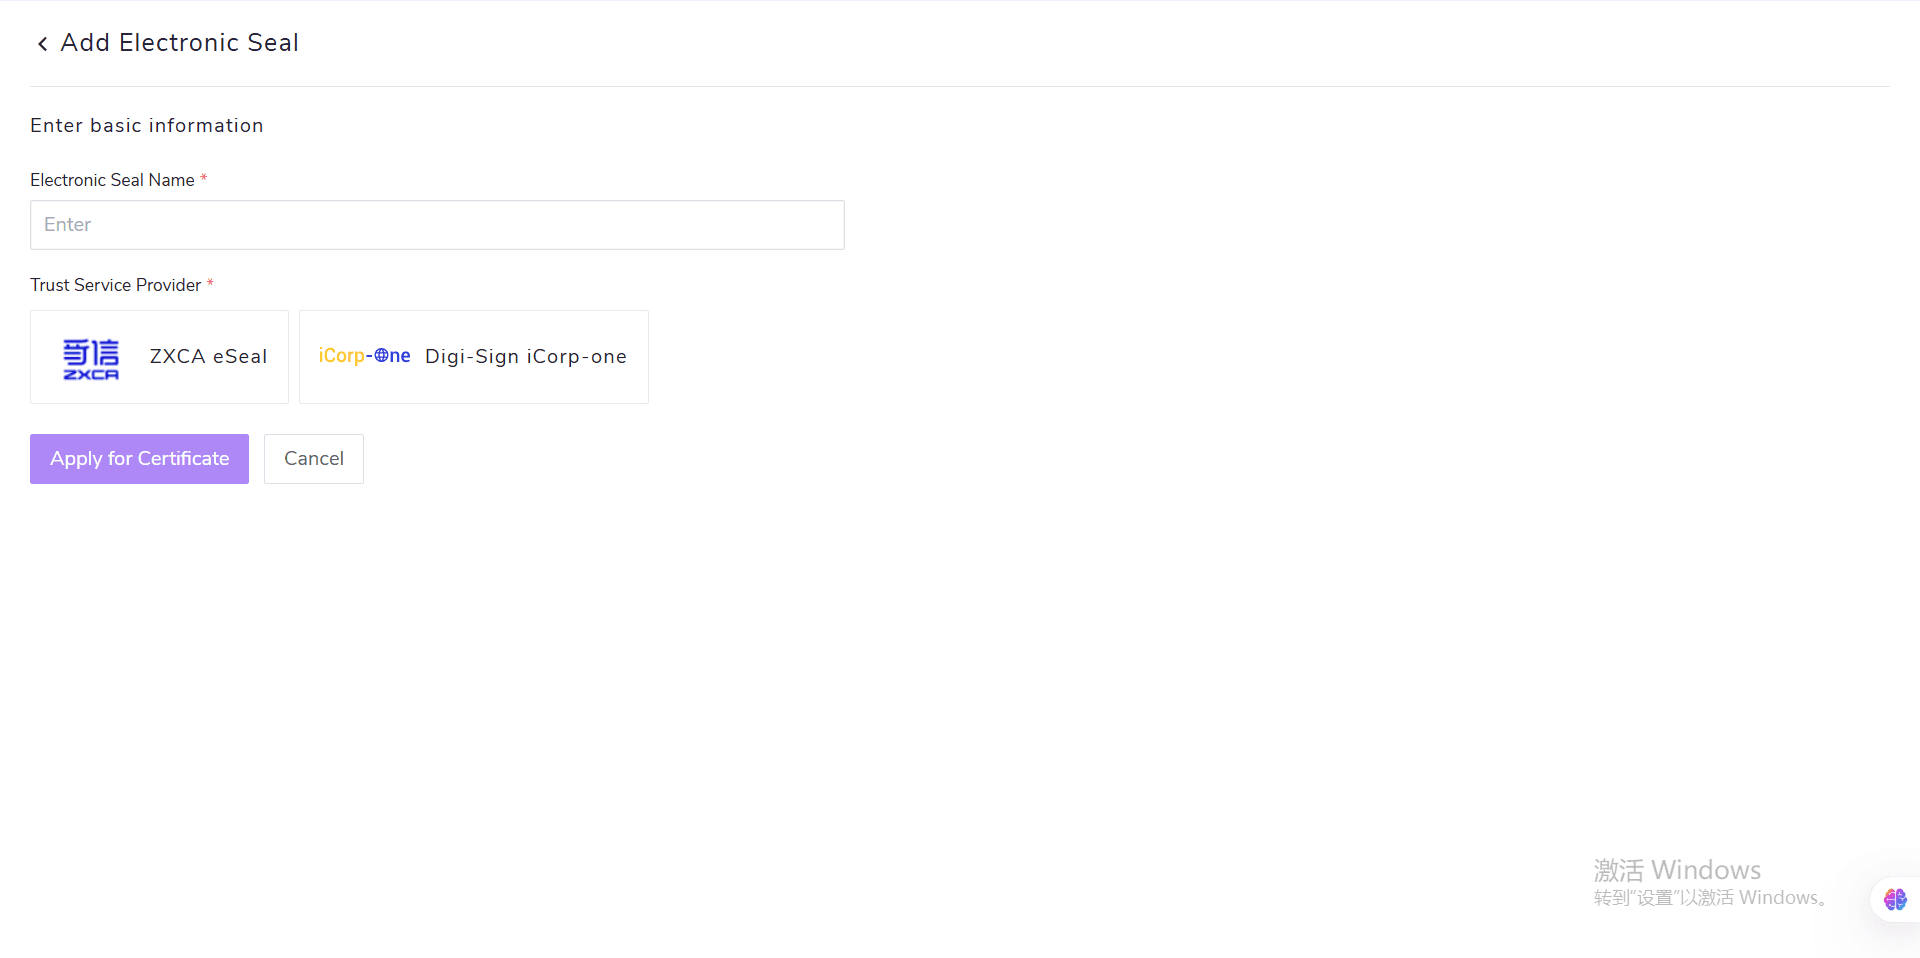
Once the certificate application is successfully initiated, you cannot go back to reselect the workspace or trust service provider.
(6) Follow the on-page prompts to go to the corresponding certificate service provider to complete corporate information submission, identity verification, and other certificate application steps.
If you cannot complete the process at this time, you may close the page. When you return to the signing task and click on the corporate electronic seal control again, click [View Application Progress] to continue the process.
(7) After the application is successful, you will enter the [Electronic Seal Details] page. Here you can upload or maintain the seal image, set the seal usage reason, and confirm that the current signing account has been added as a seal user.
(8) Click [Return to Signing Page and Refresh]. In the electronic seal list, select the newly applied seal, then click [Confirm] to continue signing.
If the new seal does not appear in the list, please confirm that the current account has been granted seal usage permission for that seal, then click [Refresh] to reload the list.
After the electronic seal application is successful, the system will enter the [Electronic Seal Details] page.
On the details page, you can:
View the seal number, certificate subject, and certificate validity period; View the trust service provider and certificate status; Upload or maintain the seal image; Set the seal usage reason; Add or manage seal users.