Managing Workspace Members
This guide explains how to view, edit, disable and delete users within your Nota Sign workspace using the Admin Dashboard.
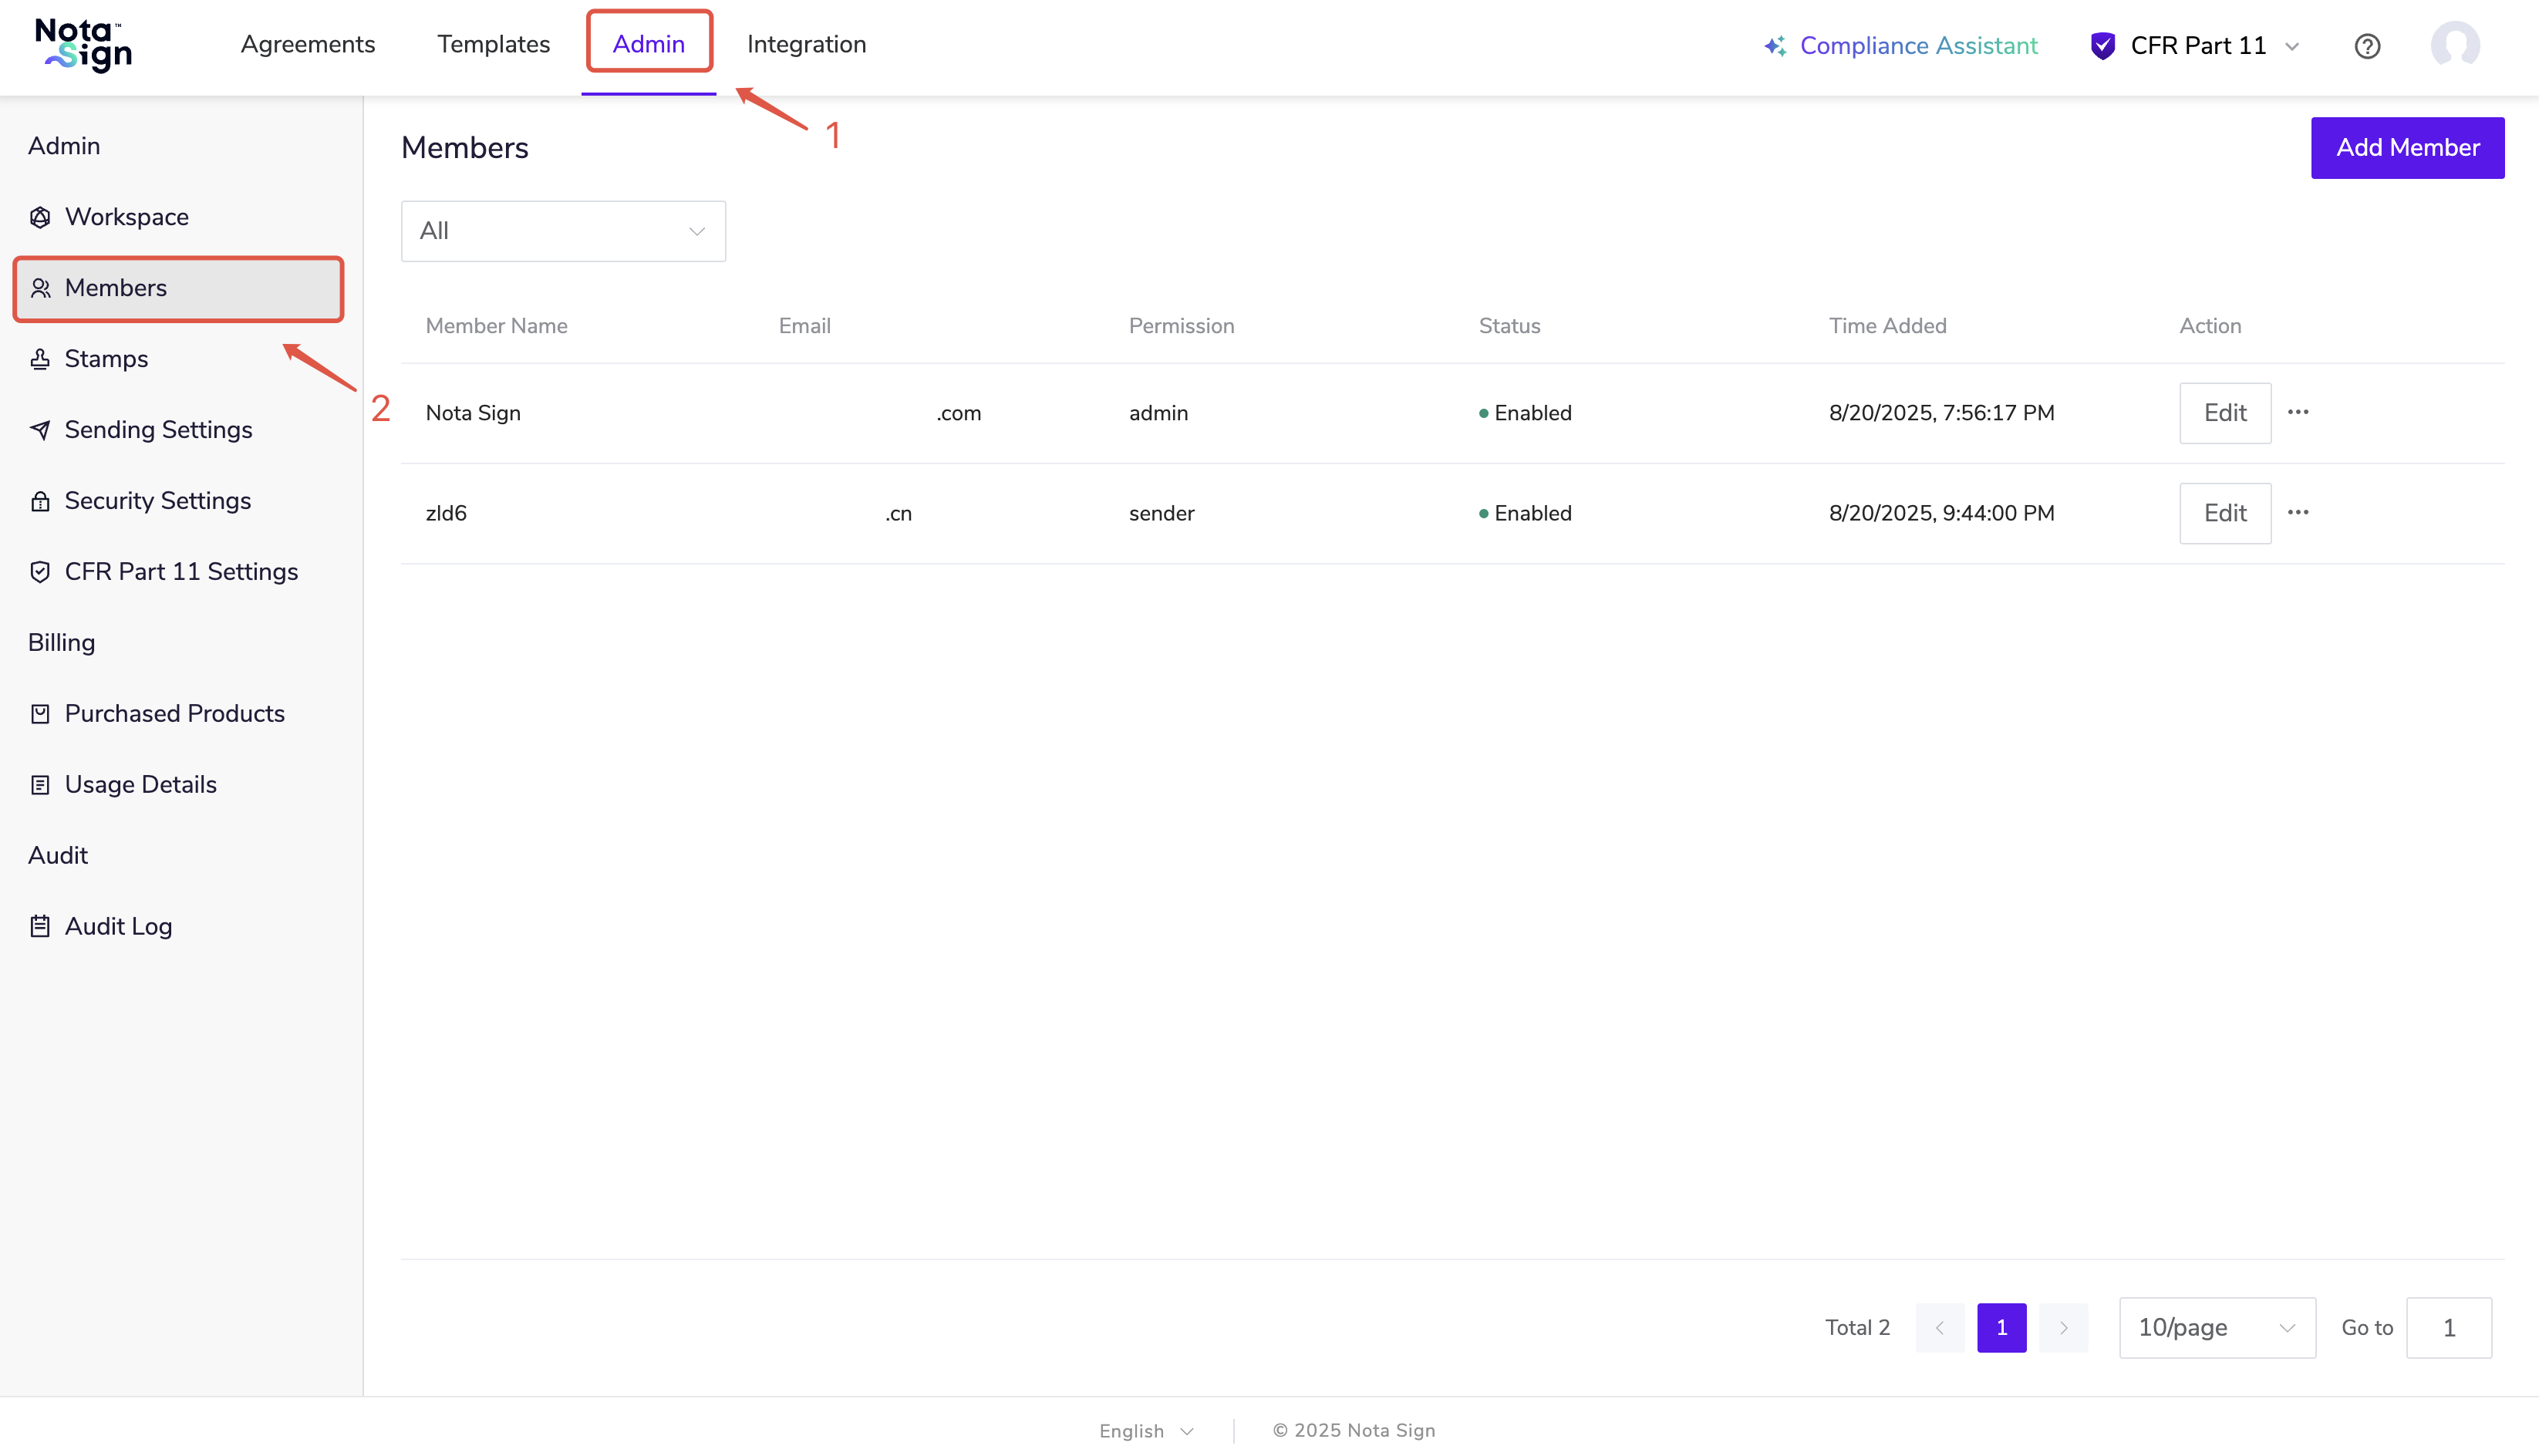
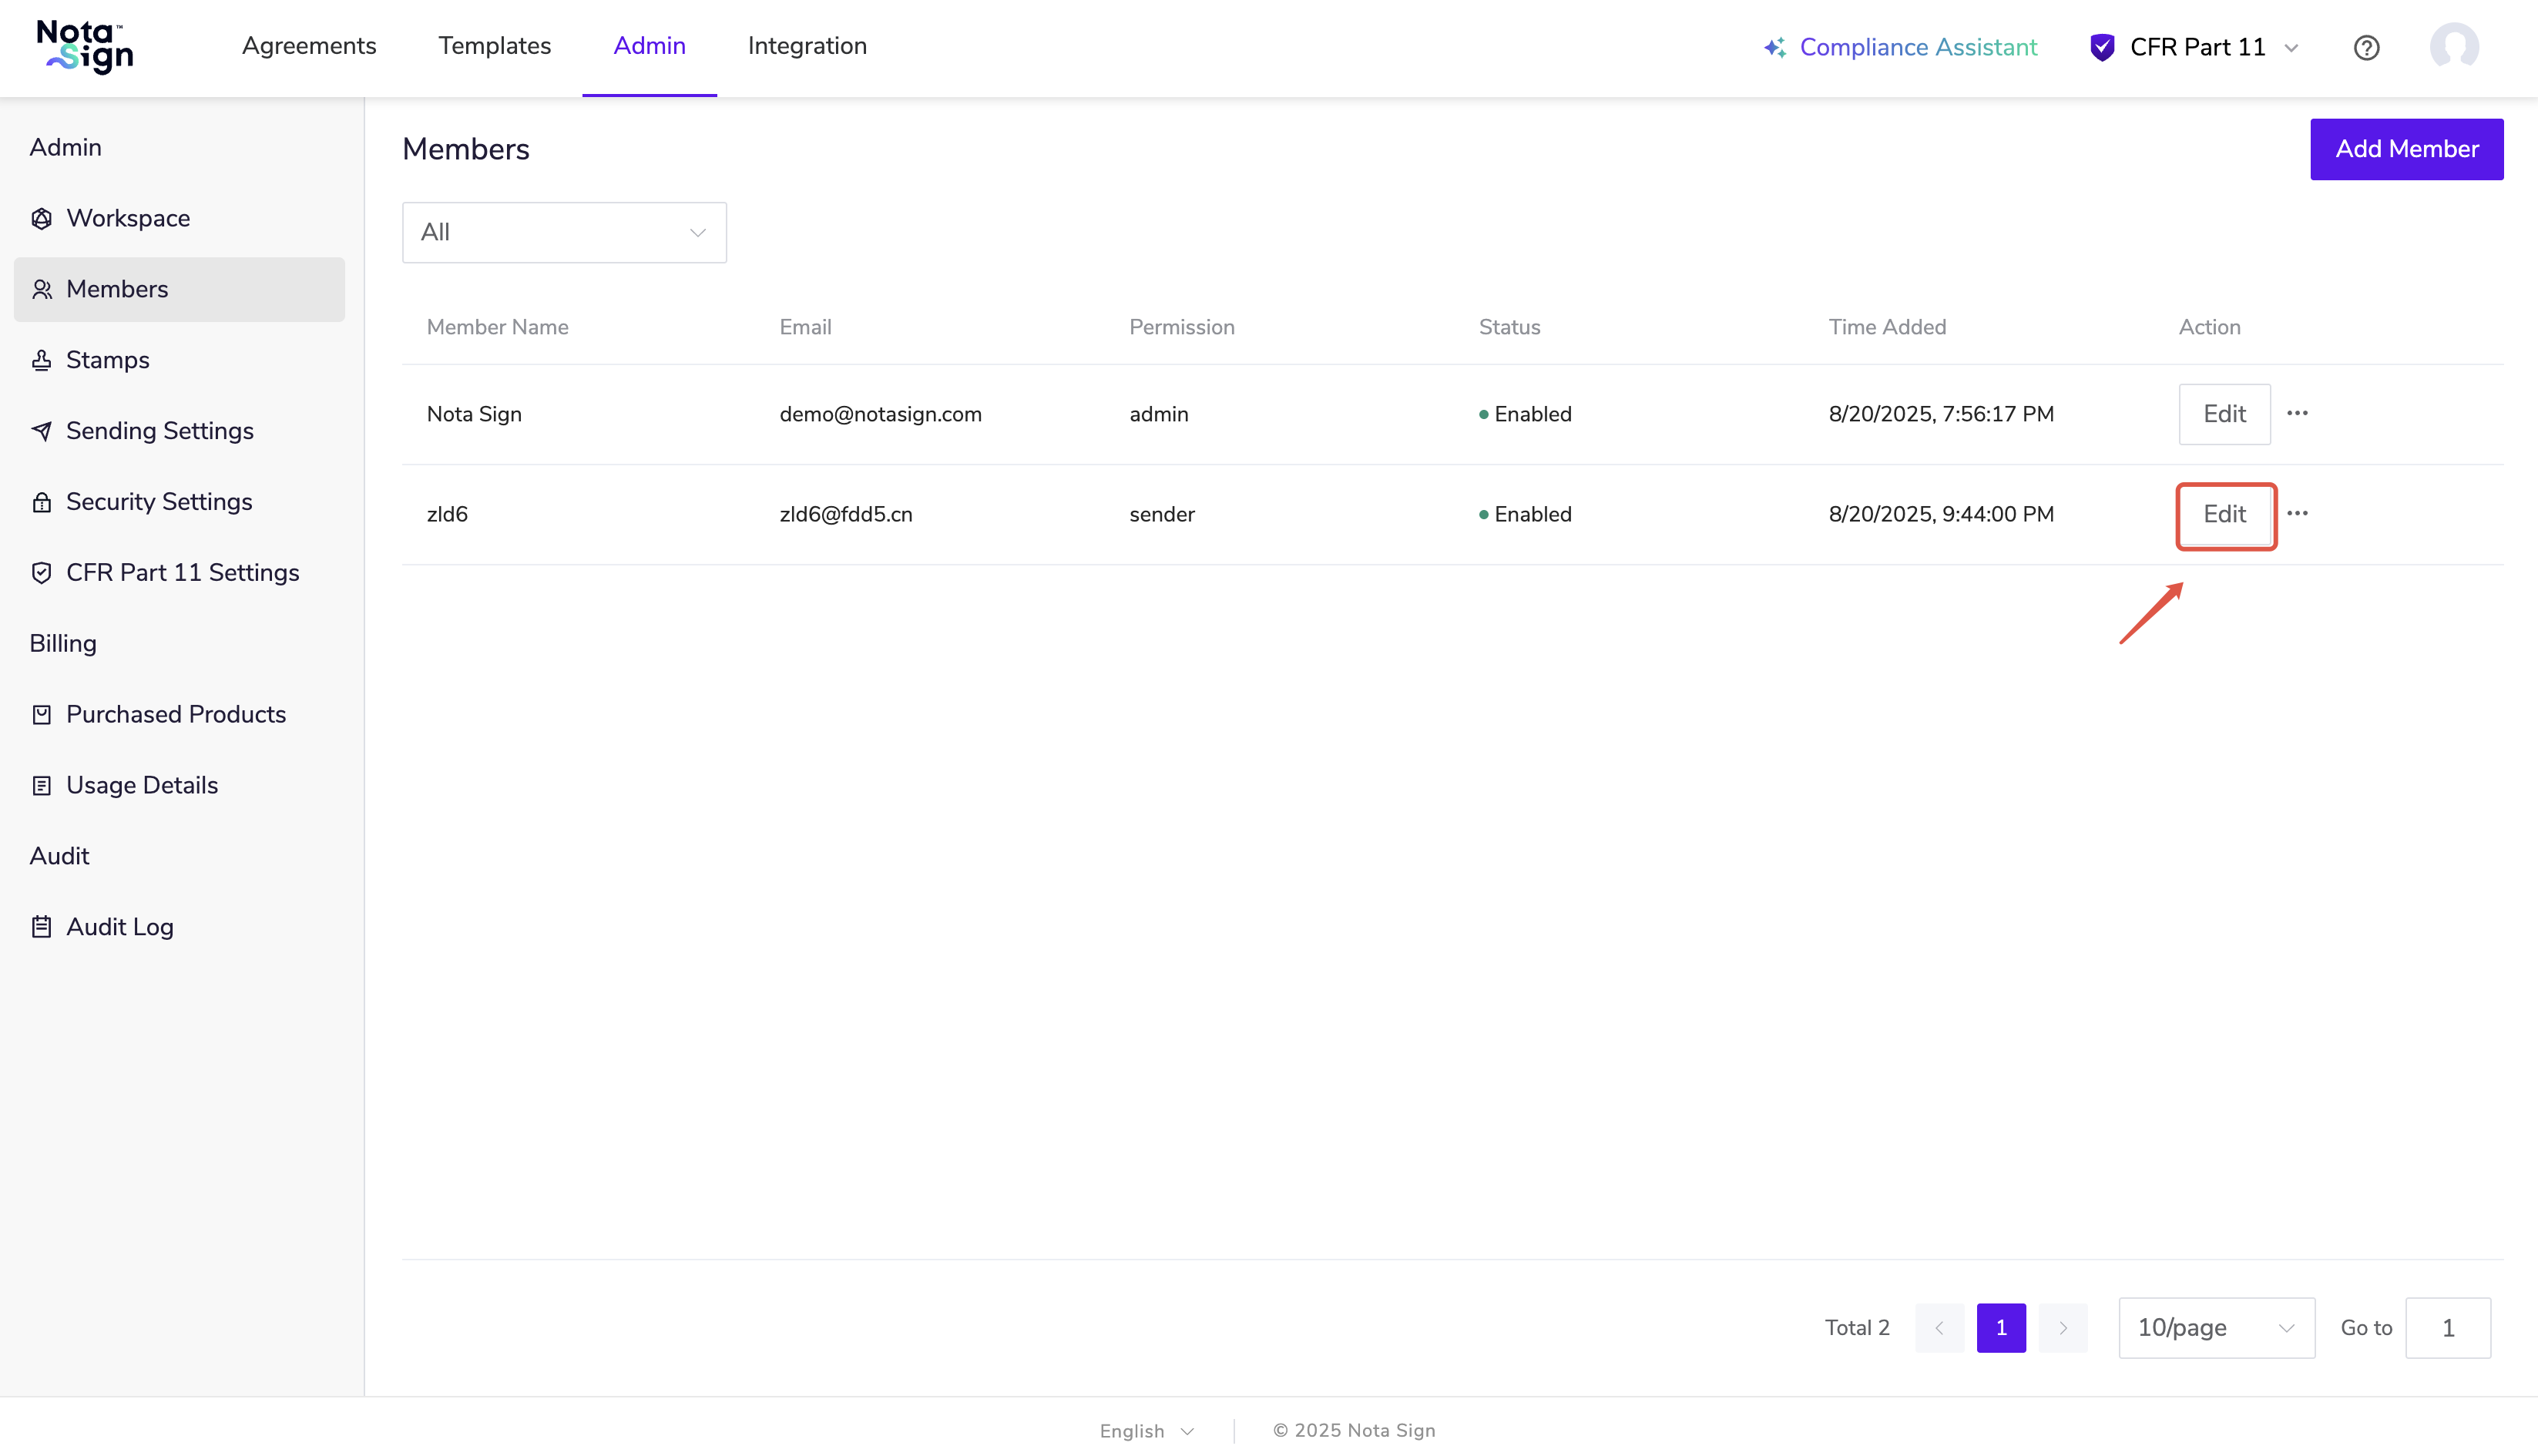
Edit Member Permissions
- Log in to your Nota Sign account, click Admin > Memebrs;
- Click Edit.
- In the pop-up Edit Member settings window, switch to the Permissions tab.
- Select the appropriate permission type and click Confirm to complete the configuration.

- Admin
Full access to manage users, settings, usage tracking, and integrations across the workspace.
- Sender
Can send and manage envelopes and templates but cannot access workspace-level configurations or integrations.
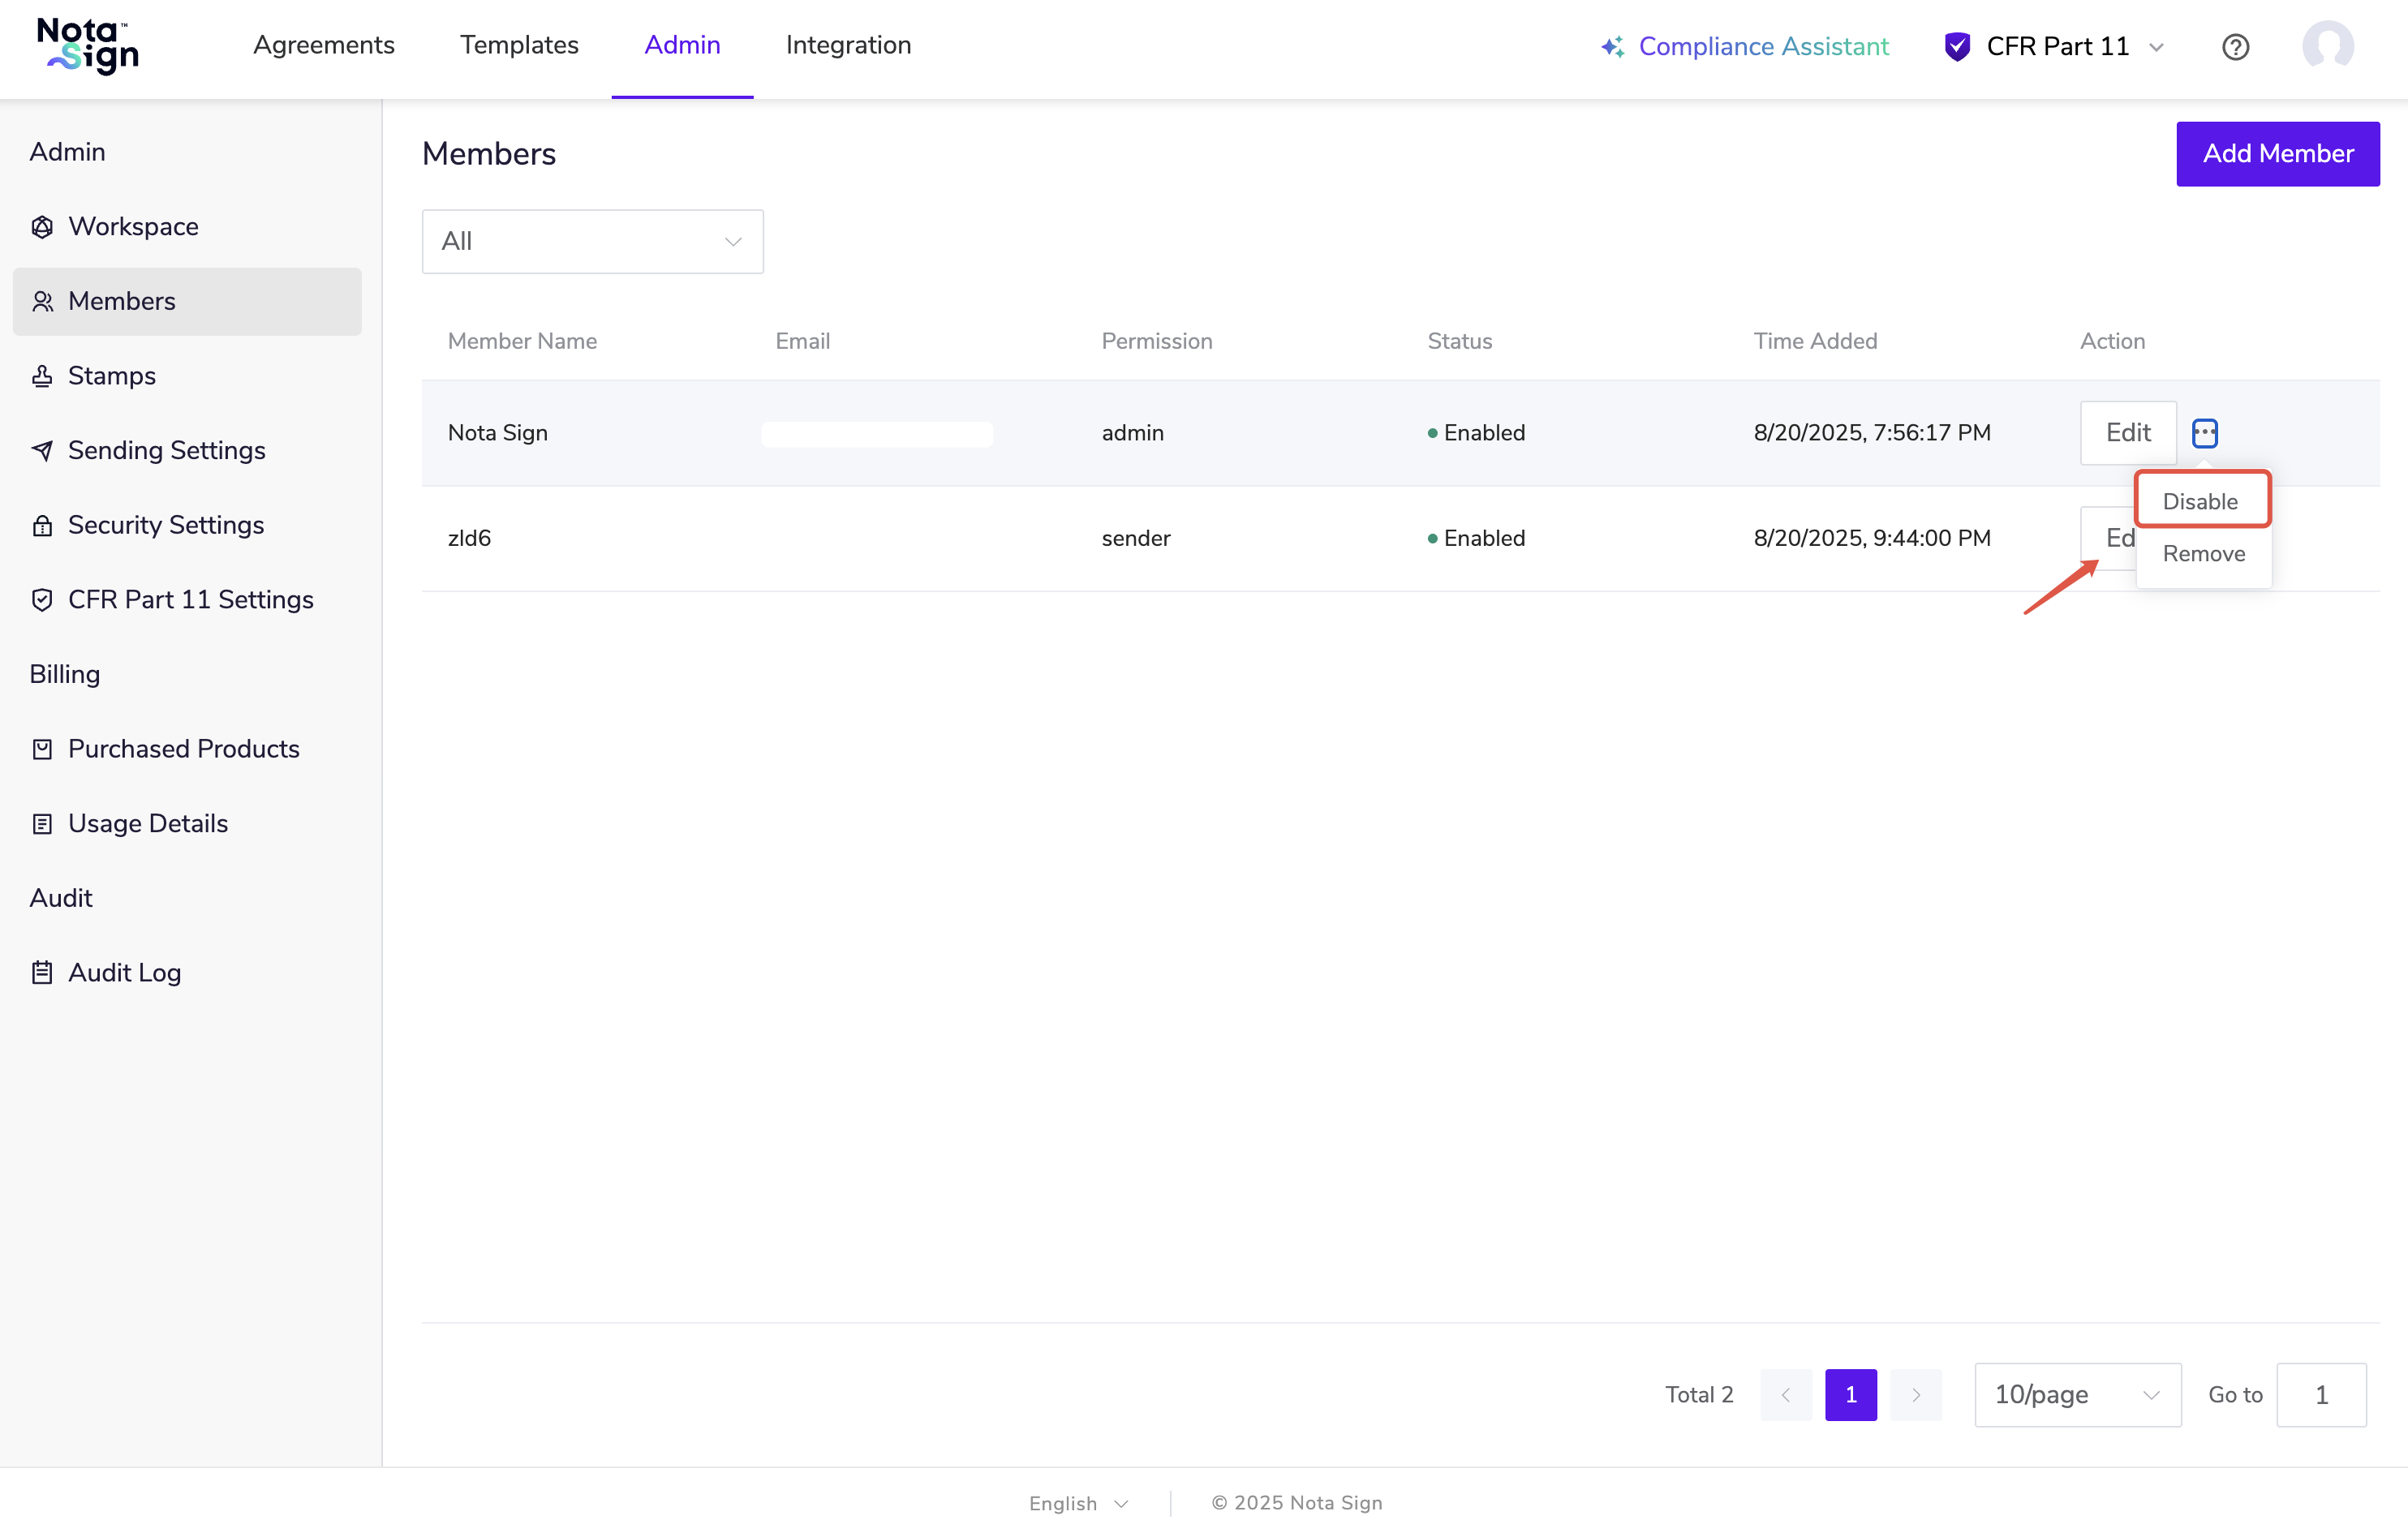
Disable Members
To revoke a member’s access from your workspace:
Click the More Options (⋯) icon at the far right.
Select Disable to deactivate and delete the member from the workspace.
⚠️ Disabling a member is permanent. The member will no longer have access to any workspace features or documents.
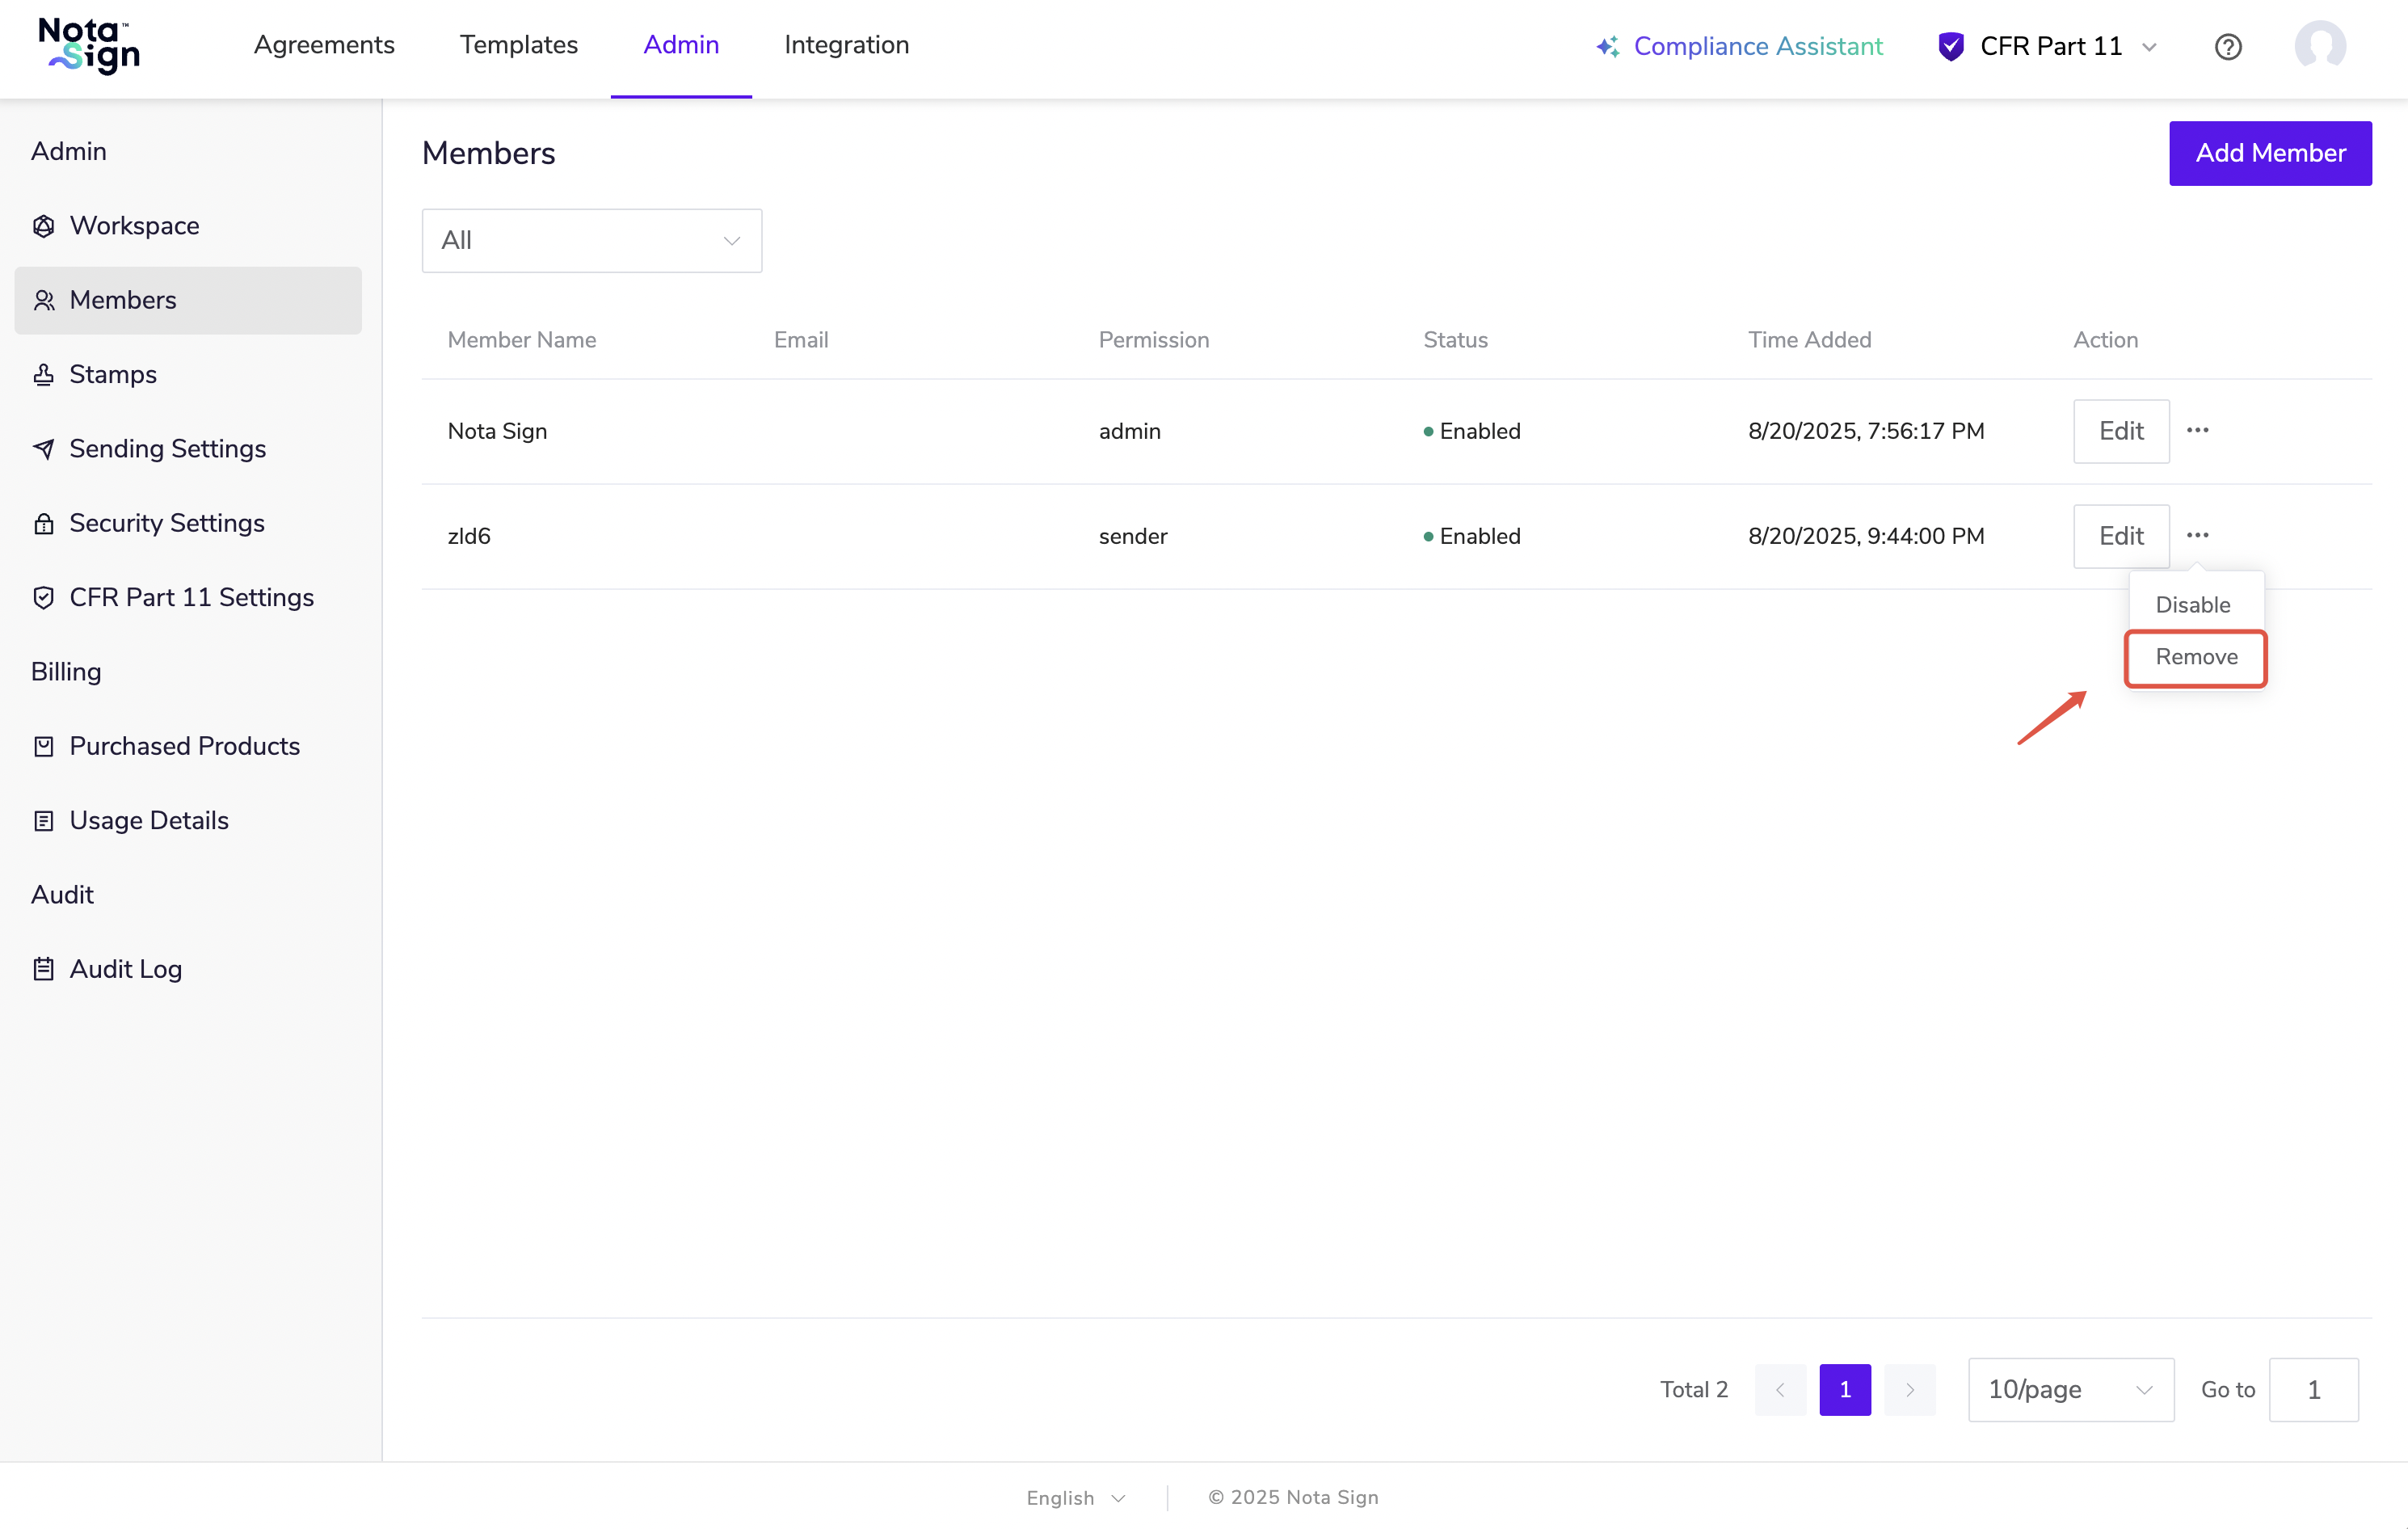
Delete Members
Click the More Options (⋯) icon at the far right.
Select Delete to deactivate and delete the member from the workspace.