
Quick Start
Welcome to Nota Sign! This guide will help you quickly get familiar with Nota Sign’s electronic signature service.
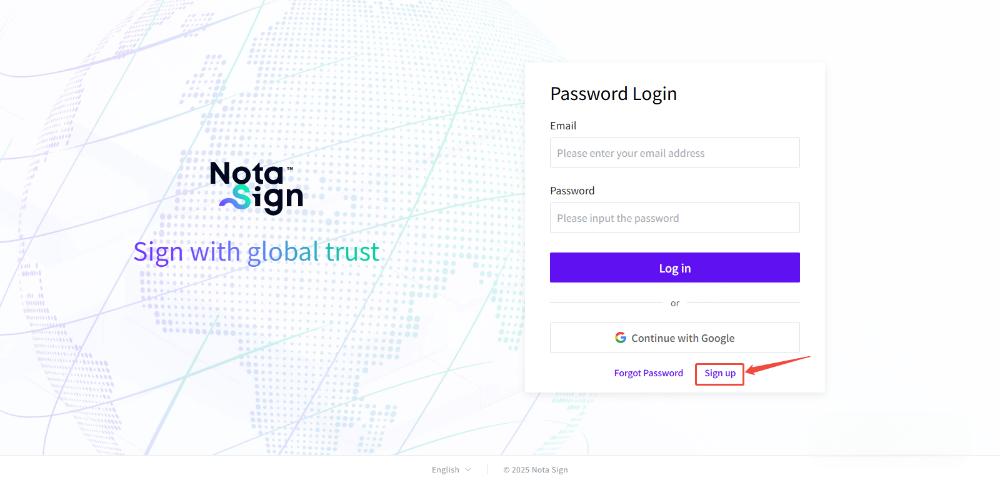
1. Sign Up and Log In
- Visit the Nota Sign registration page
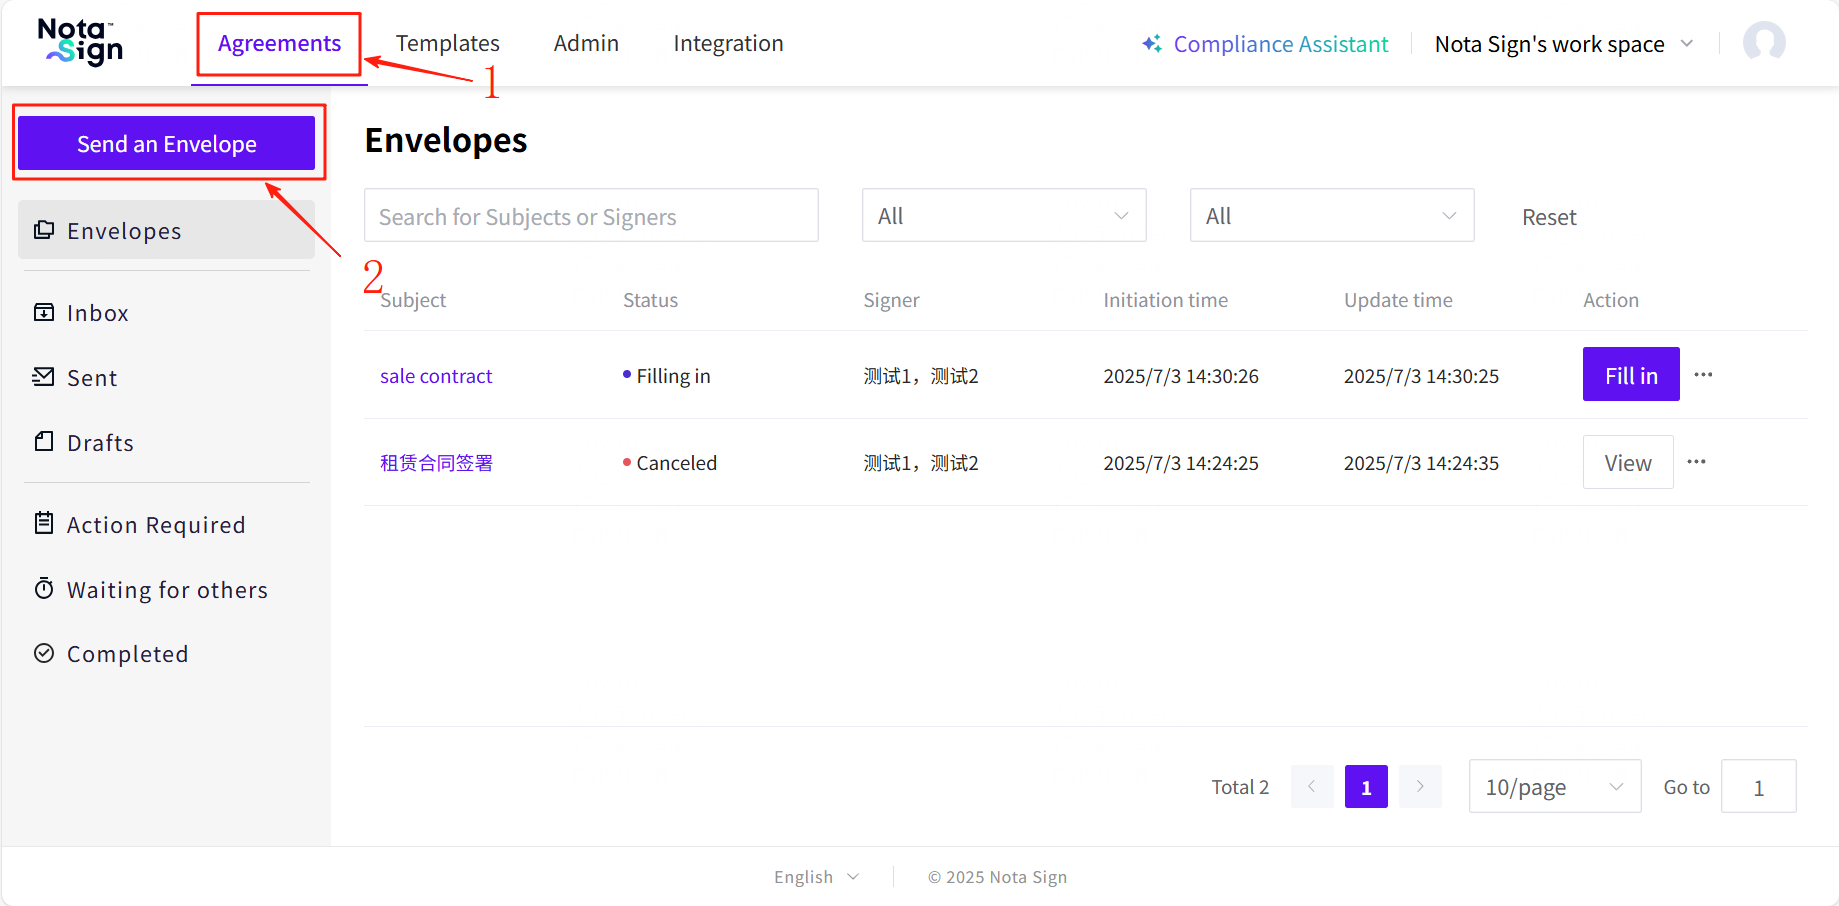
2. Create an Envelope and Sign Documents
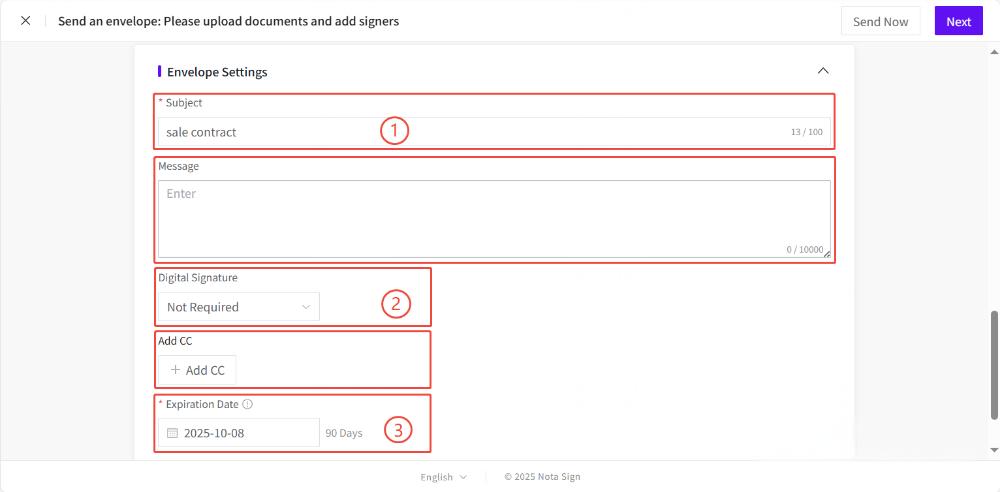
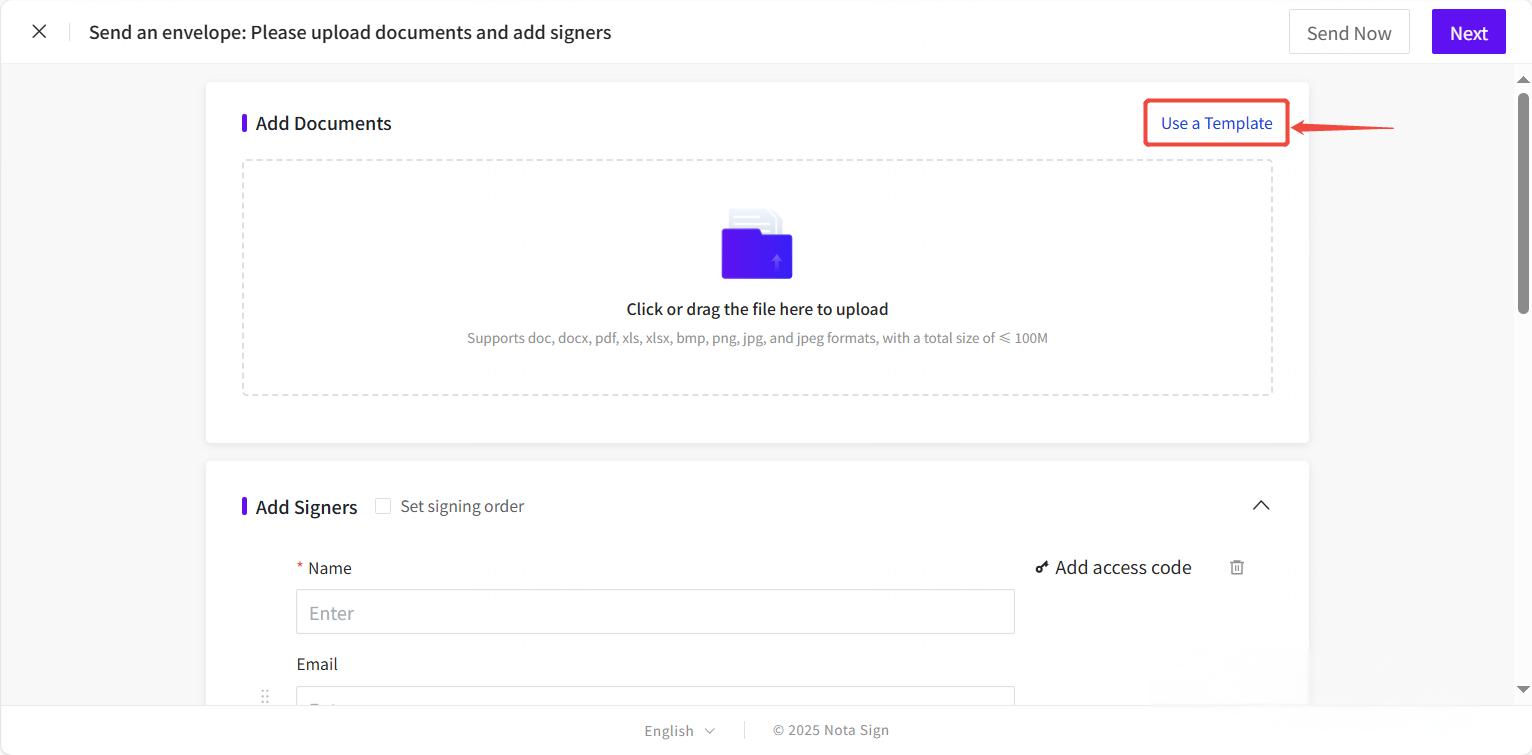
- Under the "Agreements" tab, click "Send an Envelope", then upload your documents to be signed, add a signer’s email and name, set the envelope title, and proceed to the next step
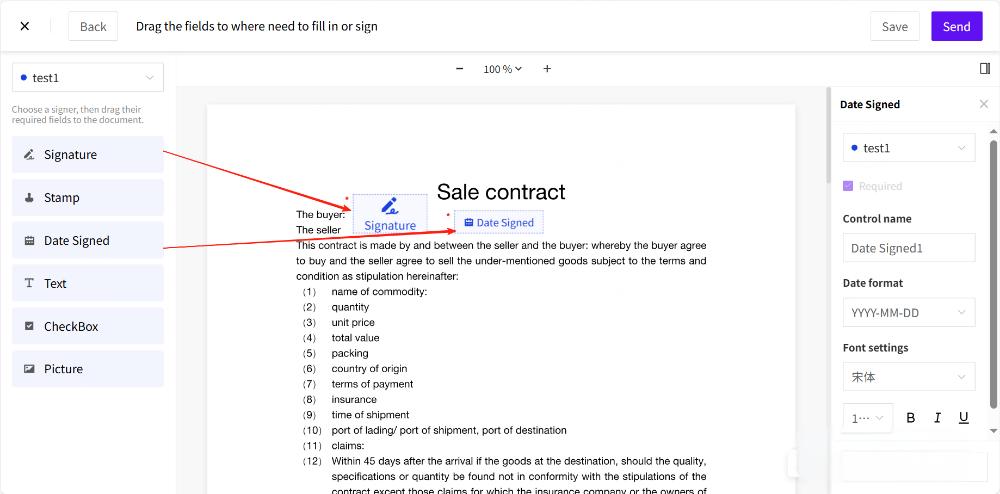
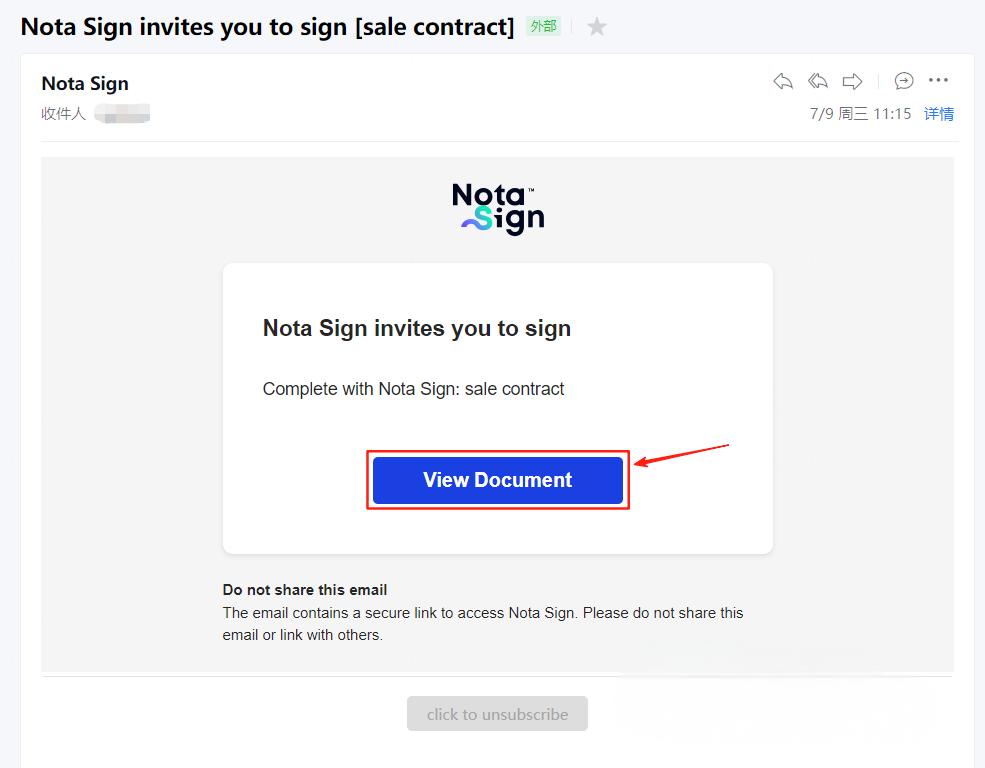
- Add signature fields for each signer on documents and click "Send". Once sent, each signer will receive the envelope in their email
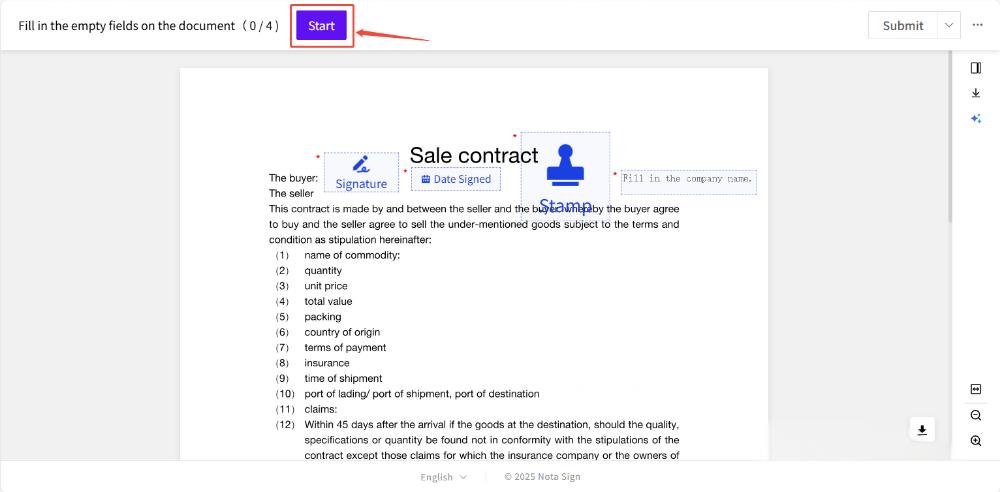
- When signers open the envelope, they will see the document awaiting their signature. Clicking the "Start" button at the top will automatically navigate them to their designated signing area
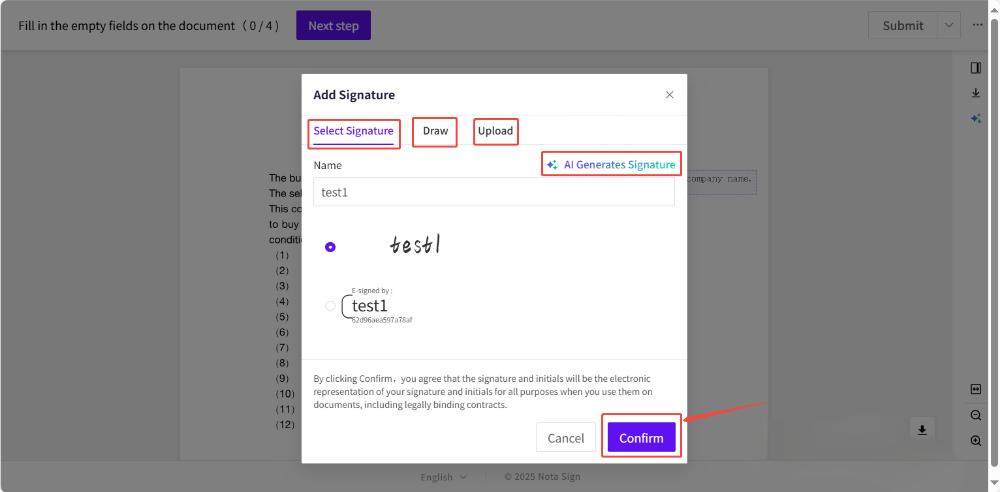
- Clicking the signature field allows signers to handwrite or auto-generate a personal signature. After selecting one of their signature, it will appear in the designated area on the document
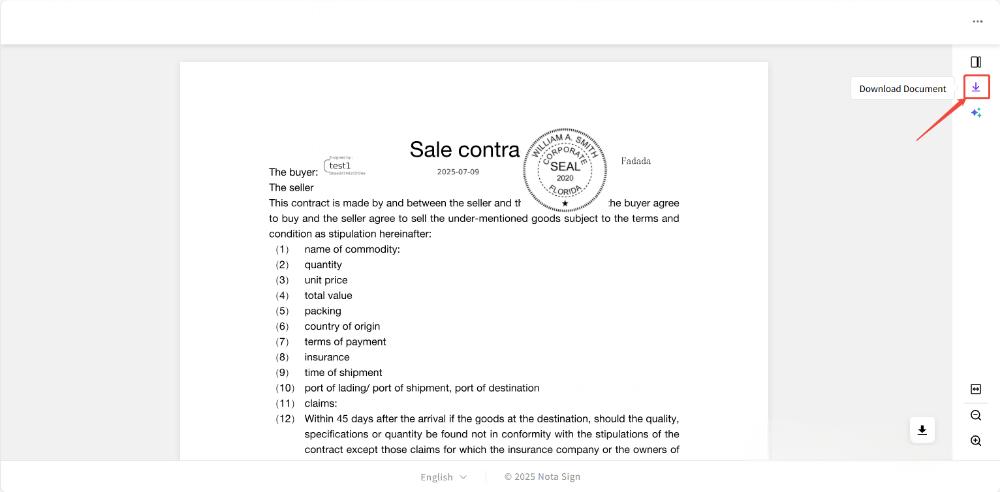
- Click "Submit" in the top-right corner to complete the signing process. Signers can then view the signed document

- Once the envelope is fully signed, both the sender and signers can view the signed document, download the signed document, and access the signing record report
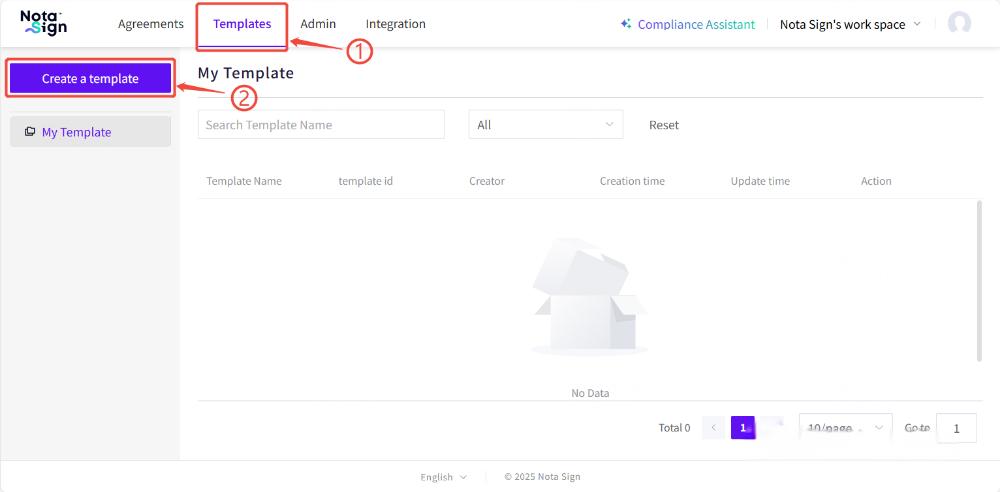
3. Create a Template and Send an Template-based Envelope
- Under the "Templates" tab, click "Create Template", then:
- Assign a name to the template,
- Upload the template document,
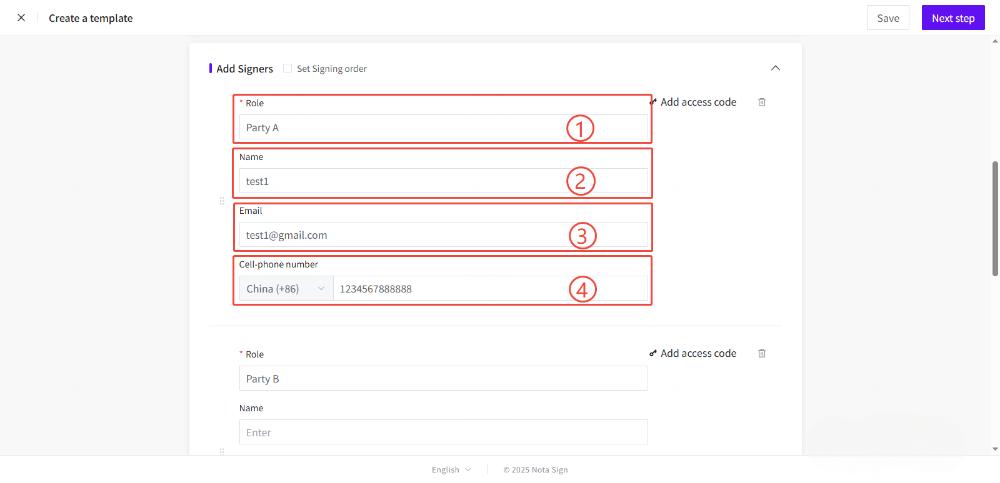
- Add signer roles (e.g., HR, Sales),
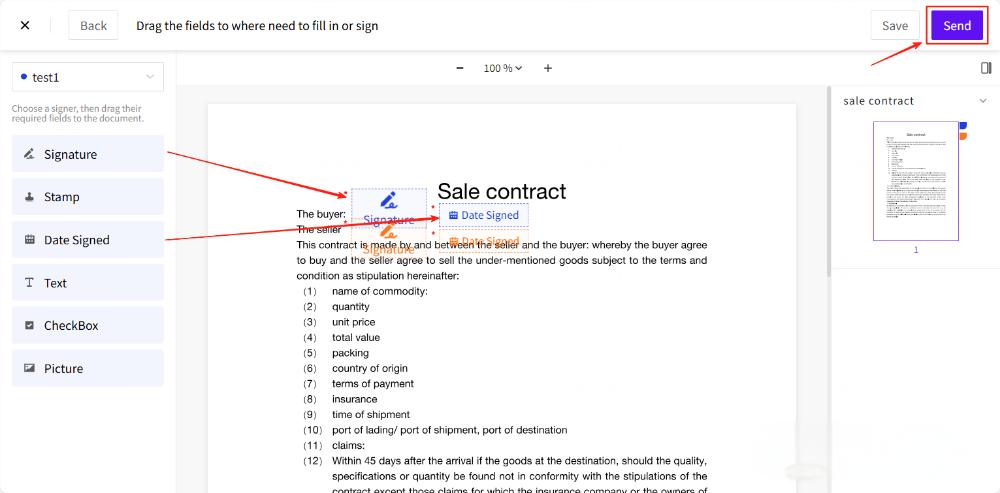
- Configure signature fields for each role,
- Click "Submit" to complete template creation;
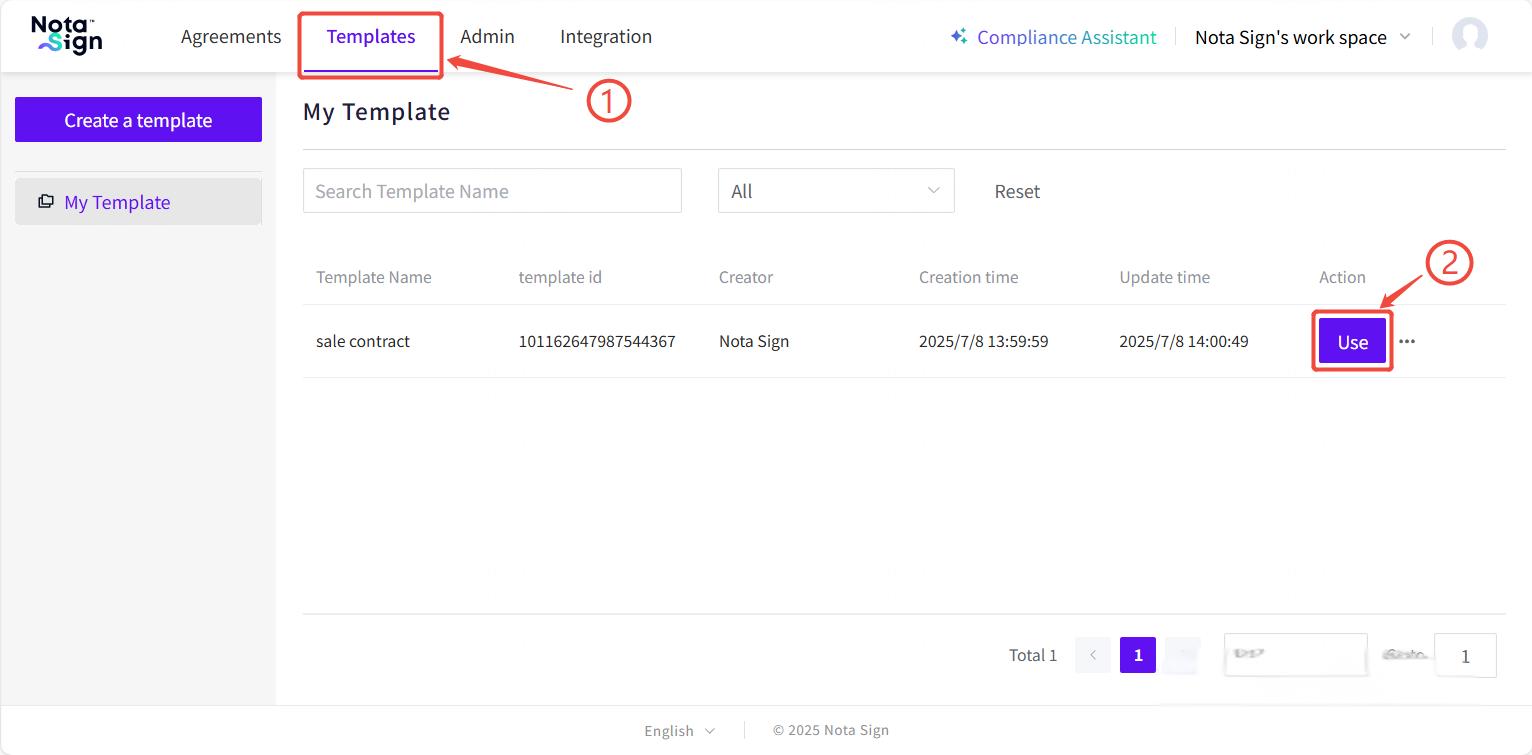
- After creating the template, you can click "Use" to quickly create an envelope. Alternatively, when you are creating an envelope, you can click "Use a Template" button and select an existing template to streamline the process.
4. Add and Manage Workspace Members
If you represent an organization, you may need to add members to your workspace. These members can share your subscribed plans and create/send envelopes in your workspace
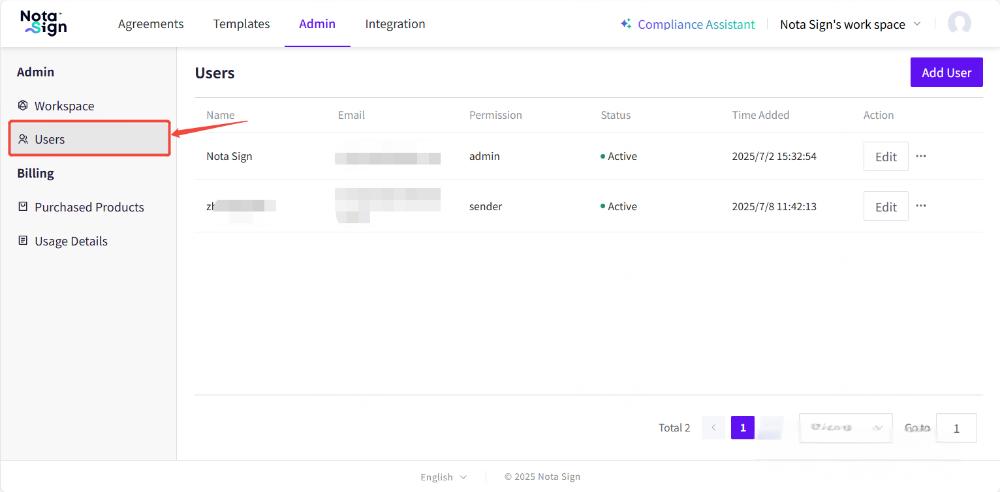
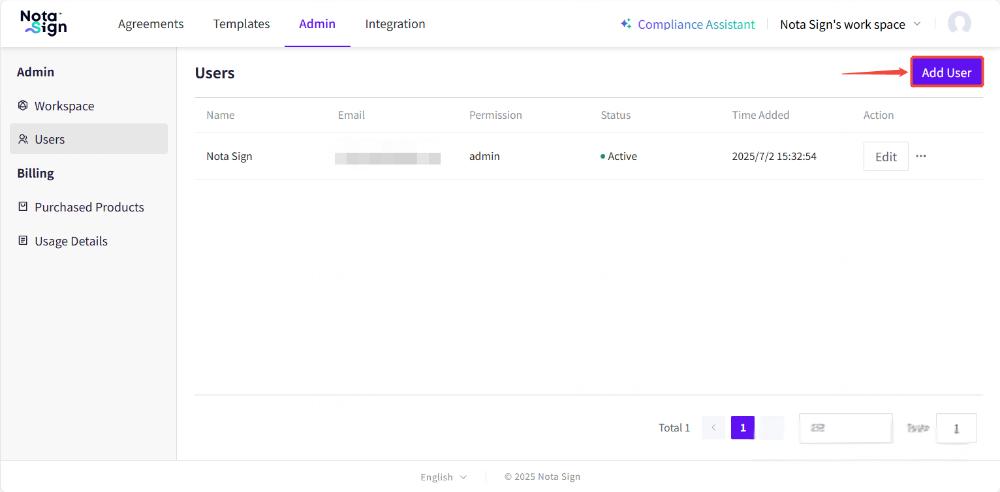
Under the "Management" tab, you can go to the "Member Management" page and click "Add Member".Then you need to enter the member’s name and email, assign their role, and send the invitation
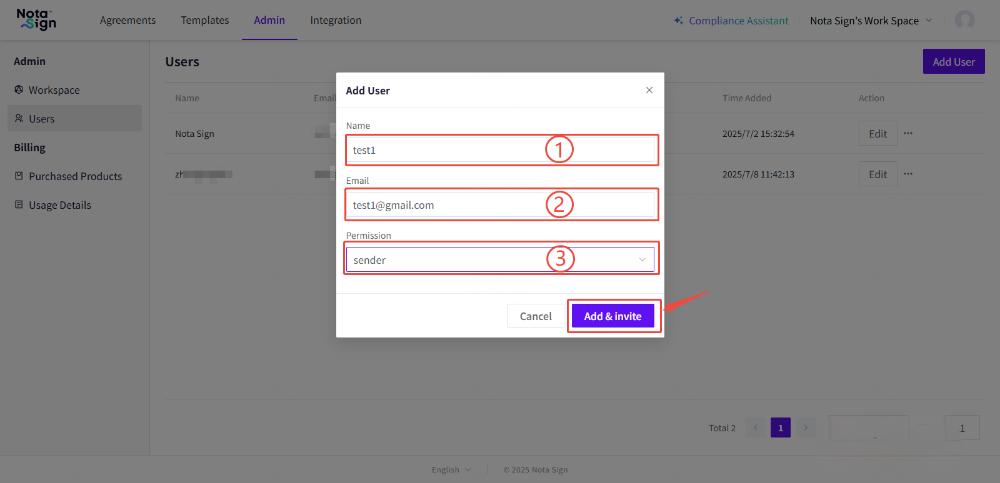
Member roles include:
- Sender: Can initiate envelopes,
- Admin: Can create templates and manage workspace configurations;
Invited members will receive an email with a registration link. Once registered, they will join your workspace.
5. Enable Integration Services and Create an Apps
If your business systems require integration with Nota Sign APIs, you must enable the integration service.
Navigate to the "Integration" tab. On your first visit, you need to submit your organization name, belonged country, and primary business details to apply for integration services.
Nota Sign’s backend support team will review your application and notify you via email within 48 hours.
If approved, you can go to the "Integration" tab, access "App Management", and create an app. This app serves as your system’s digital identity for accessing Nota Sign APIs.
You can invite your developers to test and debug the API integration. For detailed instructions, please refer the developers to the Nota Sign API Integration Guide.
Next, contact sales to subscribe to a plan.
Once your developers confirm successful API integration, provide them with the app’s configuration infos (including AppID, RSA Key Pair, User Code, and Base URL). Additionally, configure parameters in the app settings (e.g., IP Whitelist, Callback URL) as advised by your developers.
After subscribing to a plan and finalizing app configuration, click "Release" in the app details. Once released, your systems can call Nota Sign APIs normally. The usage can be monitored under "Management > Usage Details".
6. Additional Support
If you encounter issues, email support@notasign.com for assistance.
This guide is regularly updated. Last updated: June 30, 2025.