
Signing an Advanced Electronic Signature (AES) Envelope
Video Tutorial:
Part 1. Accessing the Envelope
You can access the envelope through two main methods:
Option 1: From the Nota Sign Dashboard
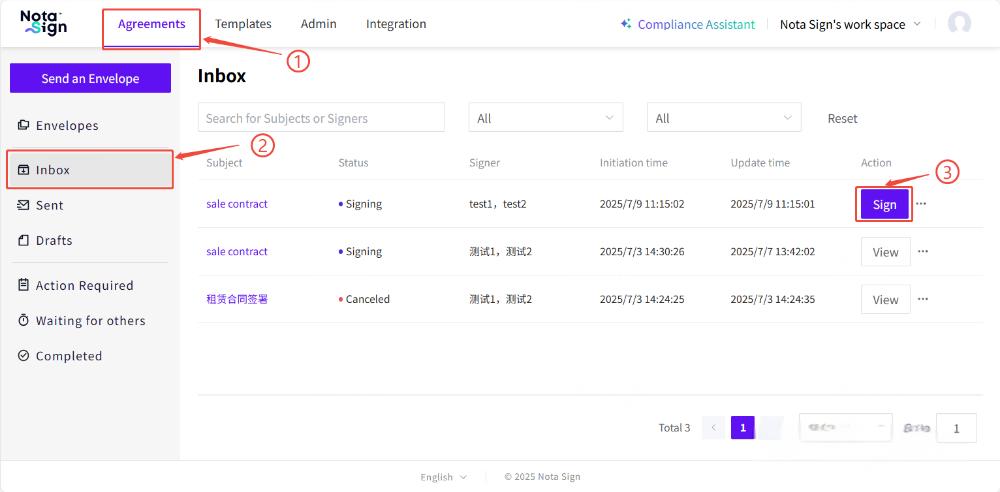
Log in to your Nota Sign account.
Navigate to Agreements.
Click on the Inbox tab in the left sidebar.
Locate the envelope you need to sign and click Sign.
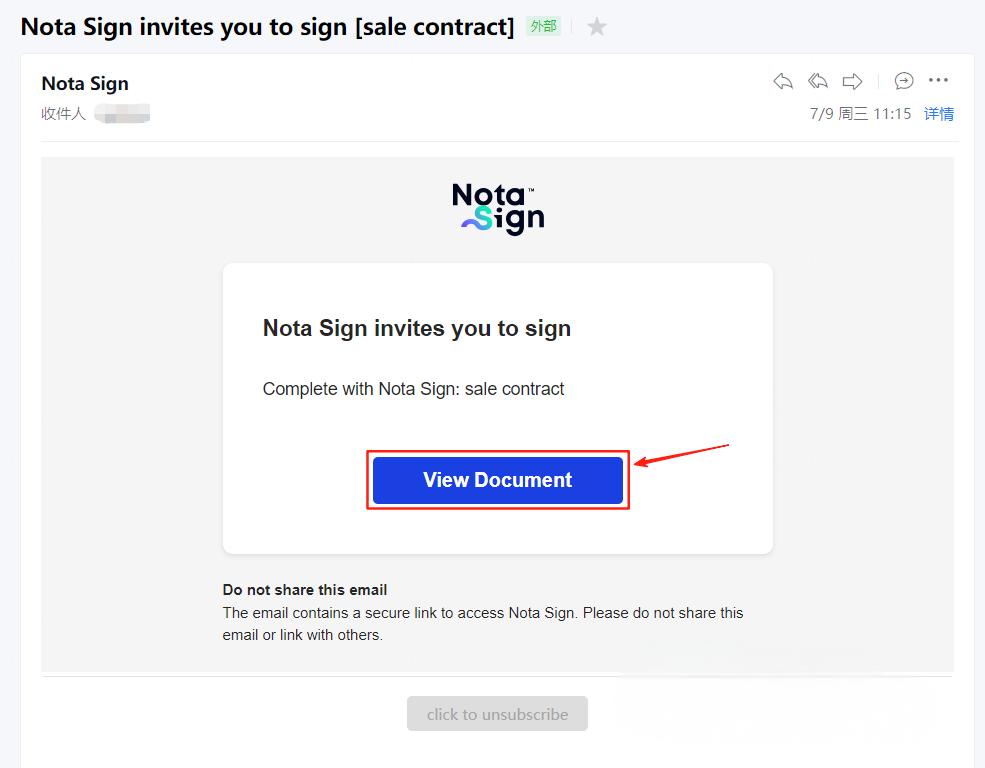
Option 2: From the Email Invitation
Open the signature request email sent by Nota Sign.
Click View Document to open the envelope directly in your browser.
Part 2. Sign the AES Envelope
Step 1: Access the Envelope
Whether the recipient type is Electronic Signature or Digital Signature, simply click the signing link to access the envelope (no login required).
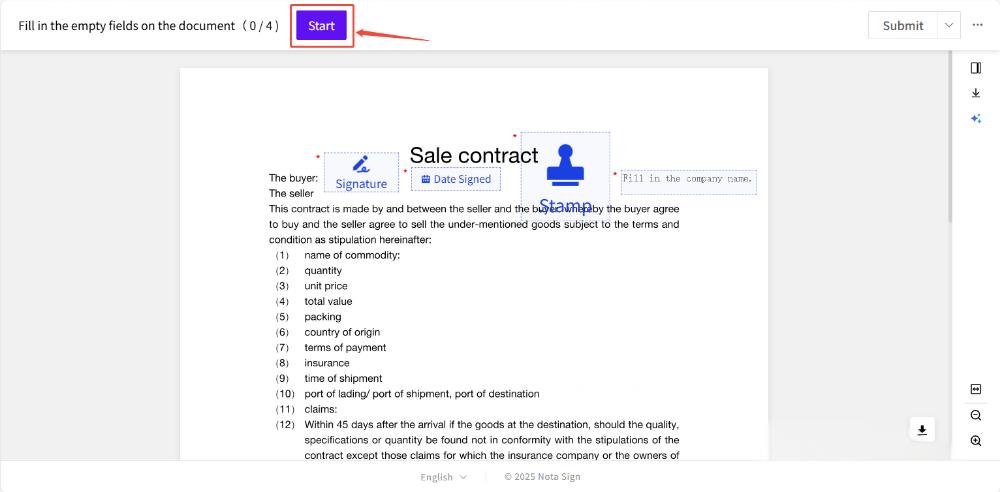
Step 2: Begin Signing
- Review terms and click Agree.

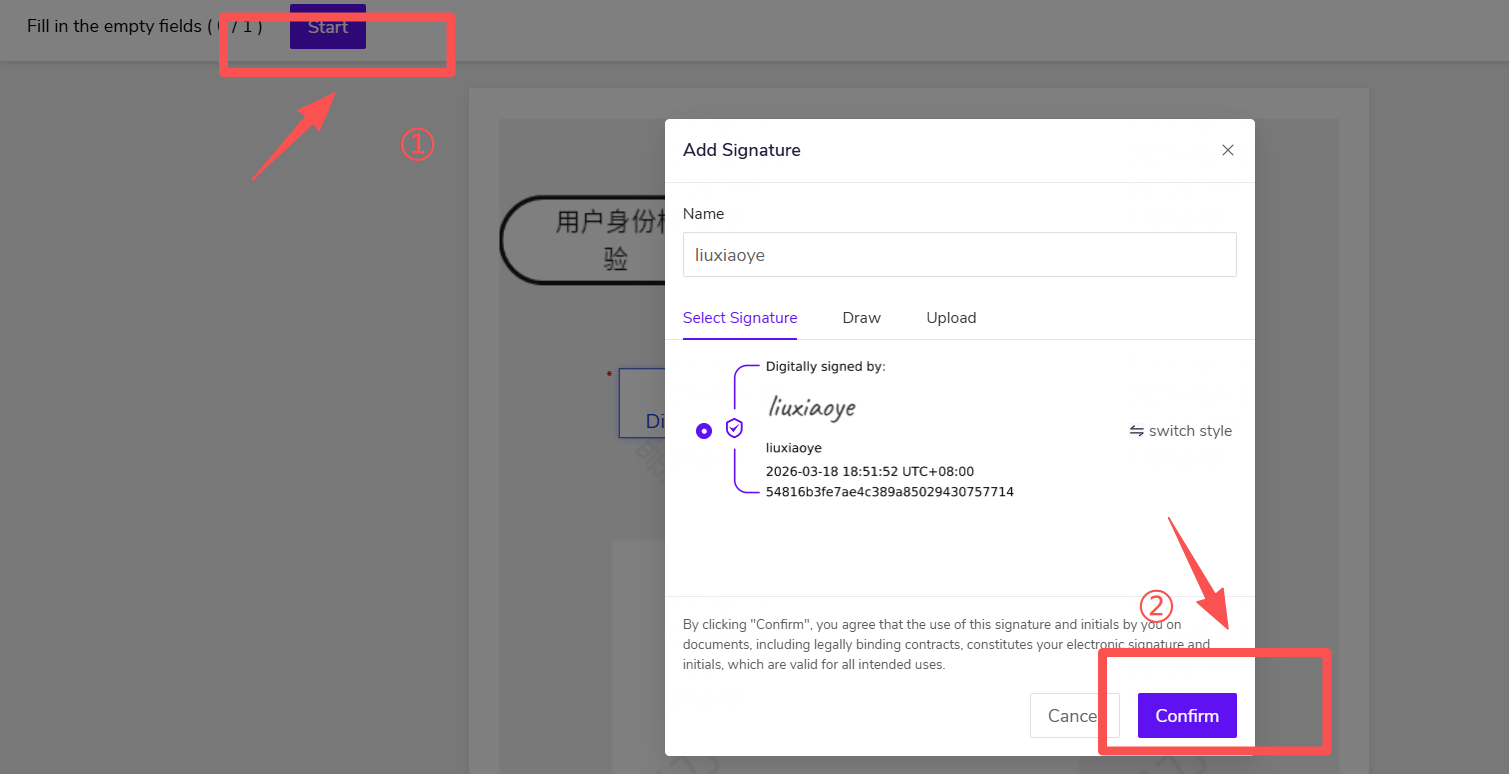
- Click Start to initiate the signing process.
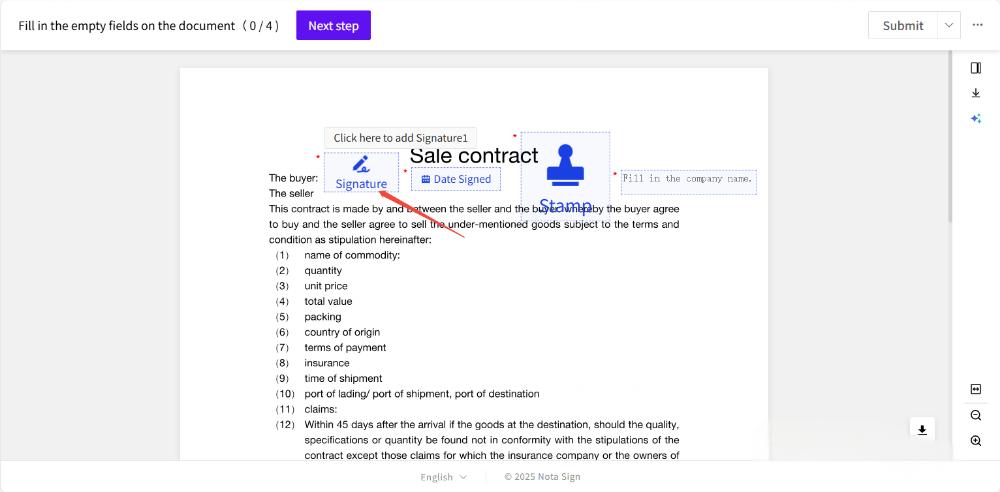
Step 3: Complete Required Fields
The system only displays the signature fields and form fields pre-configured by the sender.
Recipients cannot manually add new controls—they can only fill in or sign within the designated areas.
Click on each highlighted field and complete it as required. Supported field types include:
1.Signature: Click the Signature field to insert your signature. You can choose from the following options:
Default Signature Style, Handwritten Signature (draw via mouse/touch), and Upload Signature Image.

2.Date: When the sender pre-configures a "date field" for the recipient, the system will automatically populate it with the current date when the recipient accesses the signing page.
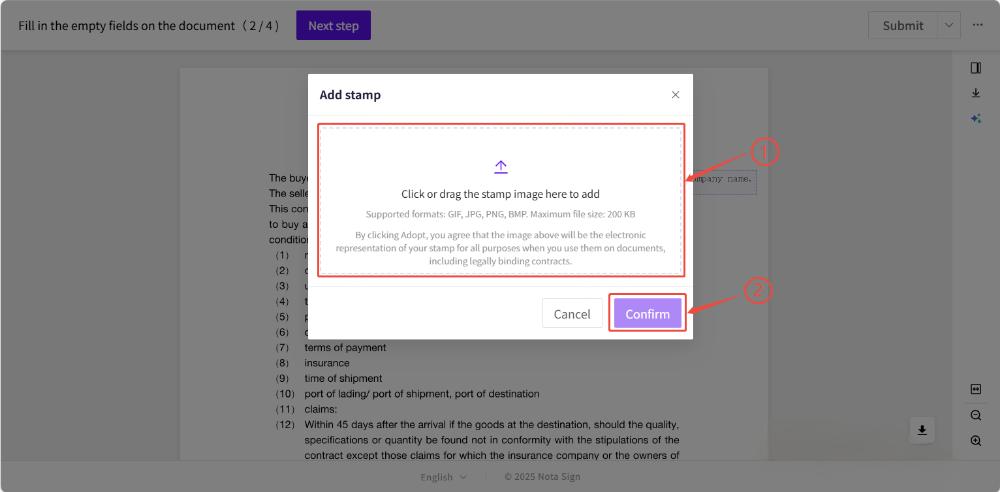
3.Stamp: Click the Stamp field to upload a compliant company or personal stamp.
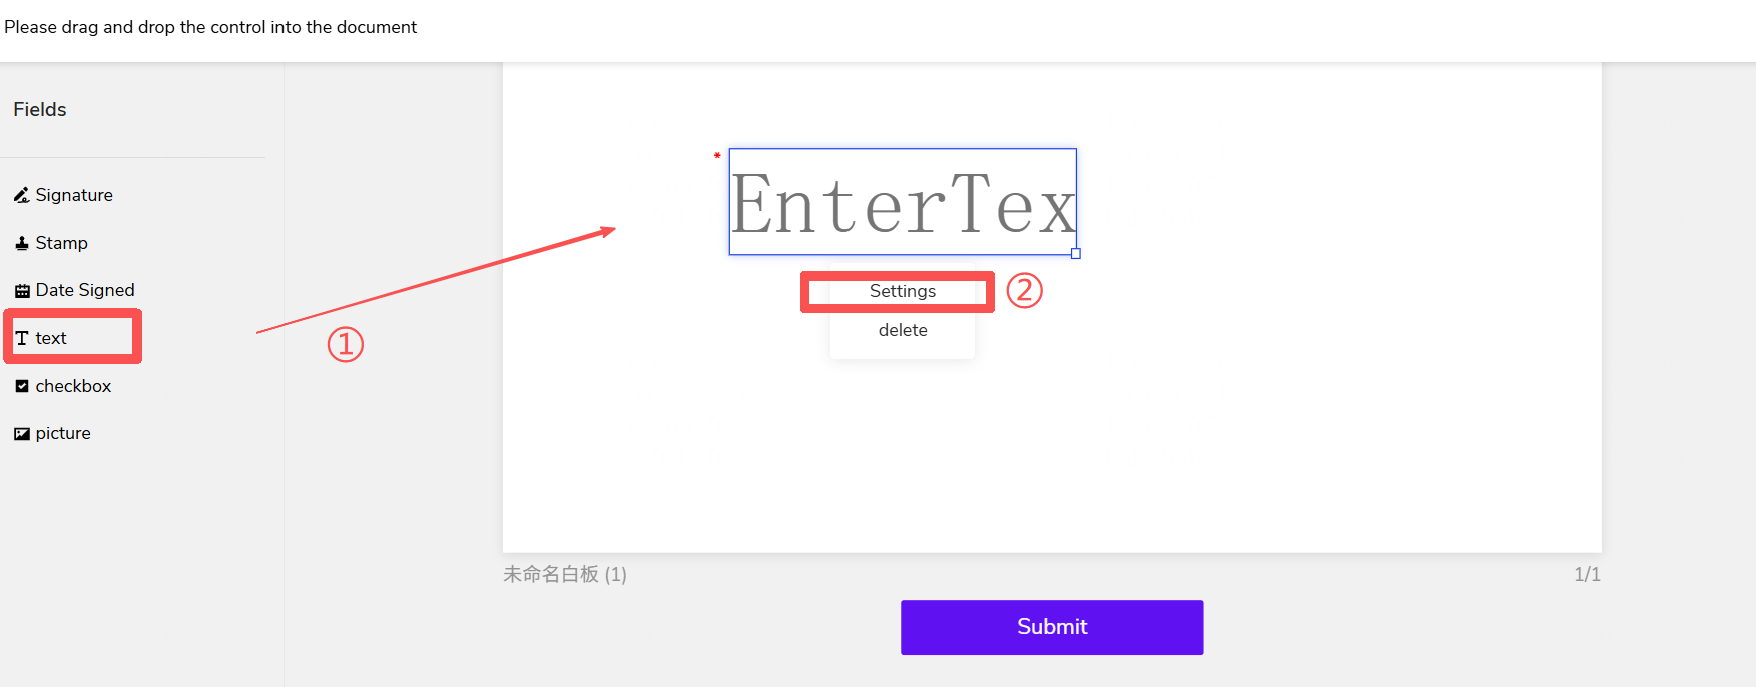
Text Control: Used to fill in key information such as name, address, serial number, etc. Please fill it out accurately according to the prompts preset by the sender.
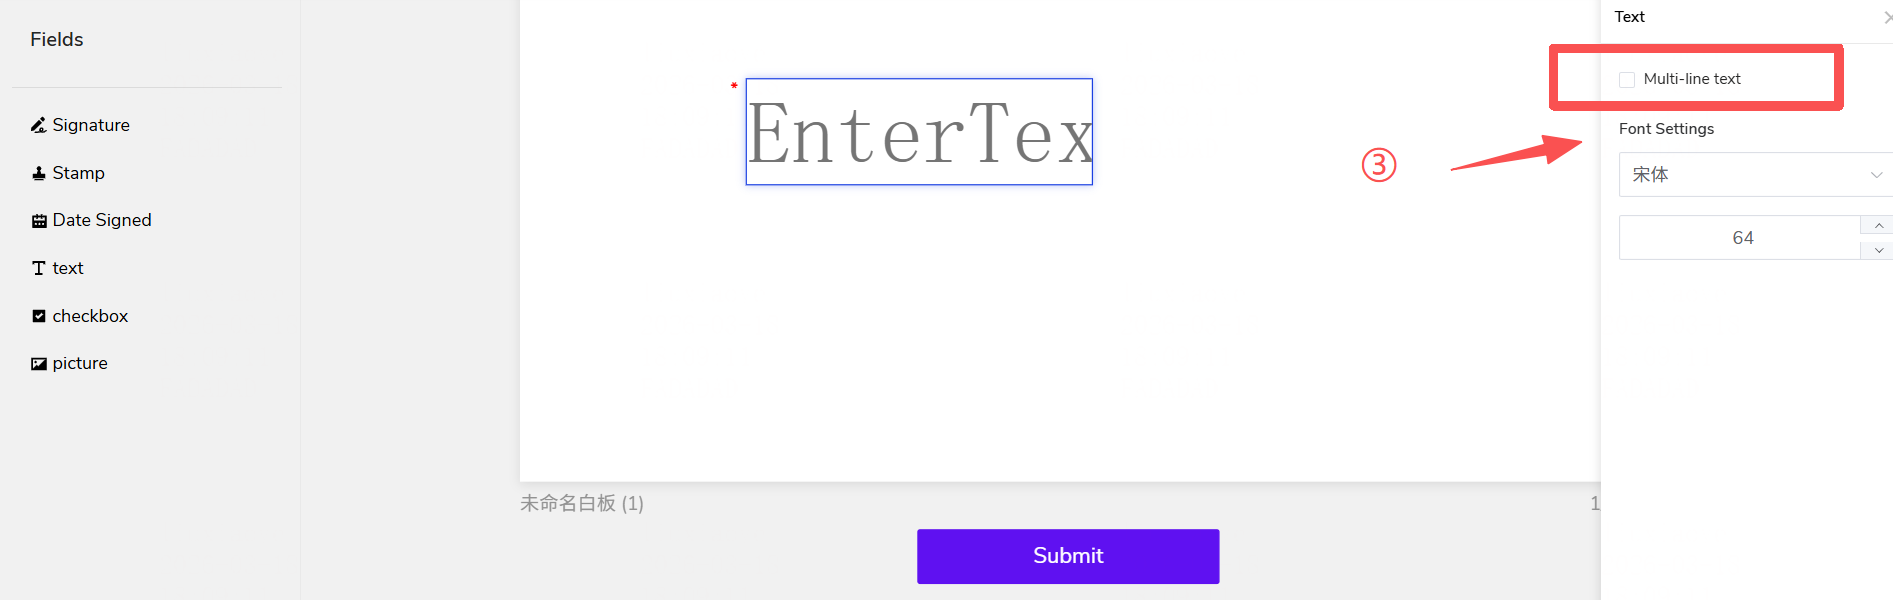
After dragging the "Text" control from the left menu onto the document, you can adjust its properties in the settings menu on the right: If "Multi-line Text" is not checked, the control will default to single-line mode; if "Multi-line Text" is checked, the control will allow the signer to press Enter for line breaks and input longer paragraphs.
Checkbox: Click a Checkbox field to mark it as selected.
Image Upload: Use this field to upload required supporting images.
Attachment: Clike the Attachment to upload supplementary documents related to the envolope.
-For recipients assigned both form-filling and signing tasks, all actions can be completed with a single submission. Please review all required fields before submitting to ensure a smooth signing process.-
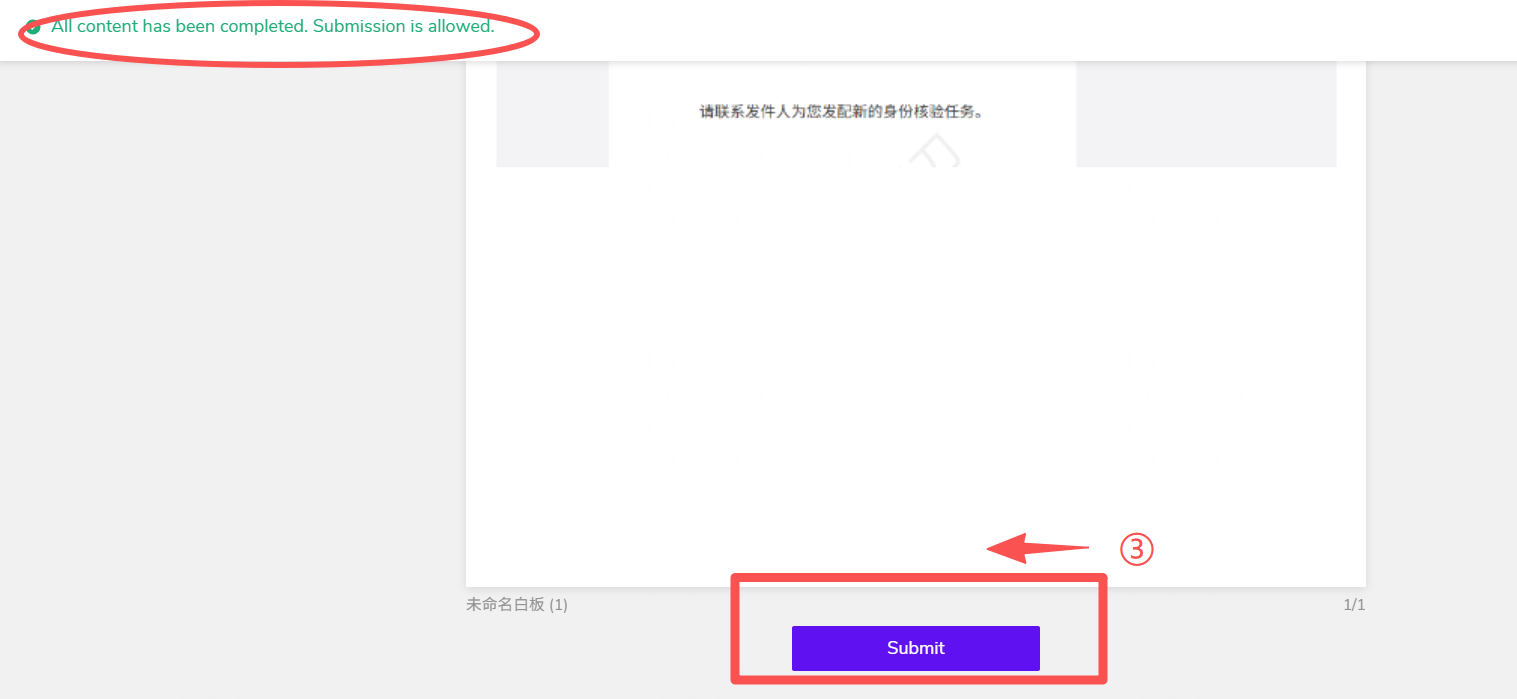
Step 4: Complete and Submit Signing
If the recipient type is Electronic Signature, click [Submit], and the system will automatically submit and complete the signing process.

If the signature type is Digital Signature, a CA selection pop-up window will appear after submitting the signing. Select the signing method and click [Confirm].
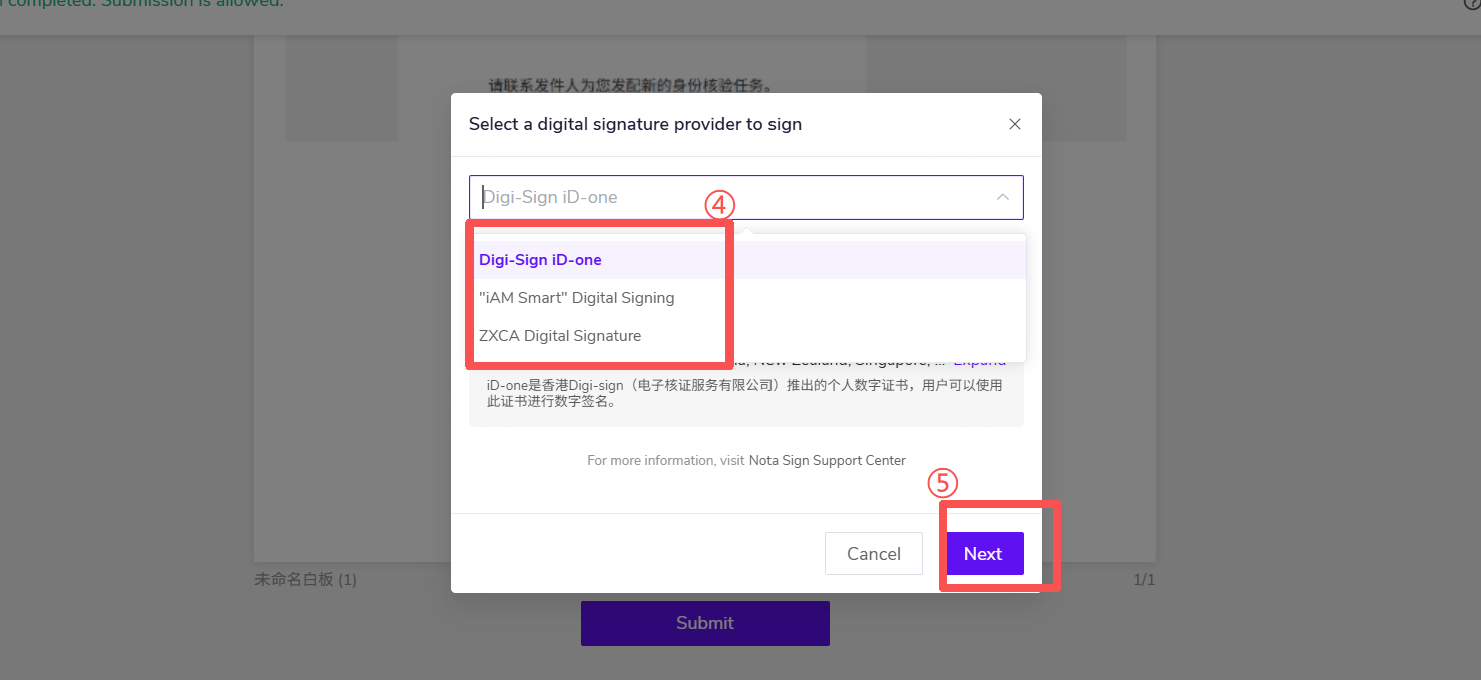
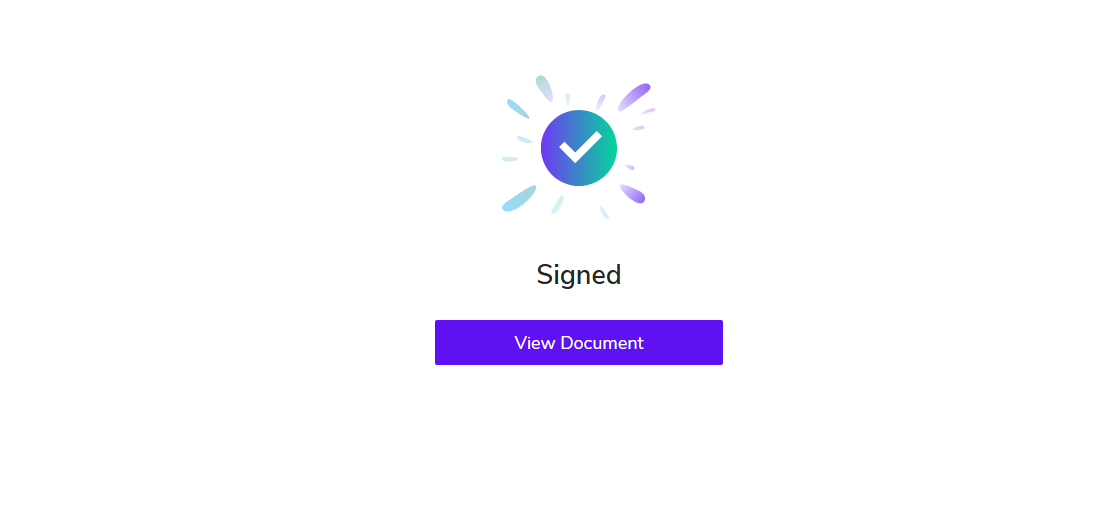
After selecting the corresponding CA authority, authentication will be performed based on email/phone number, requiring you to enter a verification code for verification. If there is a certificate under the corresponding account, you will be redirected to the signing success page after authentication.
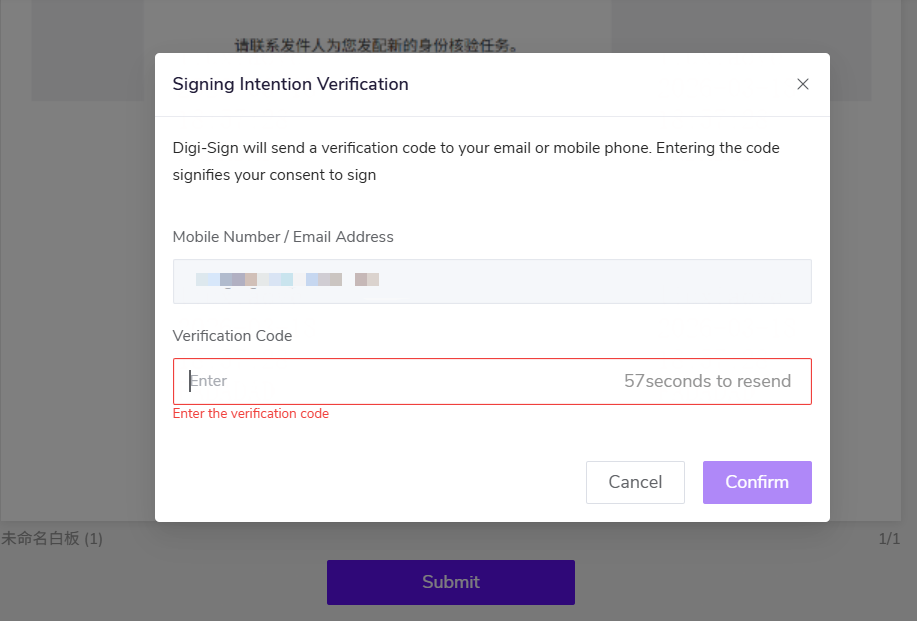
If there is no certificate, proceed with the certificate application process of the corresponding CA authority. Refer to the following links for specific certificate application processes:
Apply for iD-One Digital Certificate
Apply for ZhiXin Personal Digital Certificate
Apply for iCorp-One Digital Certificate
Apply for ZhiXin Enterprise Digital Certificate
After all recipients have completed signing, they will receive a notification of completion and can view the signing records in the [Signing] page at any time.