
Managing Personal Signature
You can easily create, edit, or delete your electronic signatures through the My Signature page in Nota Sign. This guide outlines the steps to manage your signatures for seamless document signing.
Access the Signature Management Page
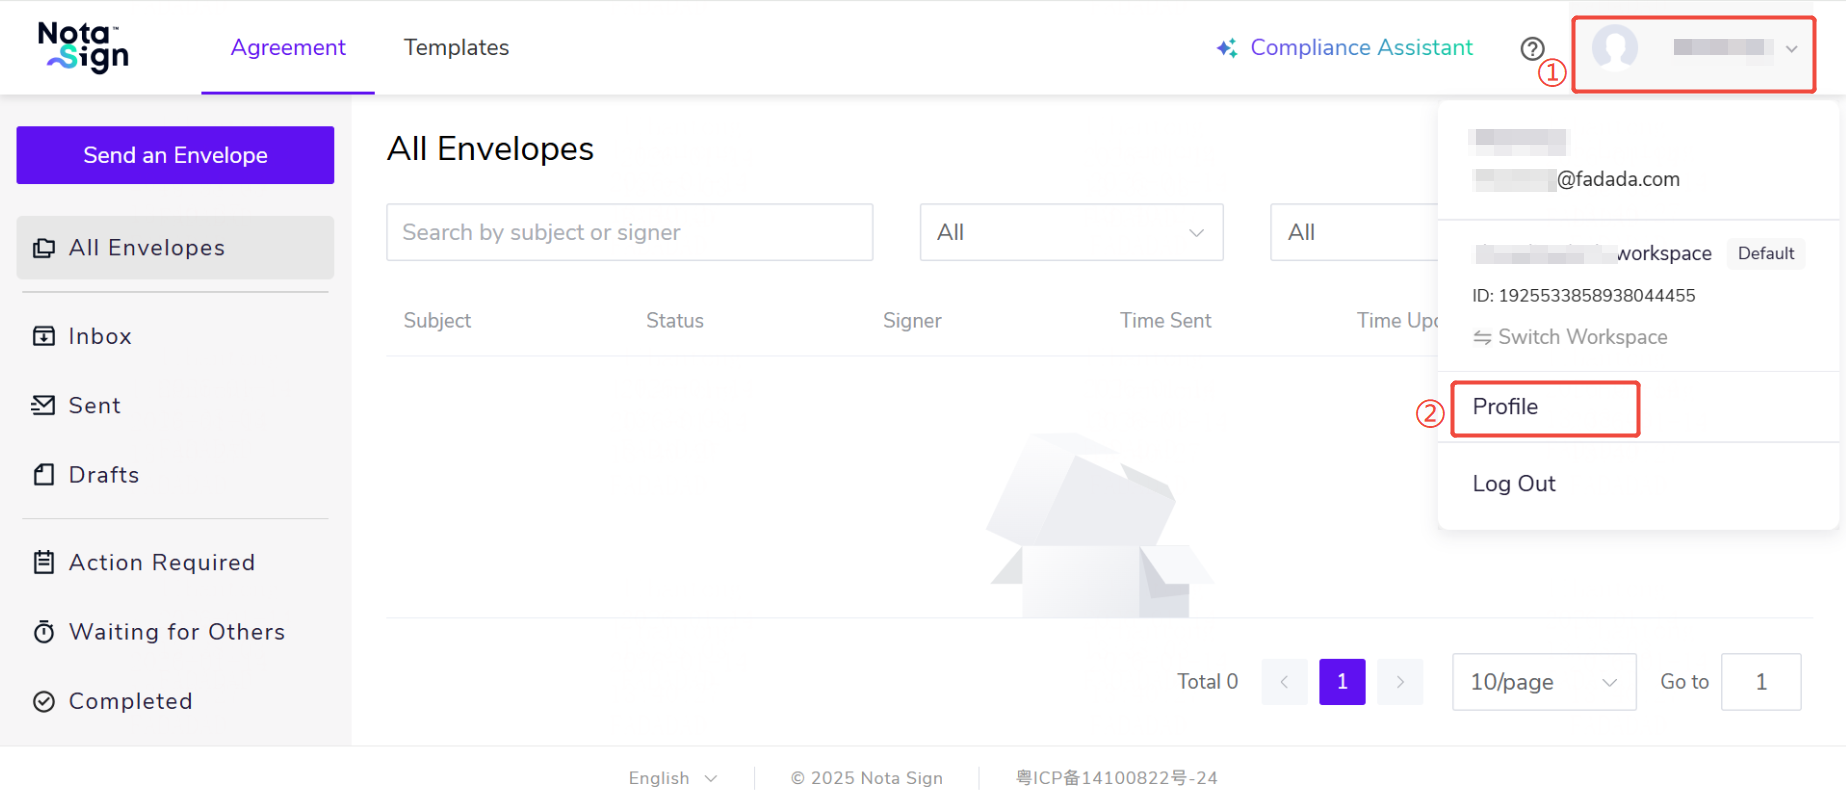
Log in to your Nota Sign account.
Click your profile avatar in the upper-right corner of the dashboard.
From the dropdown menu, select Manage Profile.
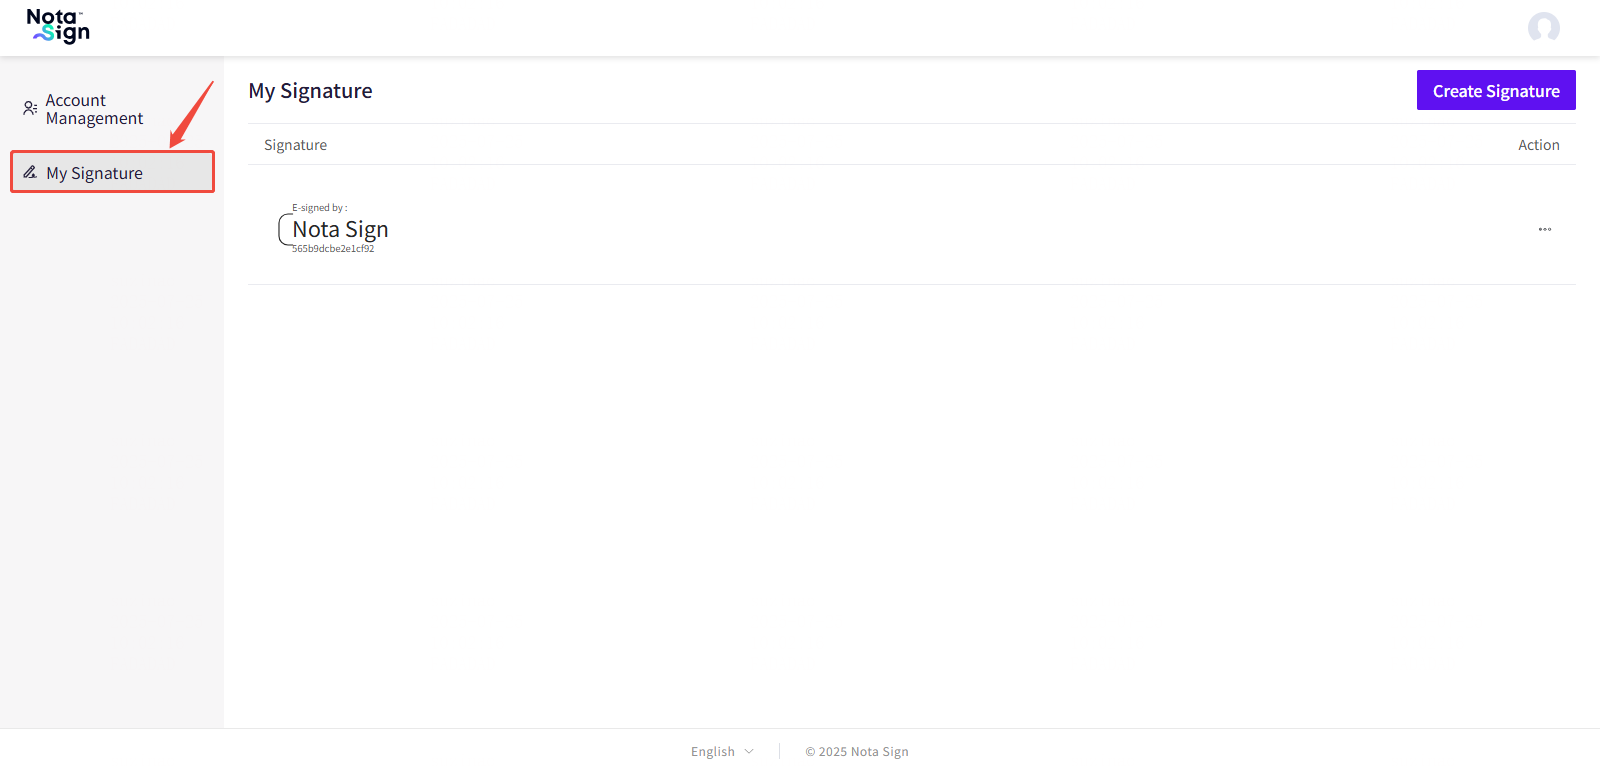
In the left navigation panel, click My Signature to open the signature management interface.
Add a New Signature
You can create a signature in multiple formats depending on your preferences.
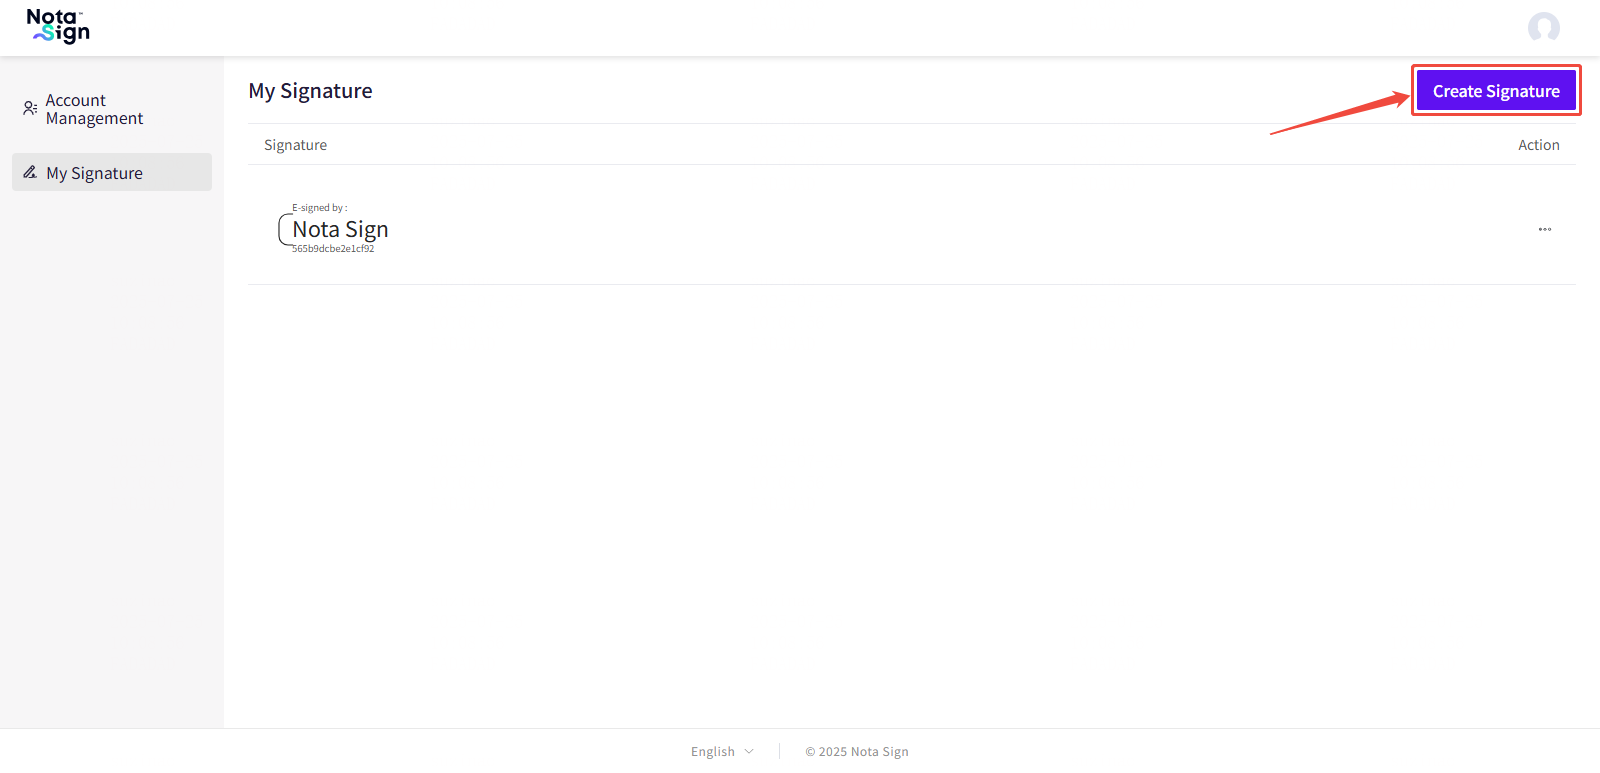
To add a signature:
Click Add Signature in the top-right corner.
Enter your desired signature text.
Choose a signature style from the available options.
Click Confirm to save the signature.
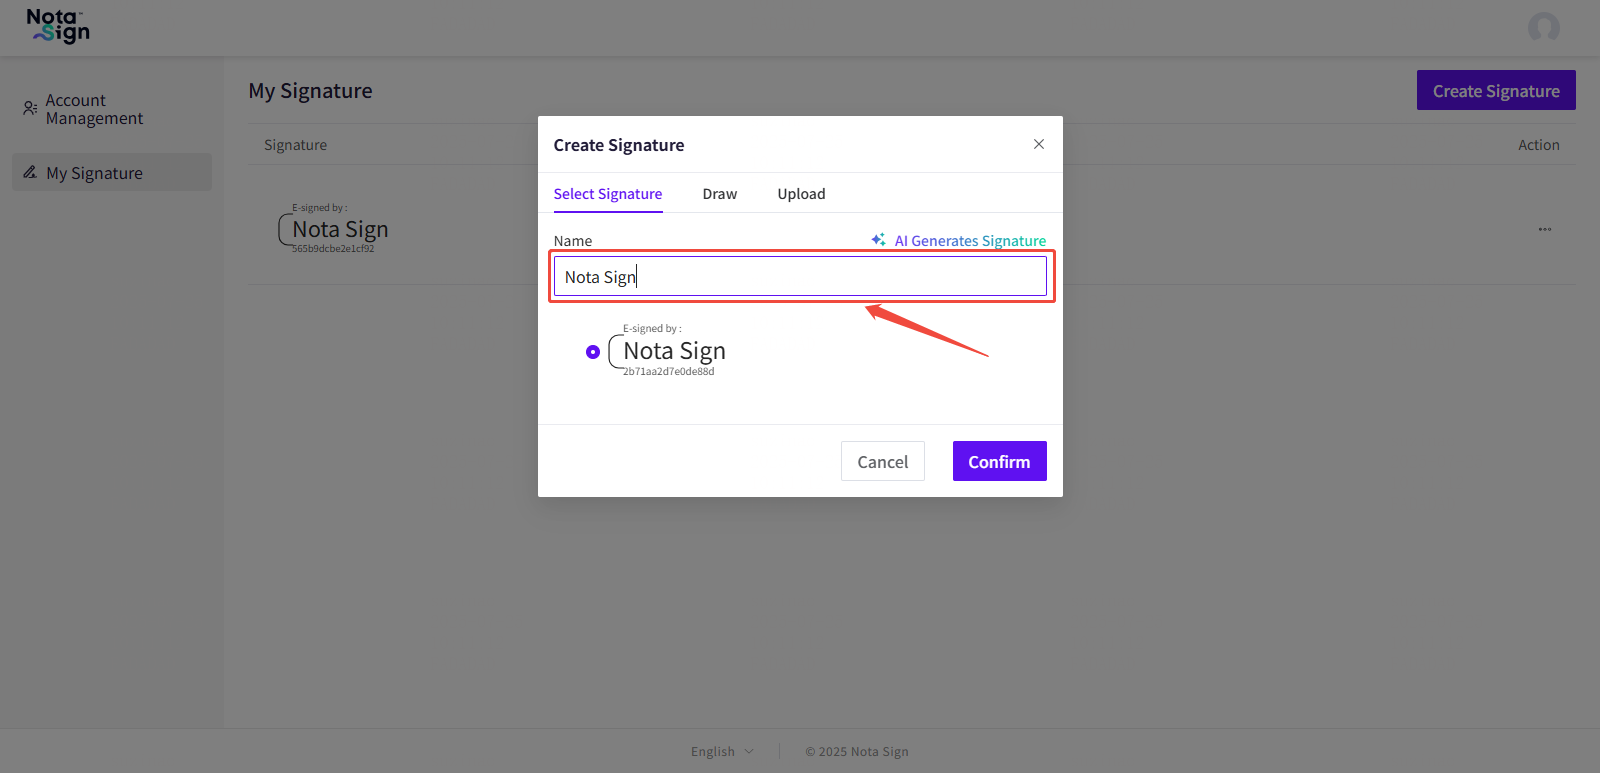
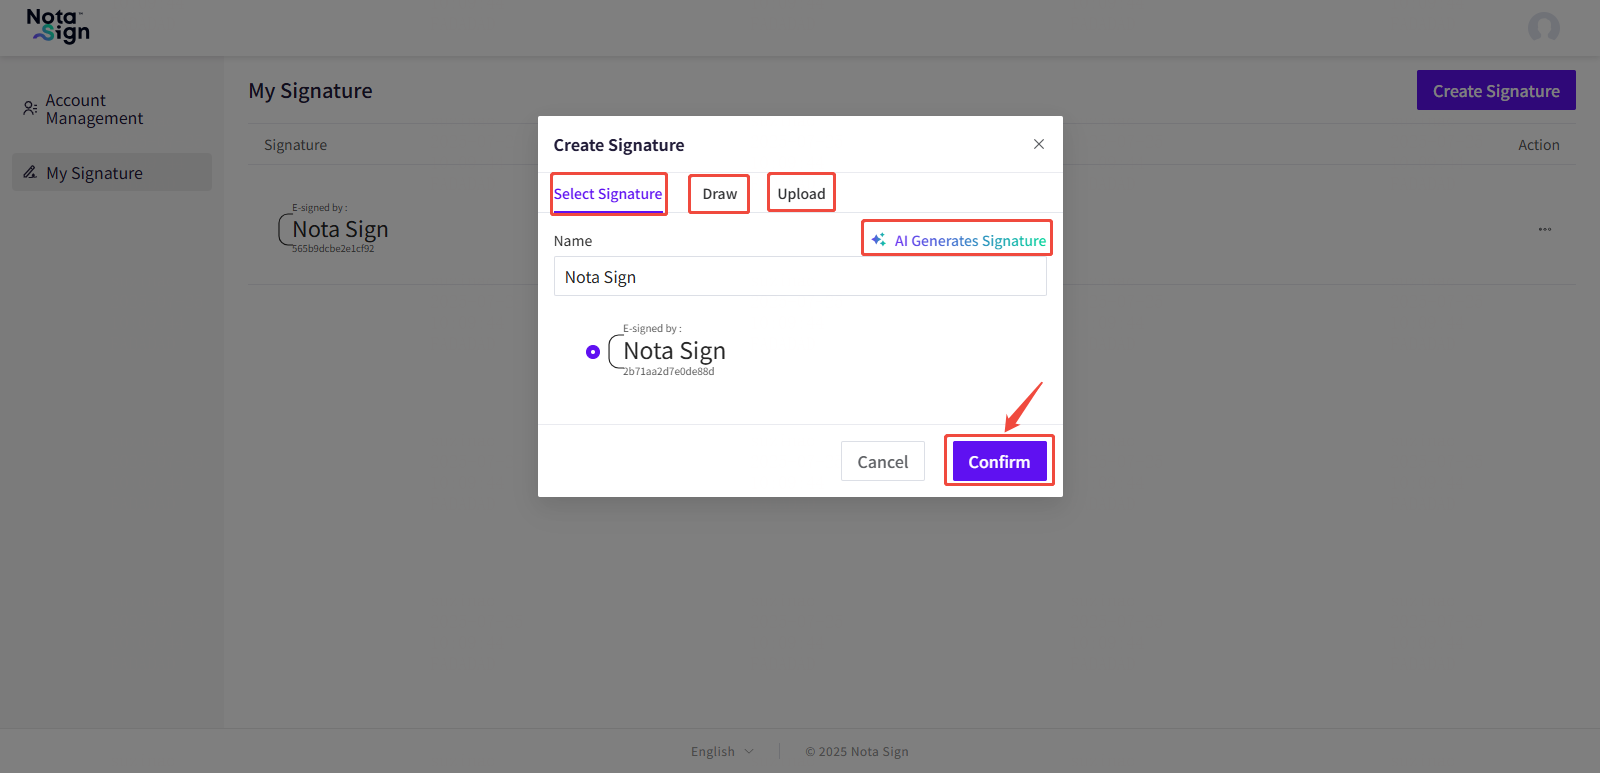
Supported Signature Styles:
Default Style: A system-generated font-based signature.
Drawn Signature: Handwritten using your mouse, stylus, or touchpad.
Image Upload: Upload an image file of your physical signature.
AI-Generated: Create a custom signature using AI-generated styling based on your input.
Delete an Existing Signature
To remove a signature you no longer use:
Locate the target signature in your signature list.
Click the Action menu (⋯) next to the signature.
Select Delete from the dropdown options.
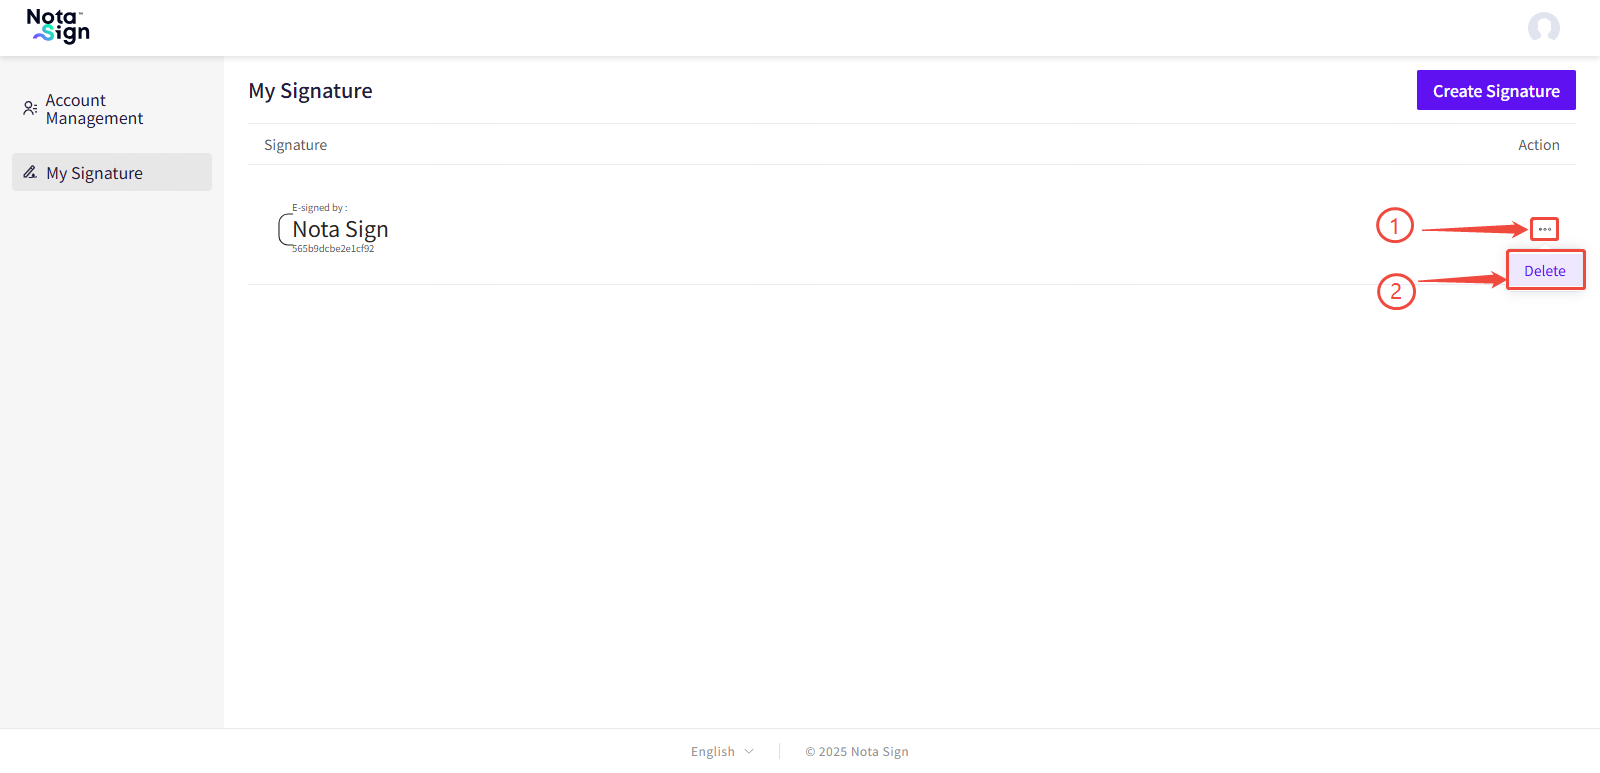
- ⚠️ Note: Deleting a signature will not impact documents that have already been signed. However, the deleted signature will no longer be available for use in future signing workflows. -