Bulk Send
The Bulk Send feature supports sending the same document to a large number of recipients under the same role, improving data-entry efficiency and enabling unified signing settings.
Create a Bulk Envelope
- On the Backstage → Sign page, add a Bulk Send button under the Enable dropdown. Click it to enter the bulk-envelope creation page.

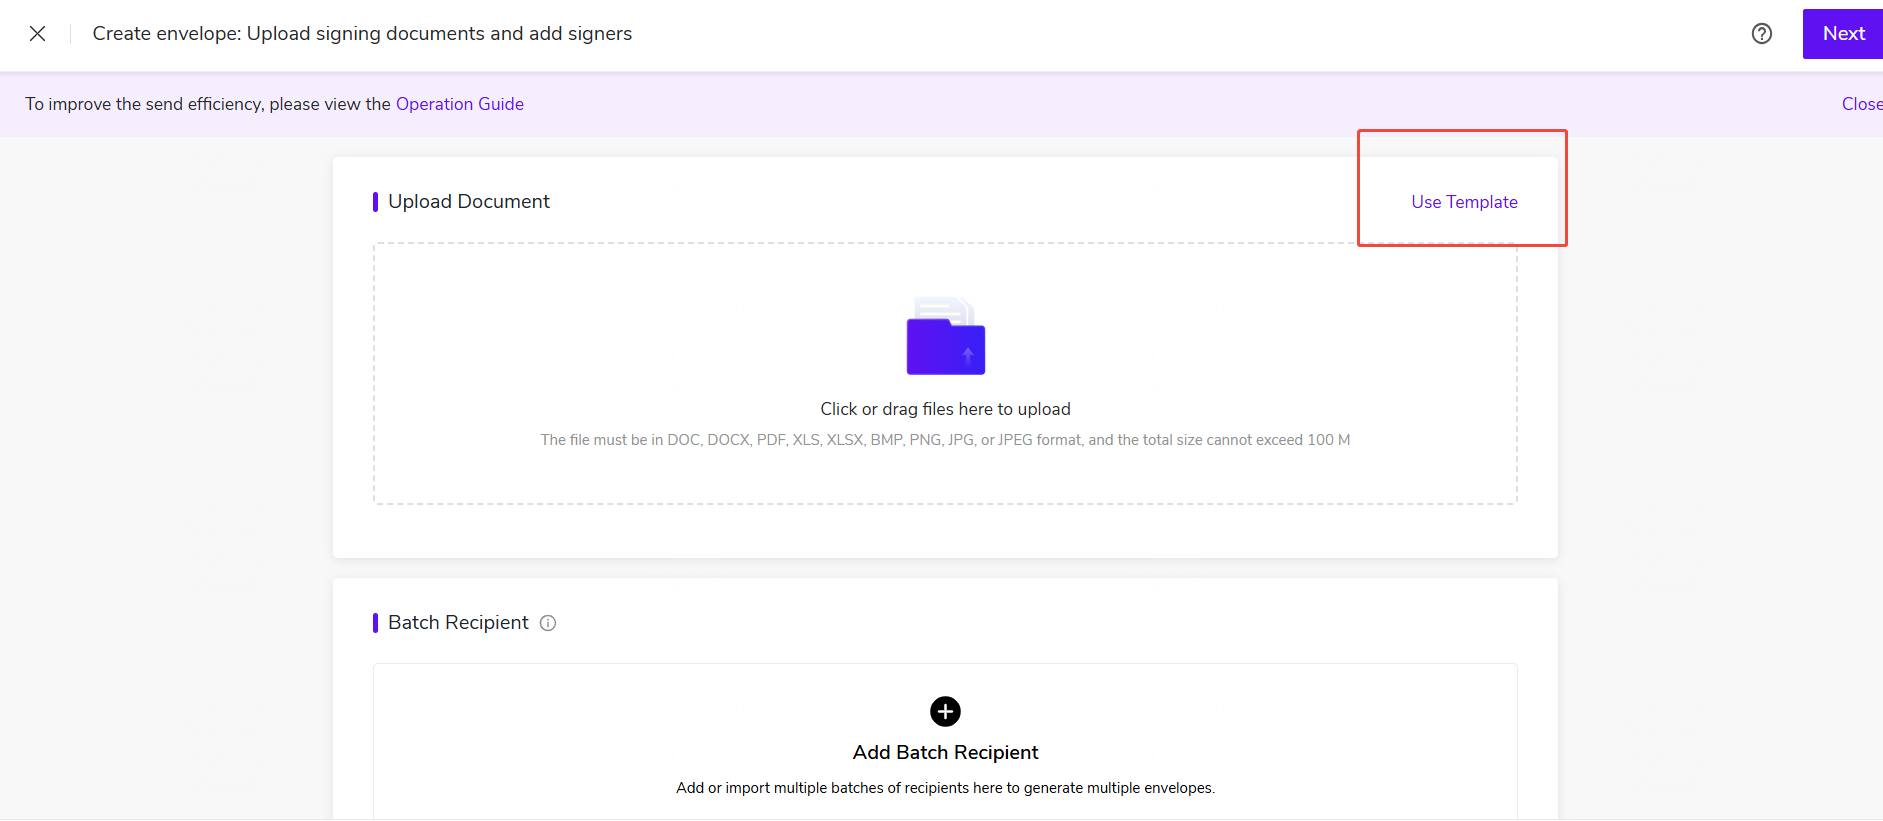
- Upload documents. If you have previously designed a bulk task template, click Use Template and select the bulk task template.
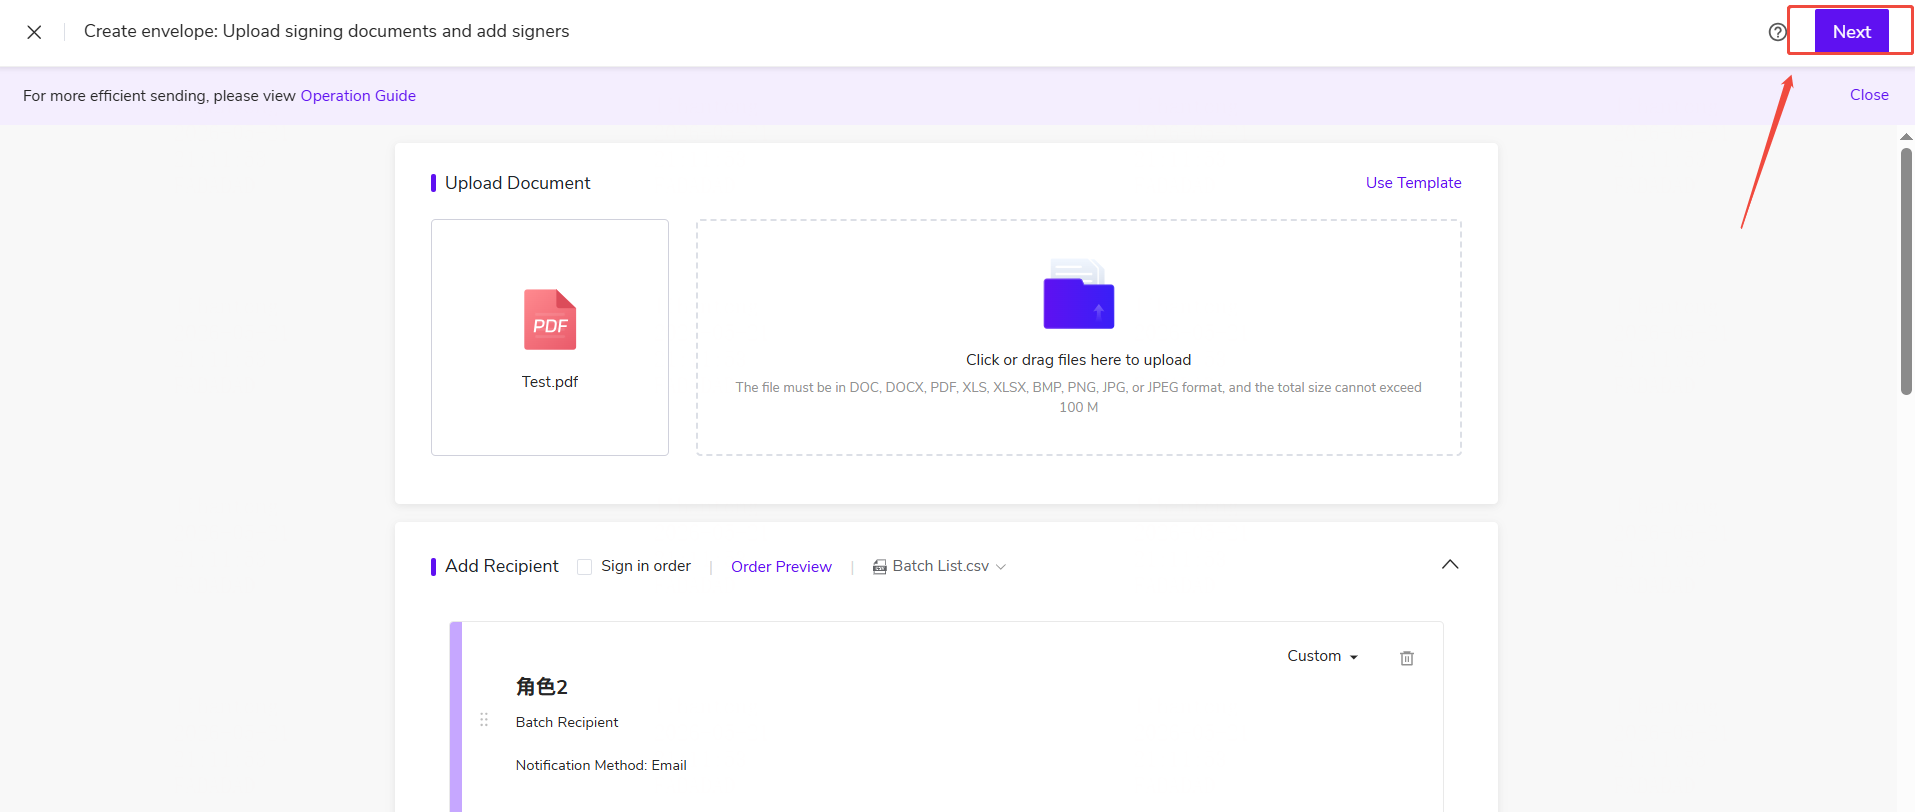
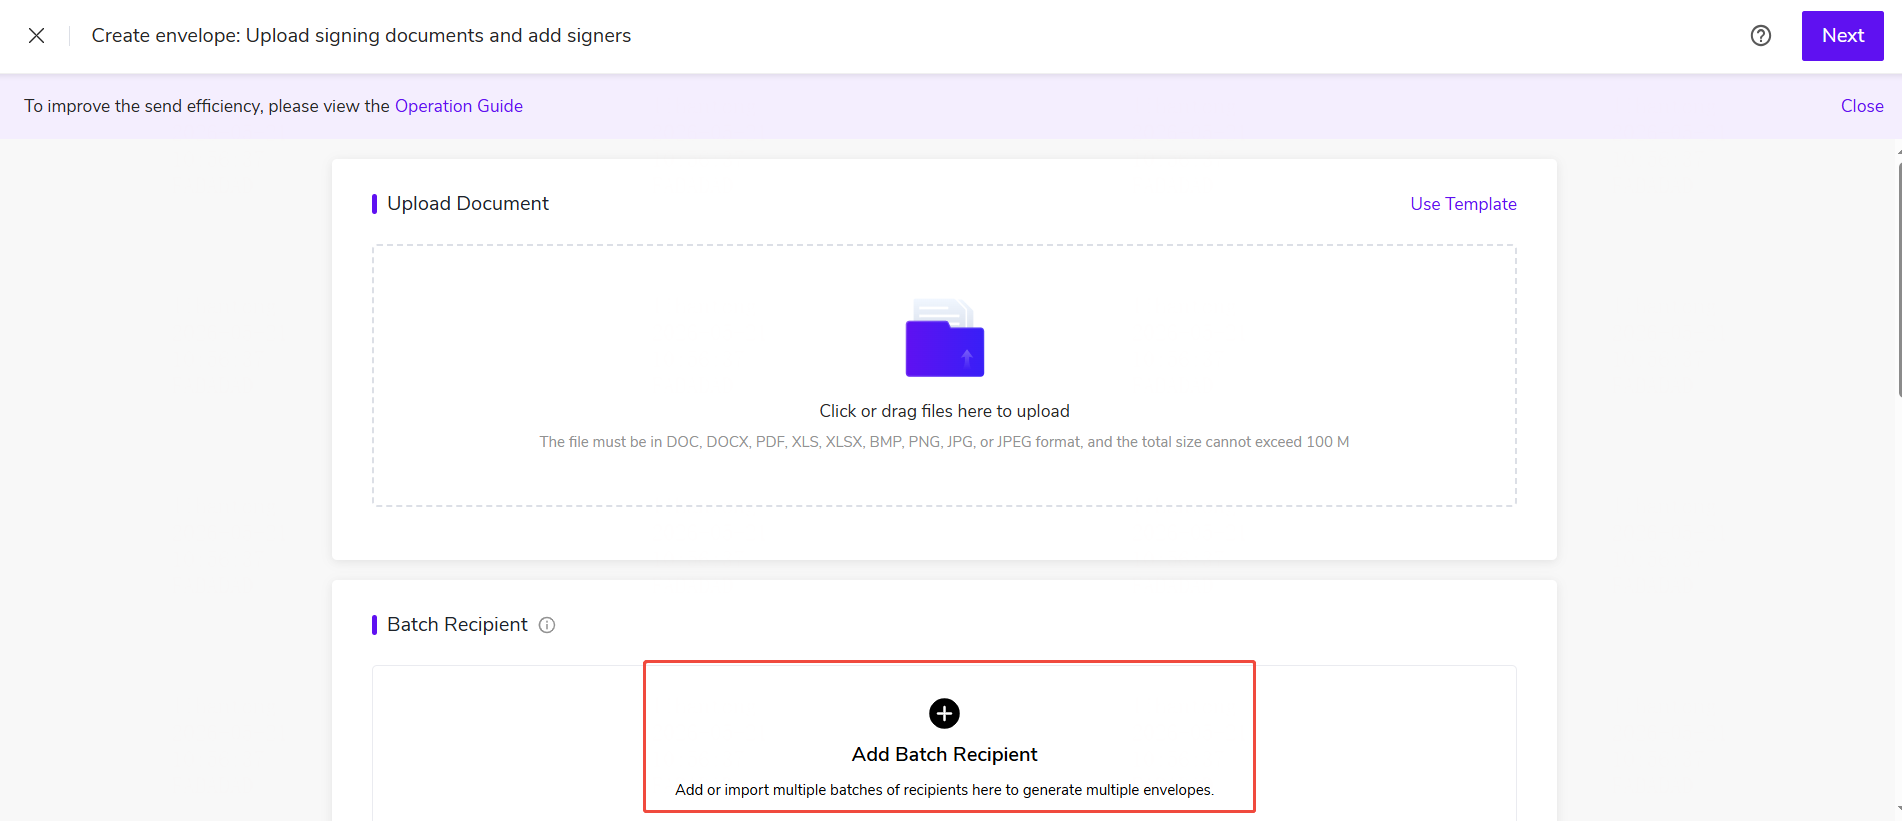
- When no bulk recipient list has been added, click Add Bulk Recipients.
Add Bulk Recipients
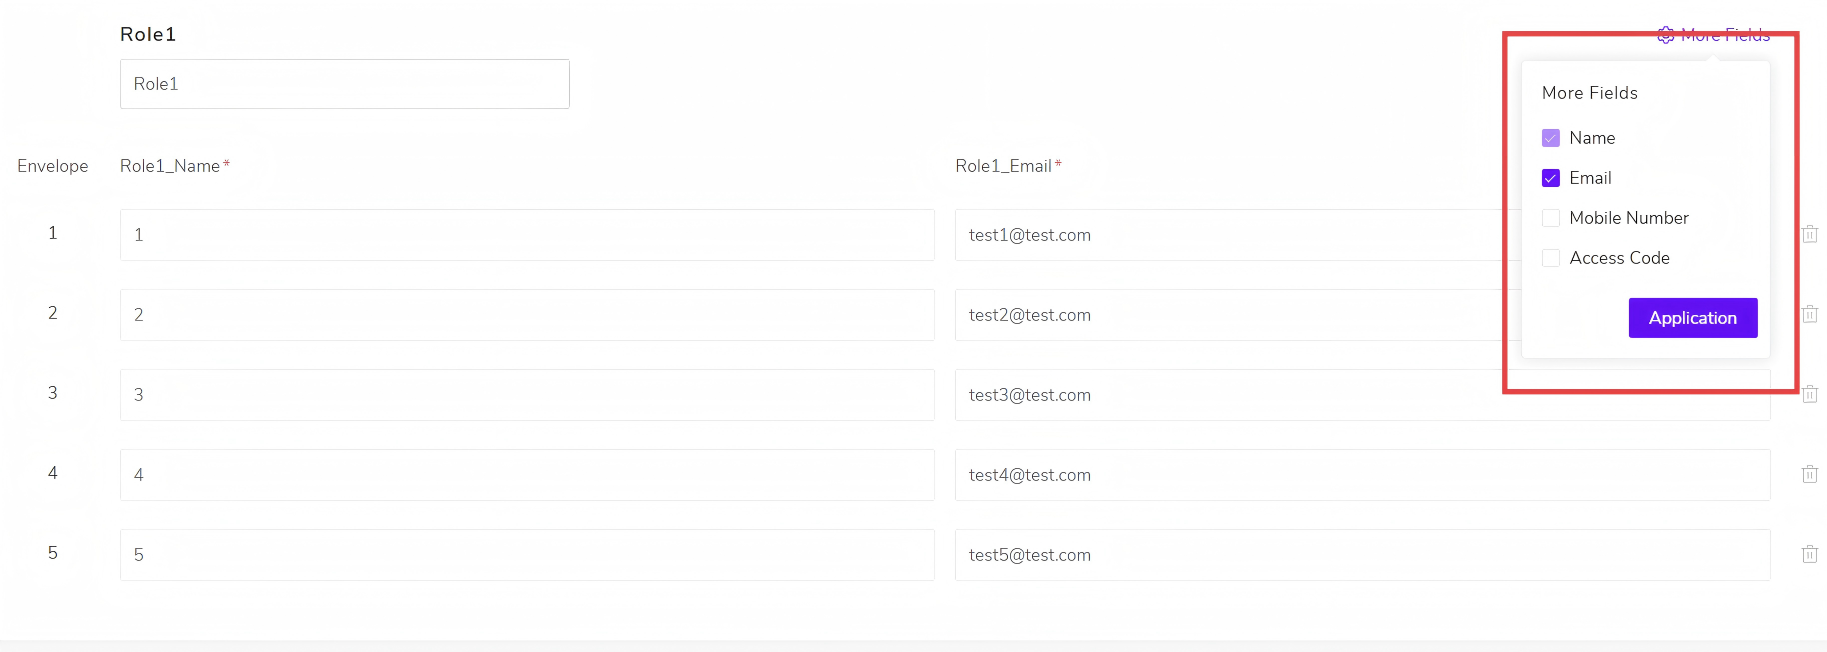
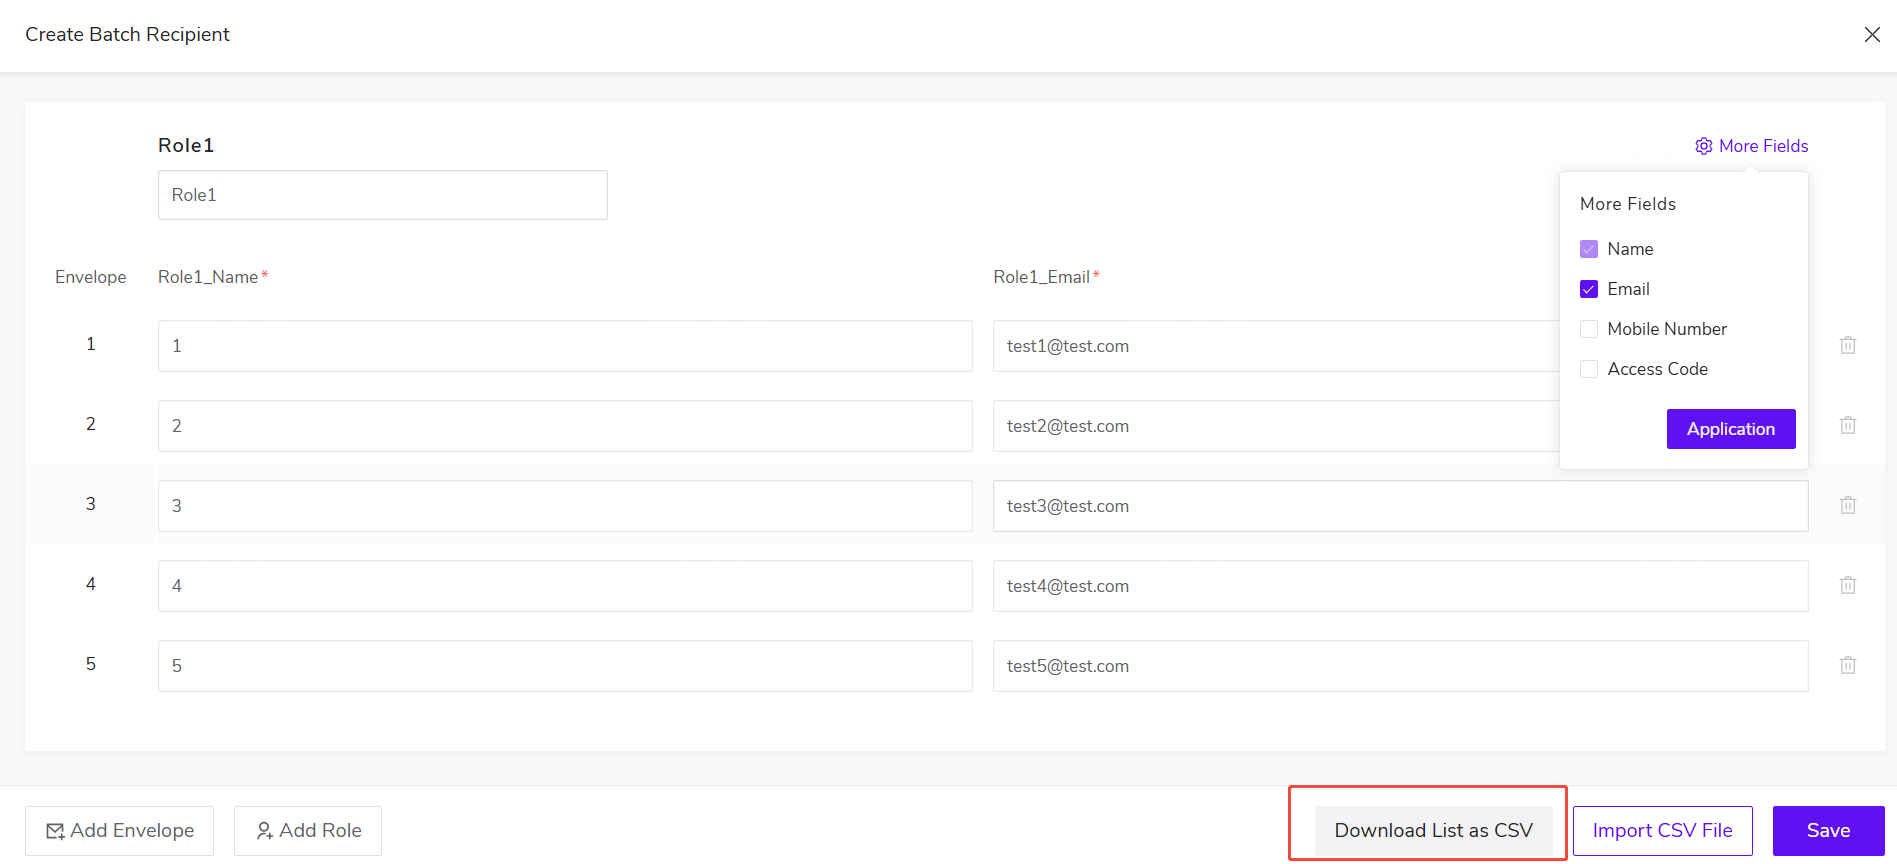
- Set the recipient name and recipient email. In the upper-right corner, click More Fields to add more fields for this role.
- Click Download List as CSV to download the currently added role list in CSV format.
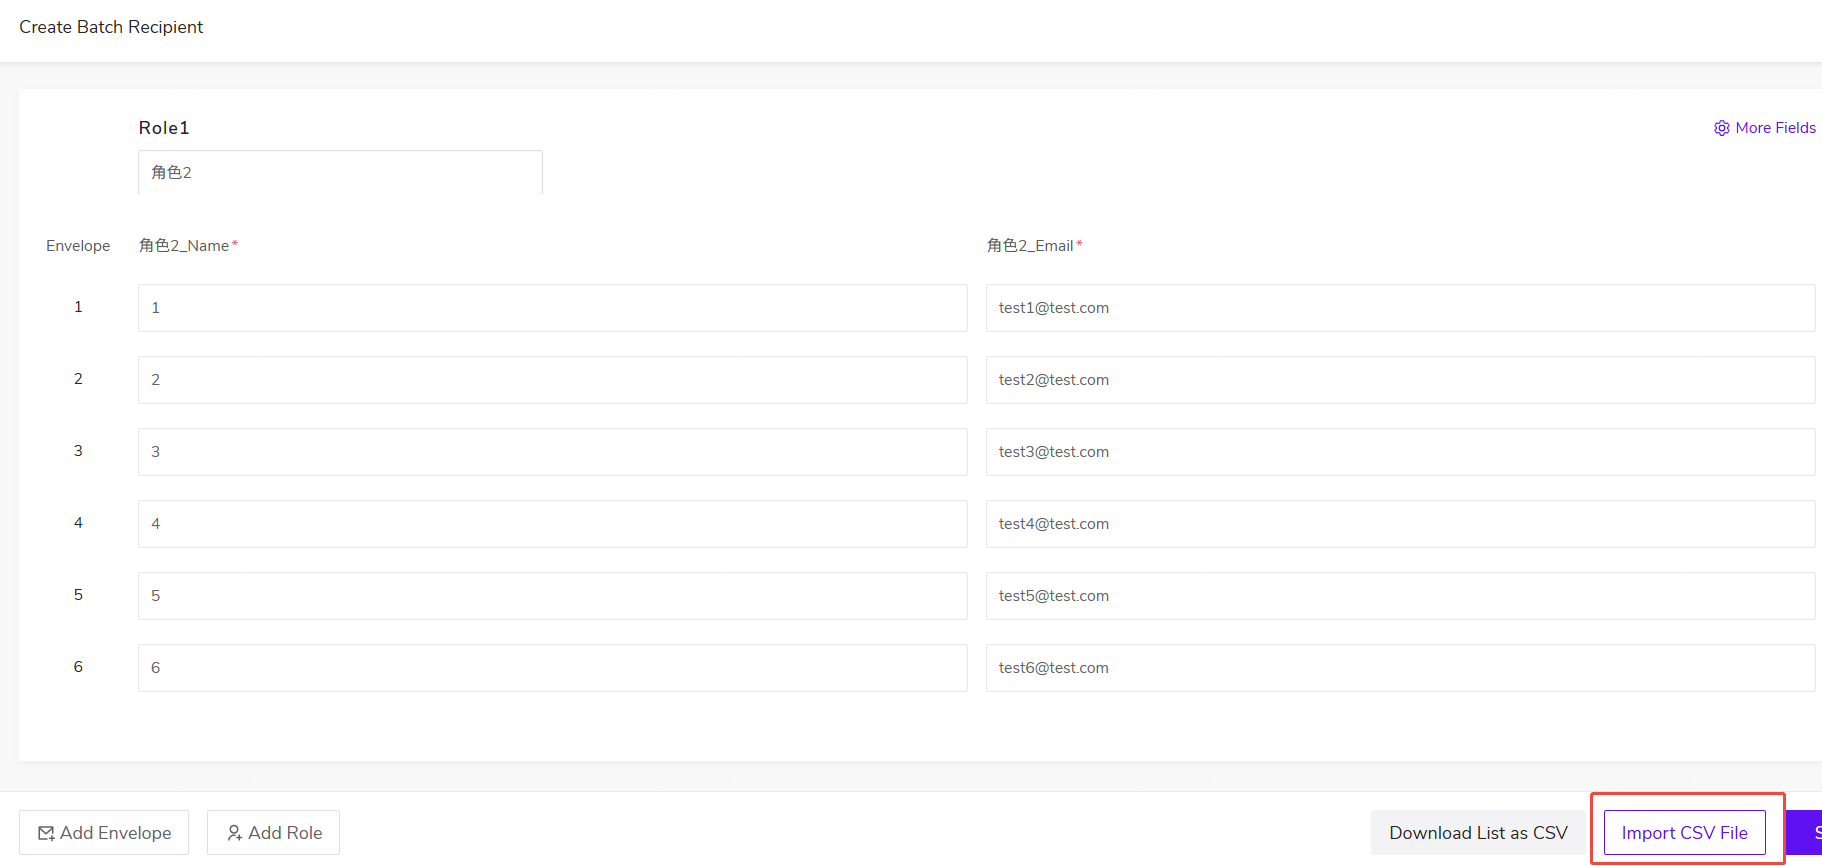
- Click "Import CSV" file to quickly import a batch of recipient lists;
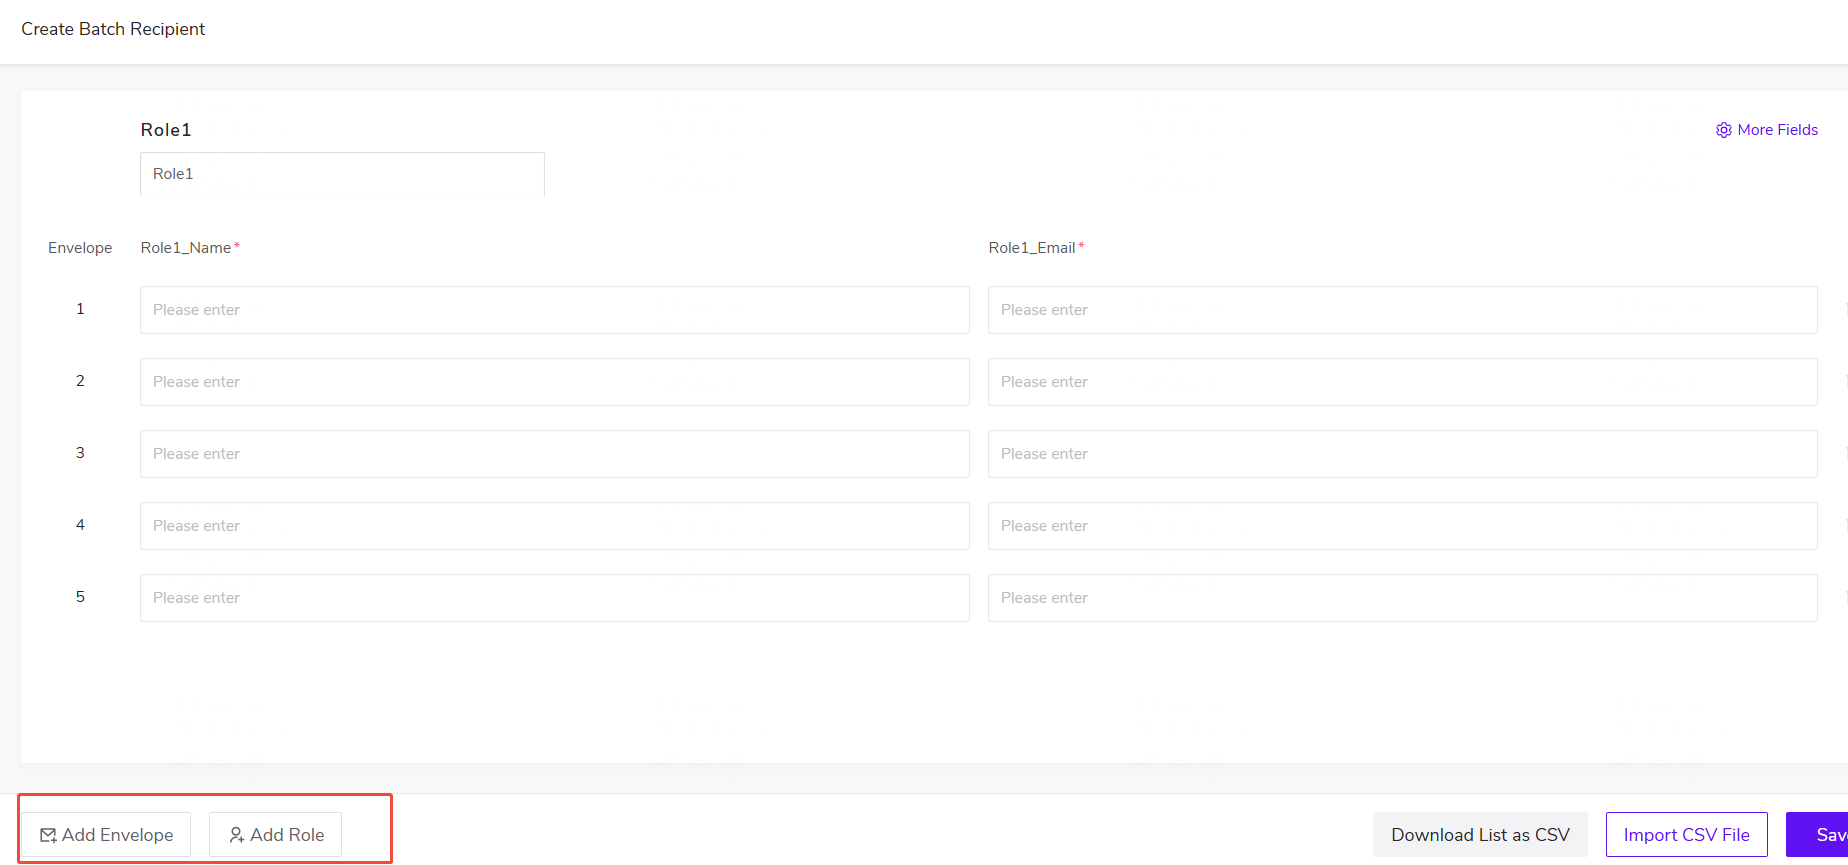
- Click to add envelopes and add characters. You can add multiple envelopes and characters.
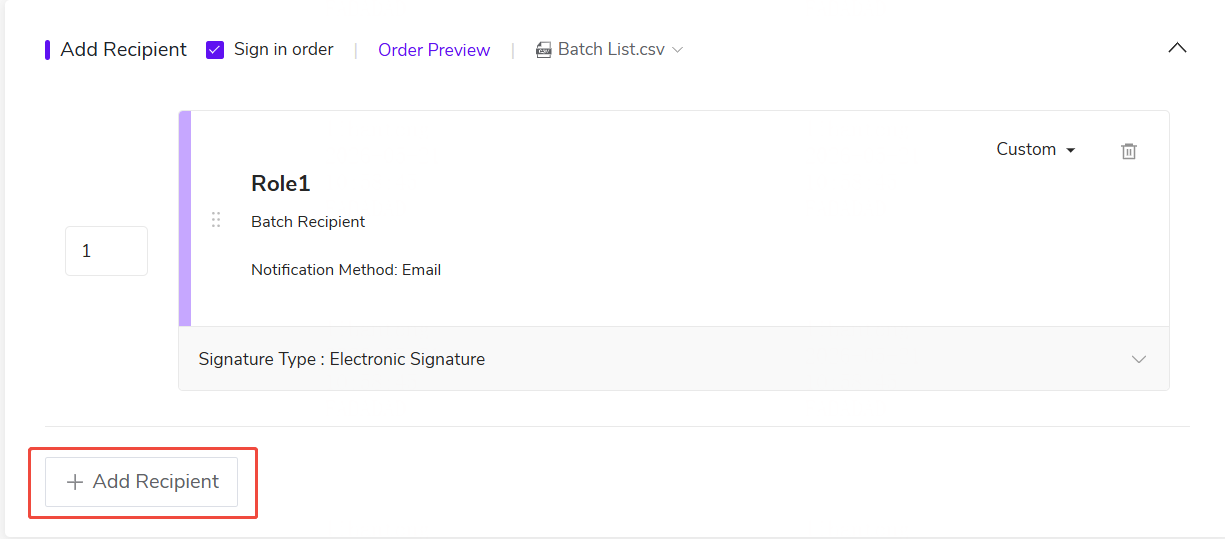
Add Recipients
- After adding one or more bulk roles, the original bulk-recipient section is updated to Add Recipients. Click Bulk List.csv, then click Edit to view and edit the bulk recipient list.
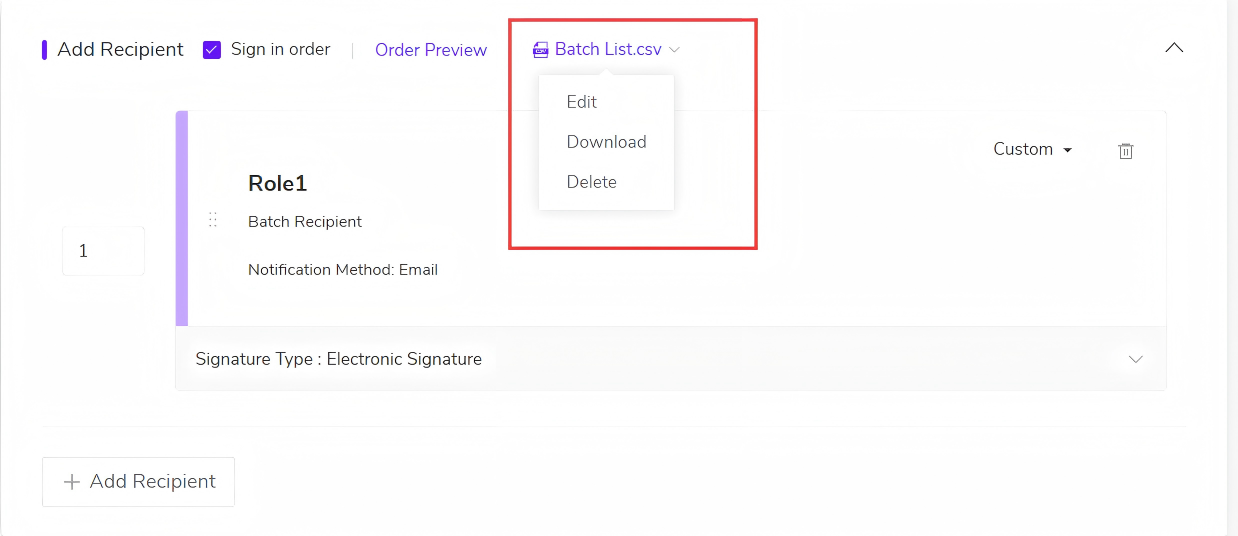
- Add an individual recipient or an electronic seal, and configure sequential signing order for the individual recipient, electronic seal, and the bulk-recipient roles to send multiple envelopes to the same recipient.
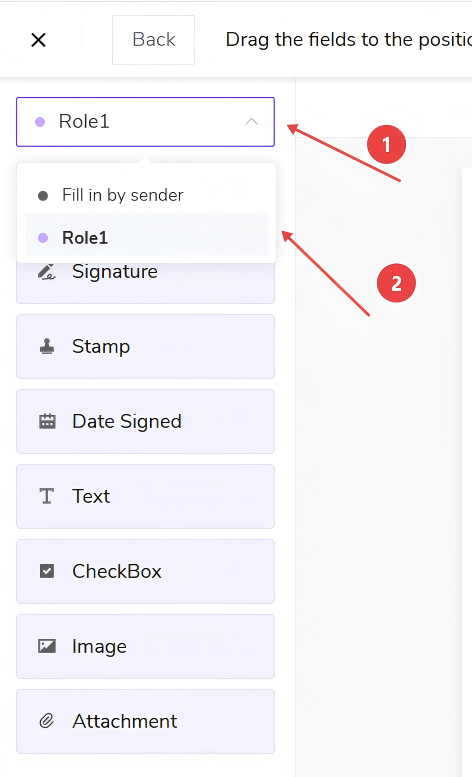
Configure Bulk Recipient Fields
On the Envelope Creation → Field Settings page, if bulk roles have been added, the bulk role name will be shown in the upper-left corner. Switch to that role to configure its fields.
Send Envelope
Click Send to complete envelope sending;